Access Request
Note
Required fields are indicated with a red Asterisk.
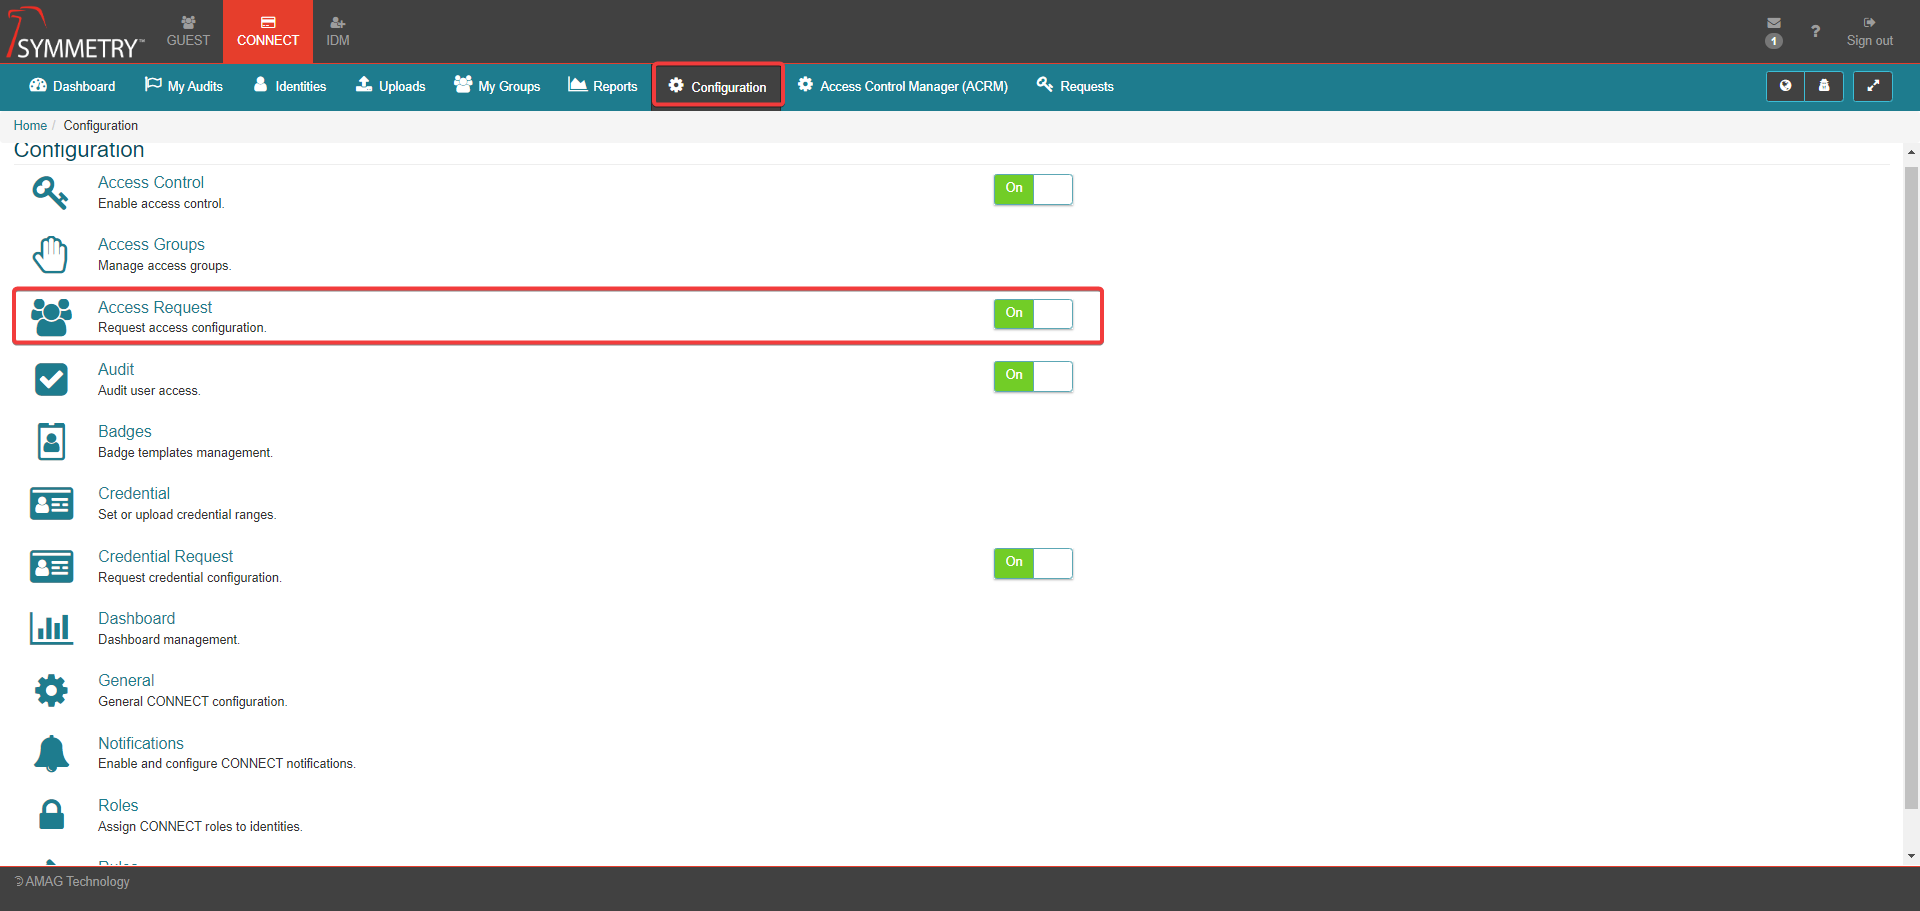
CONNECT > Configuration > Access Request:
Within this section, an administrator is able to configure the workflow process for requesting the assignment of a specific Access Group to an Identity.
They can also configure the approval process for access requests. As part of the configuration process the user can specify which fields are Hidden/Visible/Required, which Identity Types can request access On Behalf Of others, and configure the wording for Help text and Acknowledgement messages
Access Request Configuration can be toggled between the On and Off position to either enable or disable the Access Request function within CONNECT.
Workflow
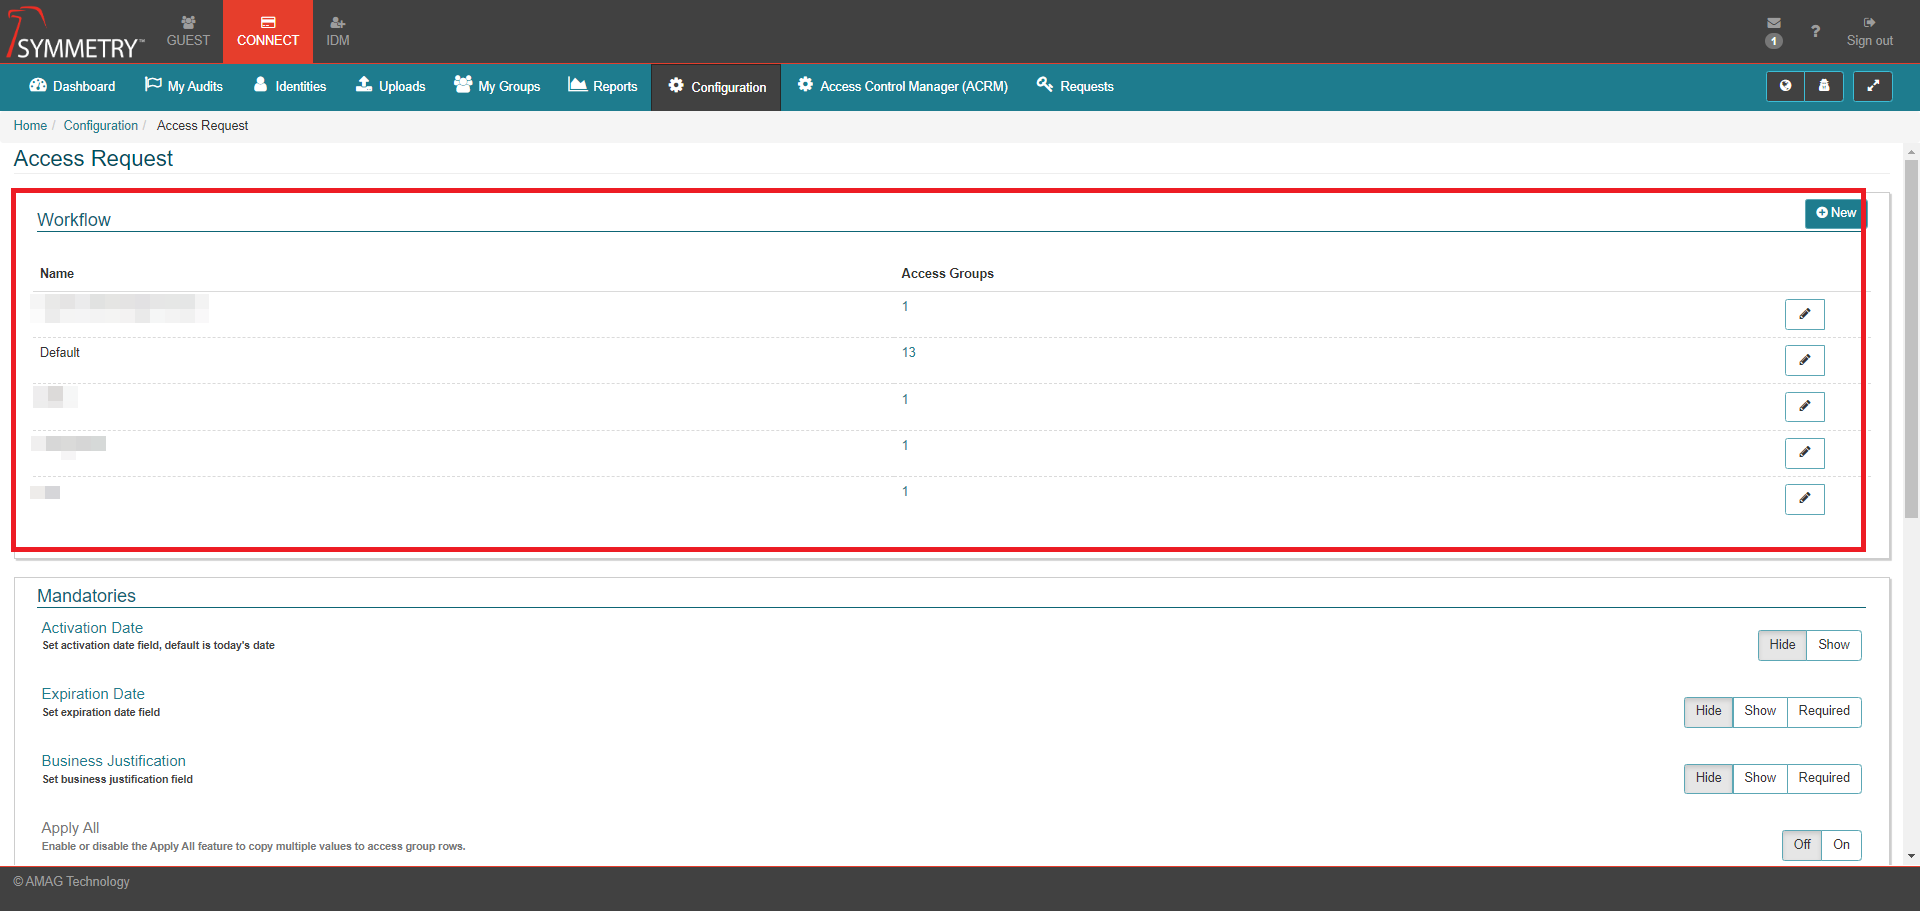
If the Default Workflow is used, the relevant ACR and ACRM (Access Control Representative and Access Control Manager) will receive an email notification when an access request is made for their Access Group. If the ACR or ACRM approves the request, the Access Group is assigned to the requester.

If a Custom Workflow is preferred, the user is able to configure the specific user roles that need to approve the request. The user can also decide whether the approvals must come in order, or whether all approvers receive the request at the same time (refer to the Add New Access Request Workflow or Edit Existing Access Request Workflow sections of this guide for more information). The possible approvers are:
ACR Administrator: Grants ACR administrator privileges across CONNECT.
CONNECT admin: Grants administrator privileges across CONNECT.
Access Control Representative (ACR): Holds access control representative role.
Access Control Manager (ACRM): Grants the ability to manage ACRs.
Manager 1: Identity's manager 1 (and their Delegate, if configured).
Manager 2: Identity's manager 2 (and their Delegate, if configured).
Manager 3: Identity's manager 3 (and their Delegate, if configured).
Access Control Manager (ACRM) or Access Control Representative (ACR): ACR(s) or ACRM(s).
Mandatories
Administrators can configure the Mandatory Fields that are part of the request process. These fields include:
Activation Date: The date the access group will become active. Select either Hide or Show.
Expiration Date: The date the access group will expire. Select either Hide, Show or Required. If show or required are selected, the user has the option to select Relative, Explicit or Both options for the expiration date field and the Expiration Time Ranges section will be displayed to them. (see Expiration Time Ranges section below).
Business Justification: The reason the requester needs the access. Select either Hide, Show or Required.
Apply All: Toggle ON or OFF to enable or disable the Apply All feature which can copy the same values for Activation Date, Expiration Date and Business Justification to all Access Group requests.

On Behalf Of
Is used to specify whether or not Identity Types are able to request access On Behalf Of other Identities and which Identities they are able to request Access on behalf of. The options available are:
Enabled: (Enable or disable on behalf of functionality) If enabled, any Identity is able to request access on behalf of any 'Employee' Identity within the application (may first need to clear all filters which by default will be set to signed-on user's Company and Building).
Non Employee: (Enable or disable on behalf of for non employee) If enabled, any Identity is able to request access on behalf of any 'Employee' or 'Non-Employee' Identity within the application (may first need to clear all filters which by default will be set to signed-on user's Company and Building).
Limit to CONNECT Role Holders: (Enable or disable the limiting of requesting access on behalf of only identities with roles within CONNECT). If enabled, will mean that only CONNECT Role holders will be able to request access on behalf of others.


Expiration Time Ranges

If Expiration Date has been set to Show or Required, the user will have the option to create a Time limit (in Days) that the Access will remain active for rather than setting a explicit Expiration Date.
Click the New button to add a new Expiration Time Range.
Name the time range with an appropriate title and apply the number of days you want the Access to remain active for.
Click the save icon to save the new Expiration Time Ranges or click the cancel icon to cancel and delete the time range. If Expiration Date is set to Explicit or to Both, The user will have the option to select a Expiration Time Range from a dropdown list when requesting Access. Current date is Day 1 of the Time Range so if, for example, the Time Range selected is for 5 Days then the system will set the Expiration Date to Today + 4 Days.
Already created Expiration Time Ranges can be also be deleted or edited. If the Expiration Time Range is to be deleted the user must confirm the deletion.


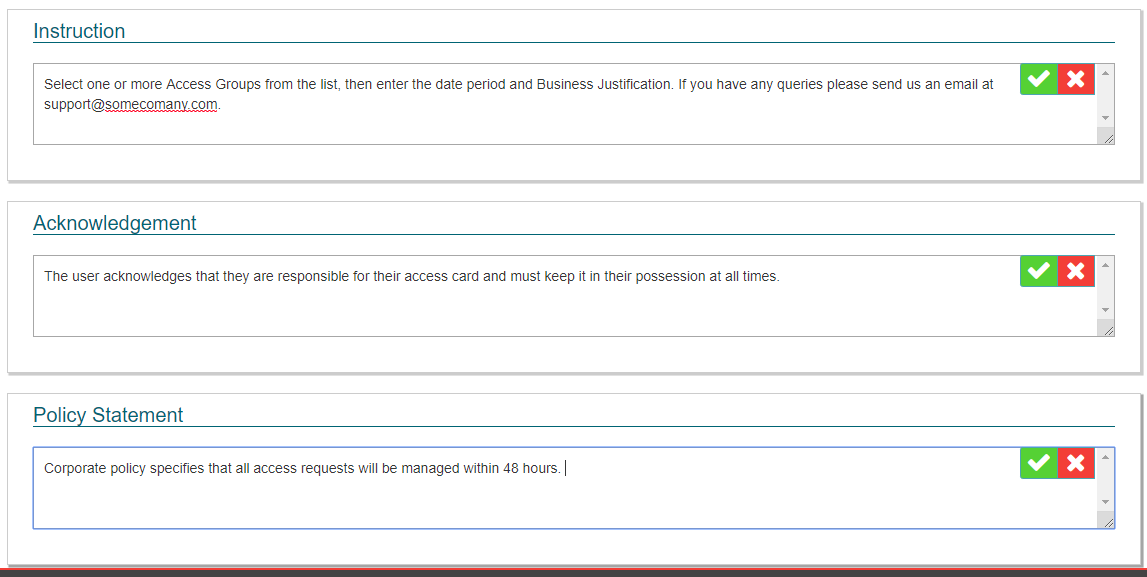
Instructions, Acknowledgement, and Policy Statement
The user is able to enter text for:
Instructions: If text has been entered into the Instructions field then, on the Access Requests page, user will see a ? (View Instructions) icon top right of the screen. Clicking that will display a popup containing the text entered earlier.
Acknowledgement: Default message once Access Request submitted is Your request has been sent successfully. It is possible to amend that message here.
Policy Statement: If a Policy Statement has been configured here then, on clicking Submit Request, Confirmation popup will appear displaying the text entered here. On clicking the OK button the Acknowledgement message will then appear.
Clicking the tick icon will save and confirm the text applied into the text/box fields above. Clicking the cross icon will clear and delete any text applied in the text box/fields above.
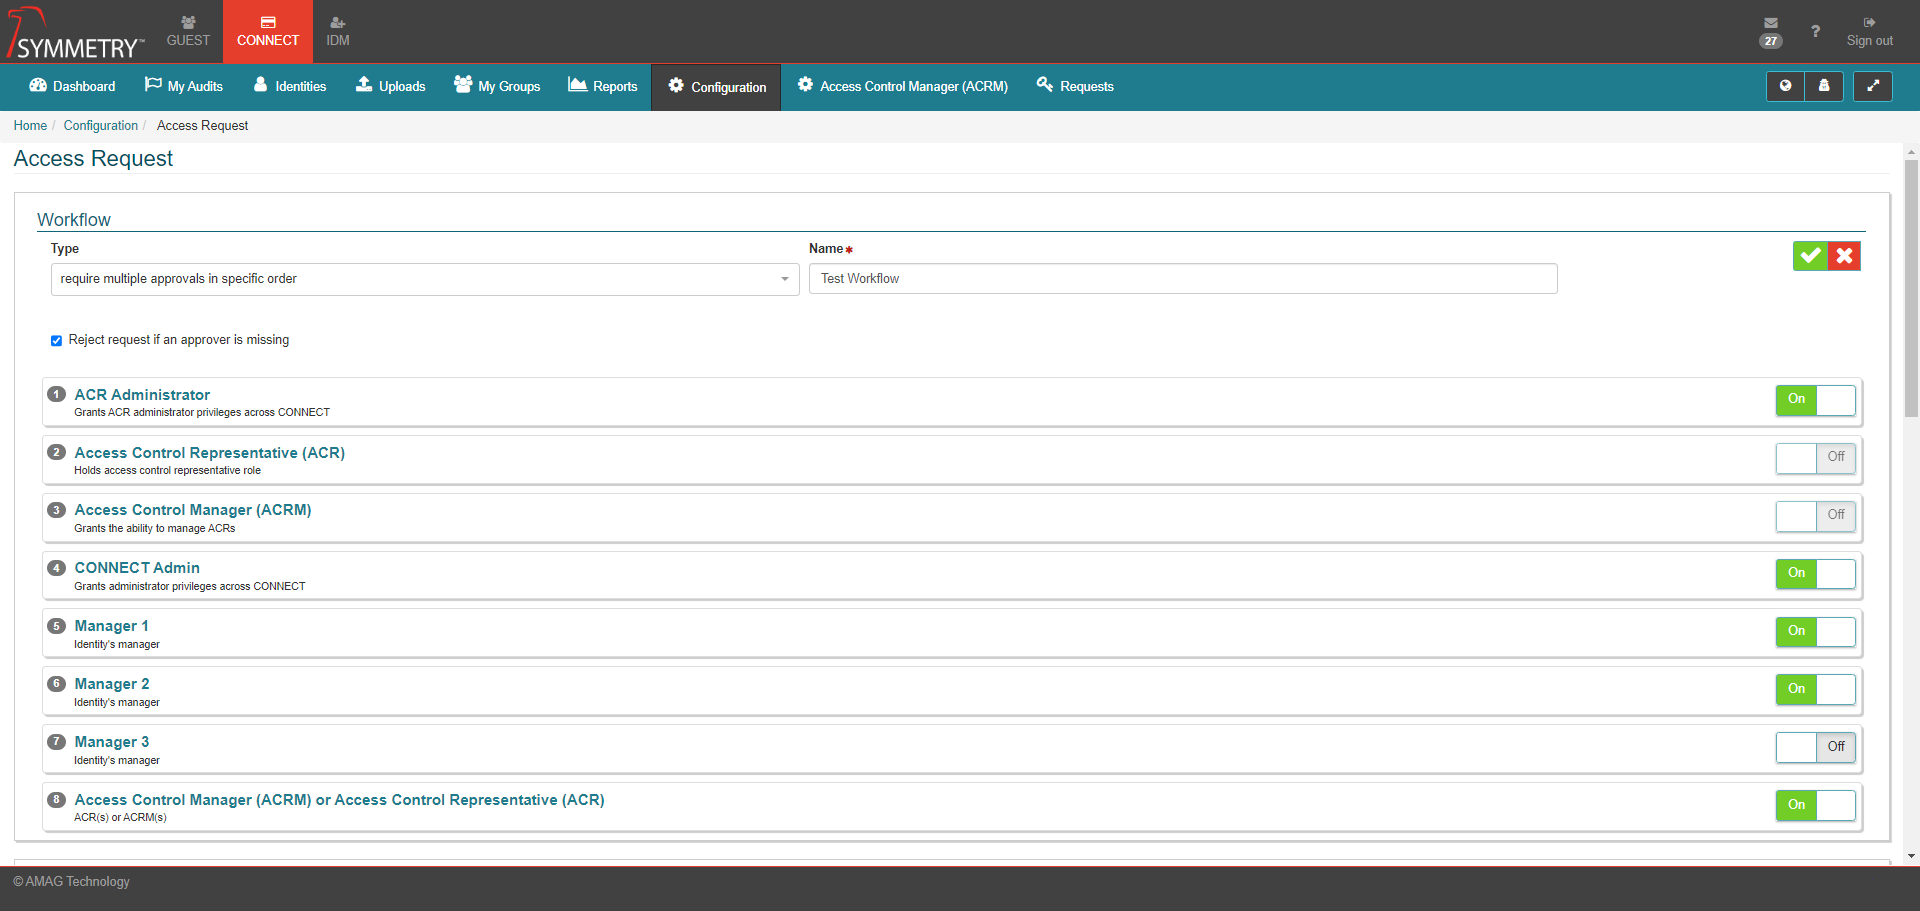
Add New Access Request Workflow
The user can add new custom Access Request workflows.
Click on the New button to add a new Access Request workflow.

Specify a Type: Either require multiple approvals in specific order or require multiple approvals in no specific order.
Name Give the Access Request Workflow a unique Name (required).
The user can enable the option to Reject request if an approver is missing by selecting the check box. Leaving this check box unselected will disable this function and ensure a Missing Approver email is instead sent to Administrators.
Apply the appropriate enabled or disabled approvers by either selecting On or Off on the approver type options.
The possible approvers are:
ACR Administrator: Grants ACR administrator privileges across CONNECT.
CONNECT admin: Grants administrator privileges across CONNECT.
Access Control Representative (ACR): Holds access control representative role.
Access Control Manager (ACRM): Grants the ability to manage ACRs.
Manager 1: Identity's manager 1 (and their Delegate, if configured).
Manager 2: Identity's manager 2 (and their Delegate, if configured).
Manager 3: Identity's manager 3 (and their Delegate, if configured).
Access Control Manager (ACRM) or Access Control Representative (ACR): ACR(s) or ACRM(s).
Click the tick icon to save and confirm the selected workflow details. Clicking the cross icon will clear and delete the Access Request Workflow.
Edit Existing Access Request Workflow
Existing Access Request Workflow can be edited or deleted. Any existing Access Request Workflow can be edited but Workflows can only be deleted if they have no Access Groups assigned to them.
Click on the Edit icon button associated with the Access Request Workflow that the user wants to edit.
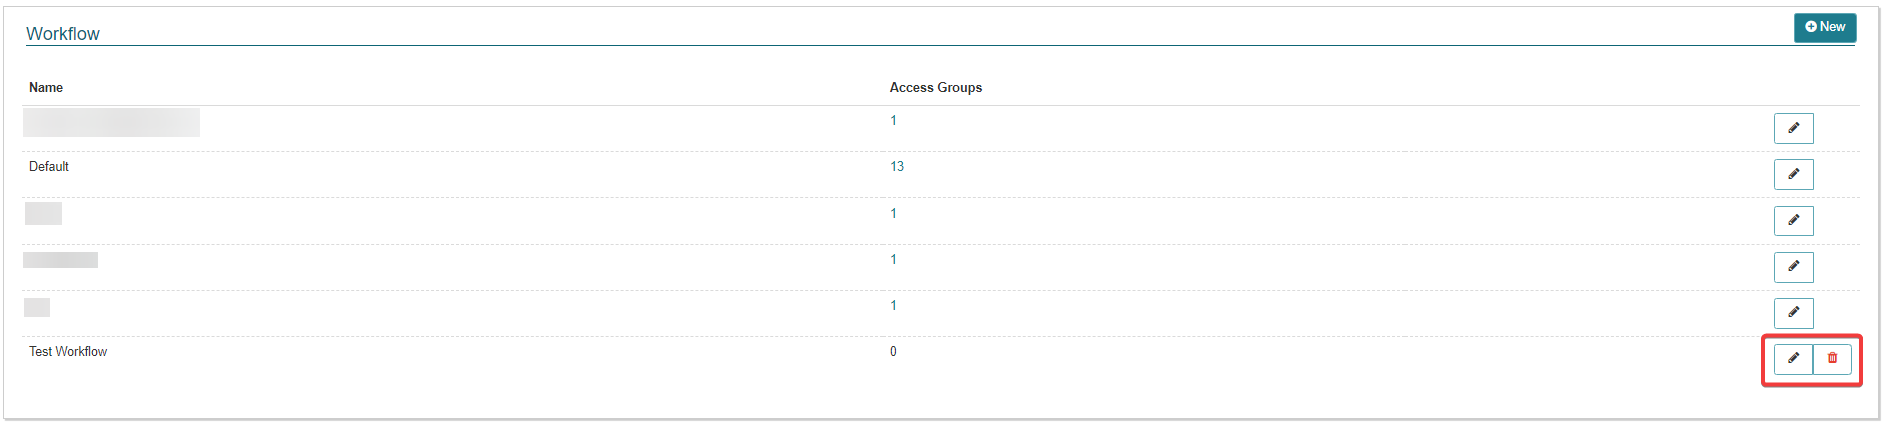
This will automatically open the edit screen. the user can make edits to the Access Request Workflow. All options described in the Add New Access Request Workflow section above, are applicable and editable.
Click the tick icon to save and confirm the edits made to the selected workflow details. Clicking the cross icon will clear and delete the Access Request Workflow.
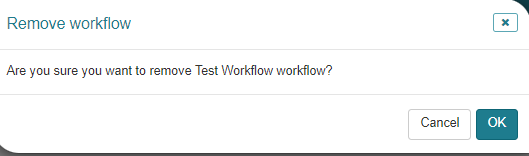
Click on the Delete icon button associated with the Access Request Workflow that the user wants to delete.
The user will be asked to confirm the deletion of the Access Request Workflow.