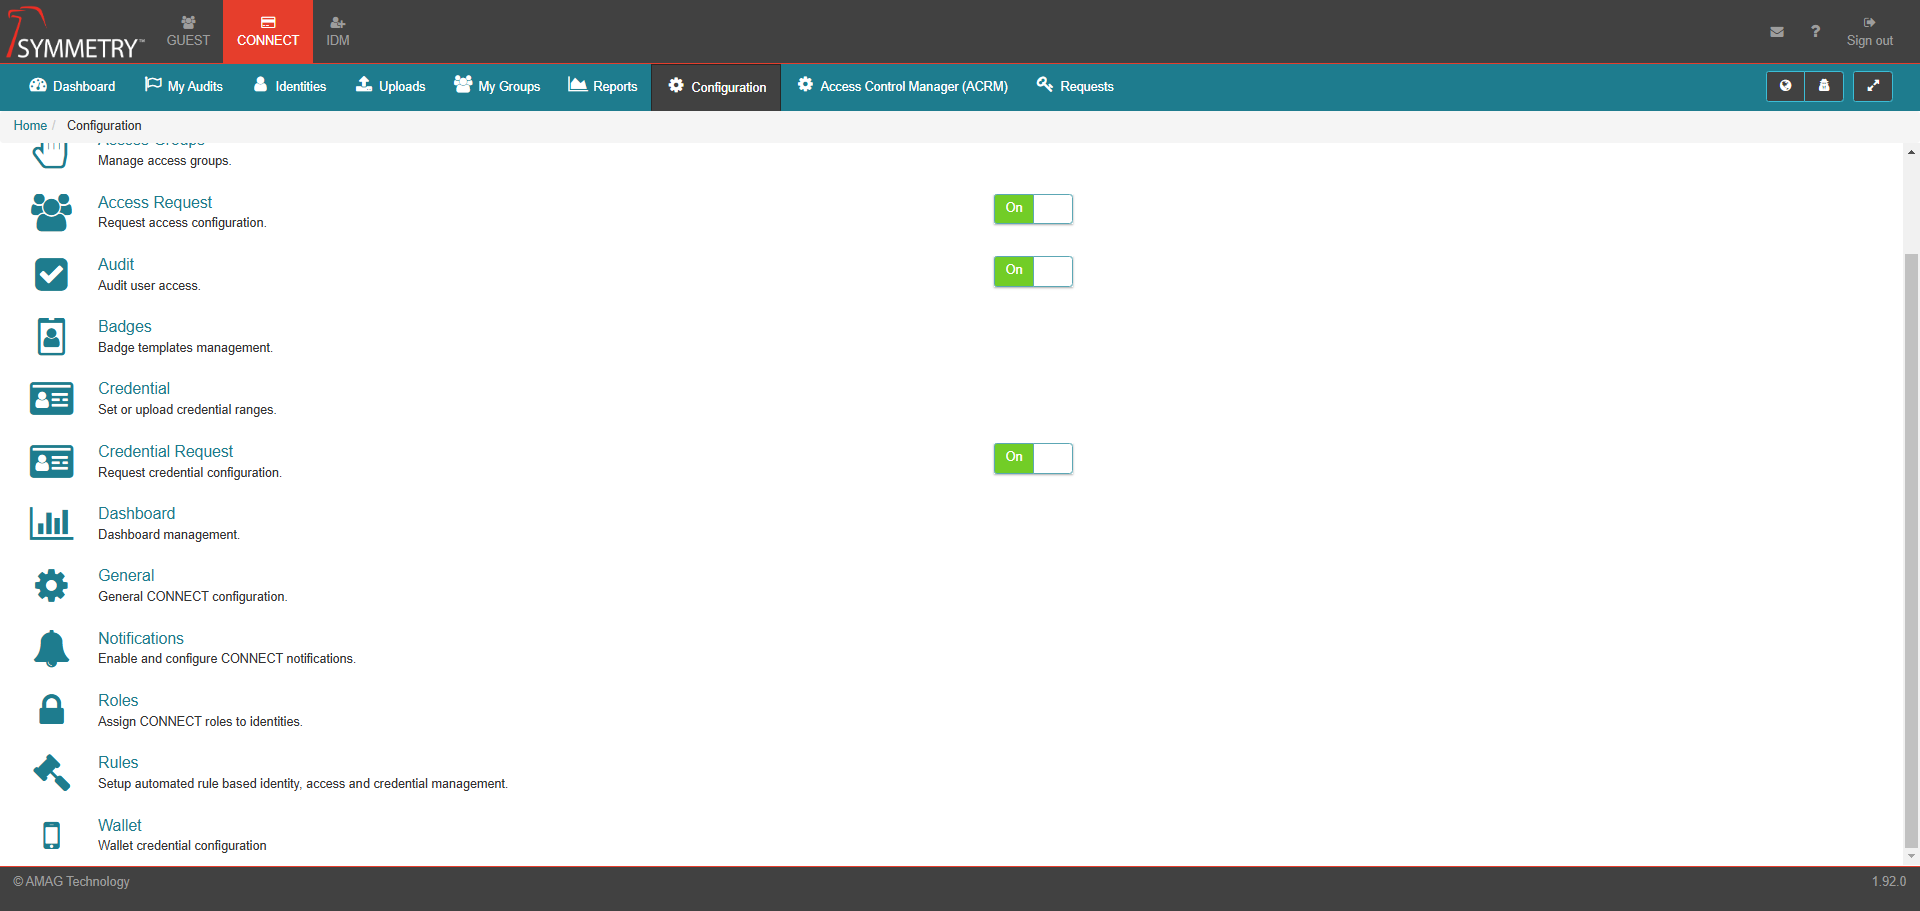
Wallet
Note
Provided your system has been configured for Wallet Credentials. If required, please contact AMAG Technical Support for more details regarding Wallet credentials.
An Administrator can configure the wallet settings and badge templates for Wavelynx and HID-type credentials. These settings and badge configurations will store the NFC credential in both Android and iOS phones as required.
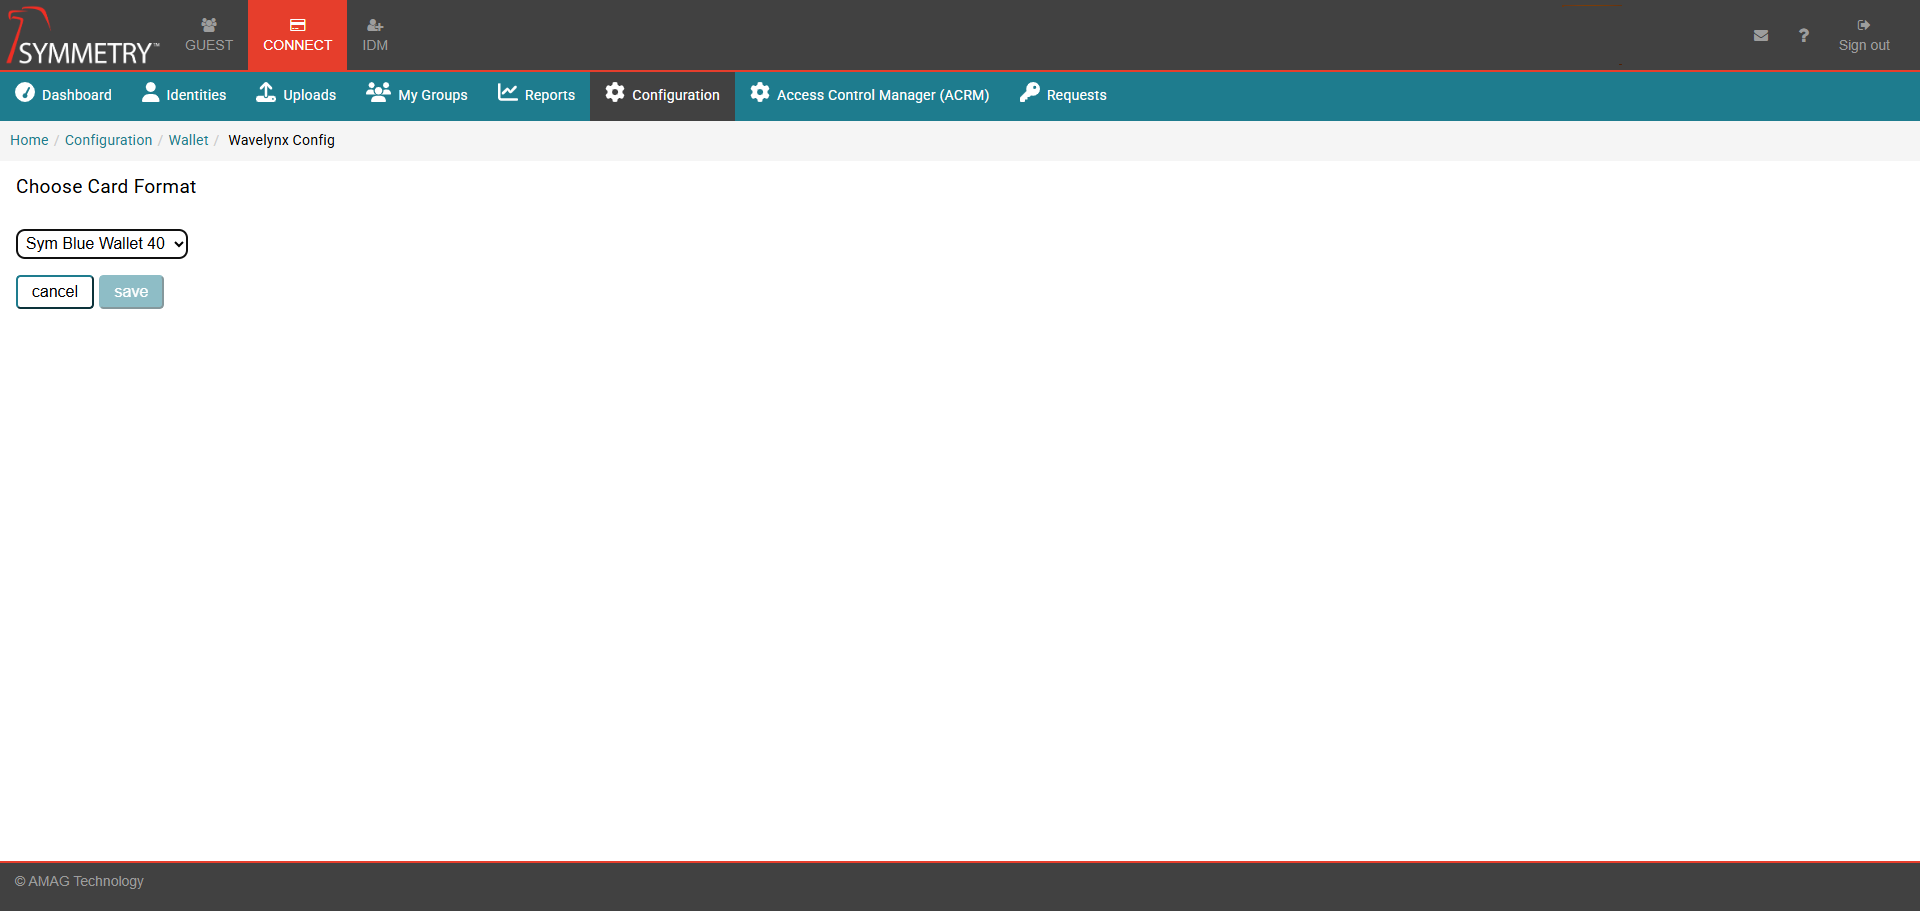
Wavelynx Configuration
Select the card format required from the drop-down box. The options available are:
Sym Blue wallet 40
Sym Blue wallet 57
Wavelynx Badge Design
Clicking the Wavelynx Badge Design option will take the user to the Wallet Templates screen, and from there, they can click the edit icon towards the right of the relevant (iOS or Android) wallet. They can then edit the following by clicking on the relevant field in the Edit Template screen:
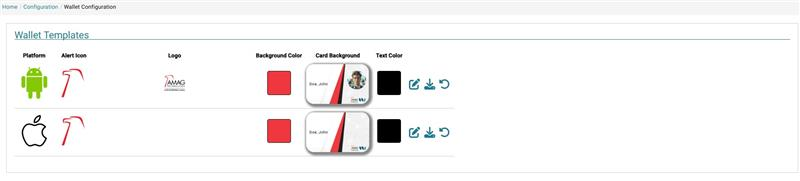
Alert icon: This appears alongside Notifications on your phone, for example, Your card was successfully added.
Logo: The Logo displayed on the Wallet Credential when it is opened on your phone.
Card Background: The Background displayed on the Wallet Credential when it is opened on your phone.
Background Color: The Background Color displayed on the Wallet Credential when it is opened on your phone.
Text Color: The Text Color displayed on the Wallet Credential when it is opened on your phone.
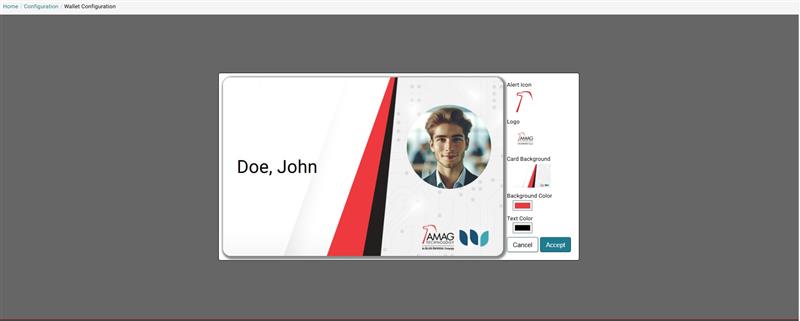
Click the Accept button to save the changes. The user can also download a copy of the template or use the Reset icon to return all configurations to the default style.
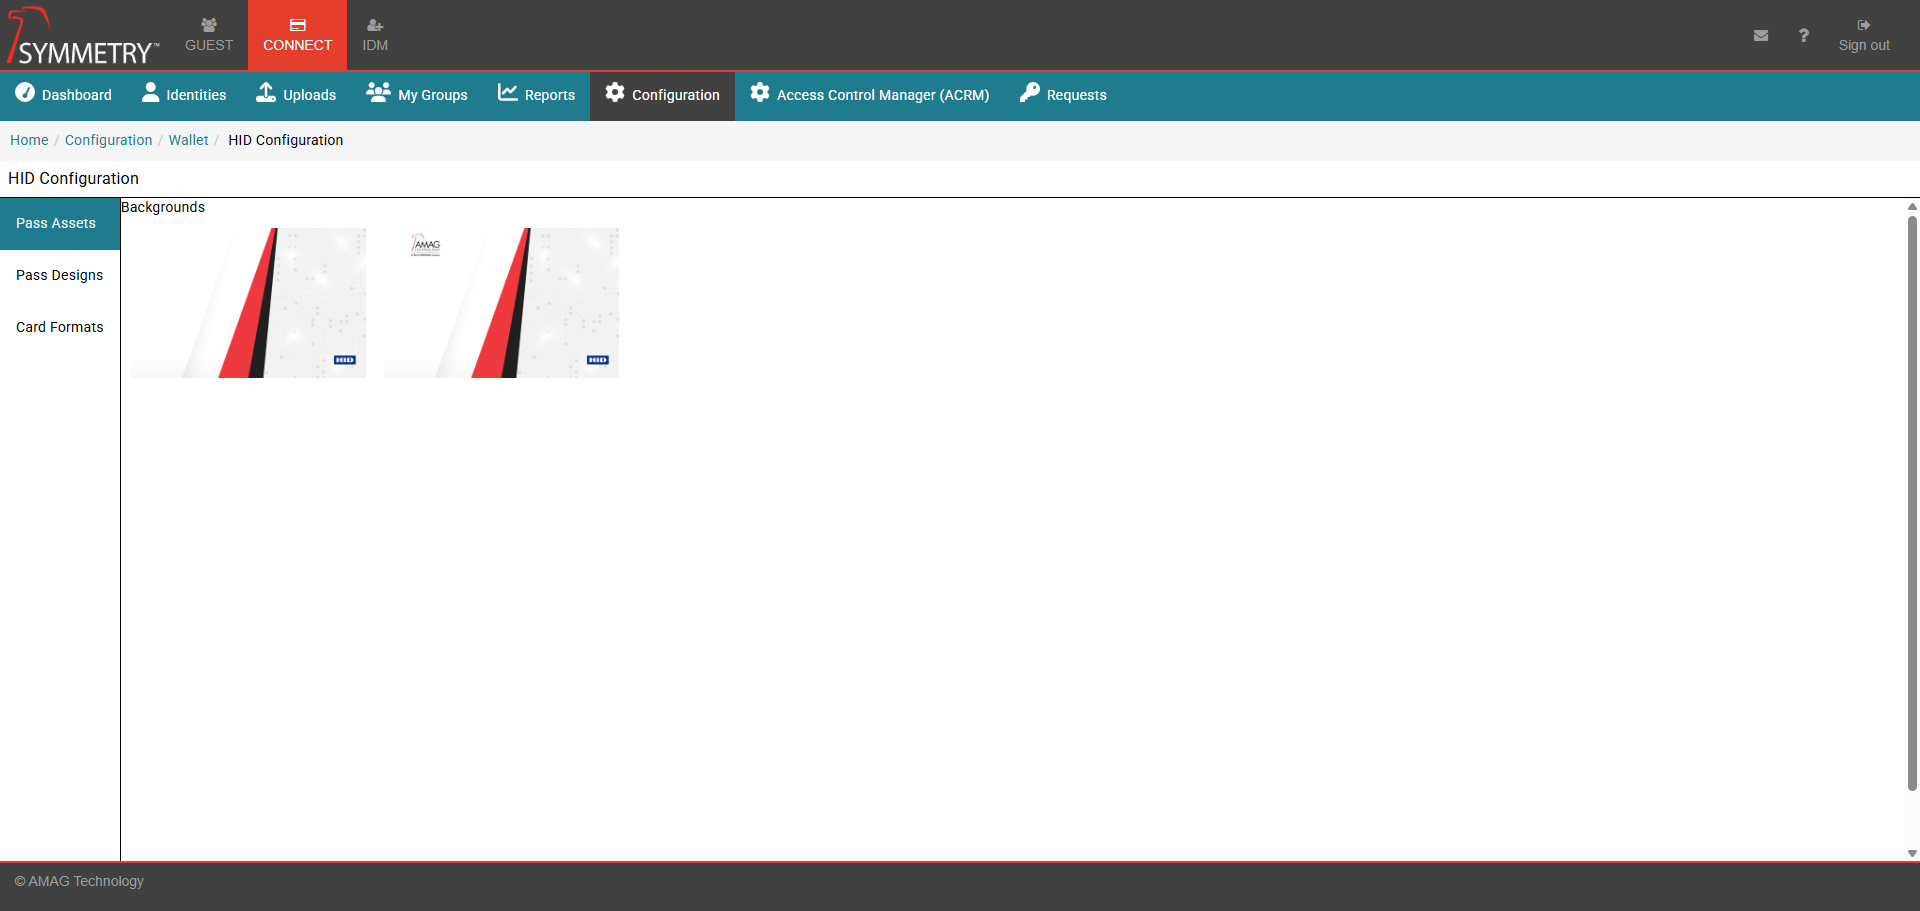
HID Configuration
Clicking the HID Configuration option will take the user to the HID Configuration screen. The user can view any existing HID pass designs, create new pass designs or edit existing pass designs.
A list of the uploaded images that the user has already uploaded and used for an existing pass design. Every time a new image is uploaded and used in the pass design function, it will automatically be added to the Pass Asset section.
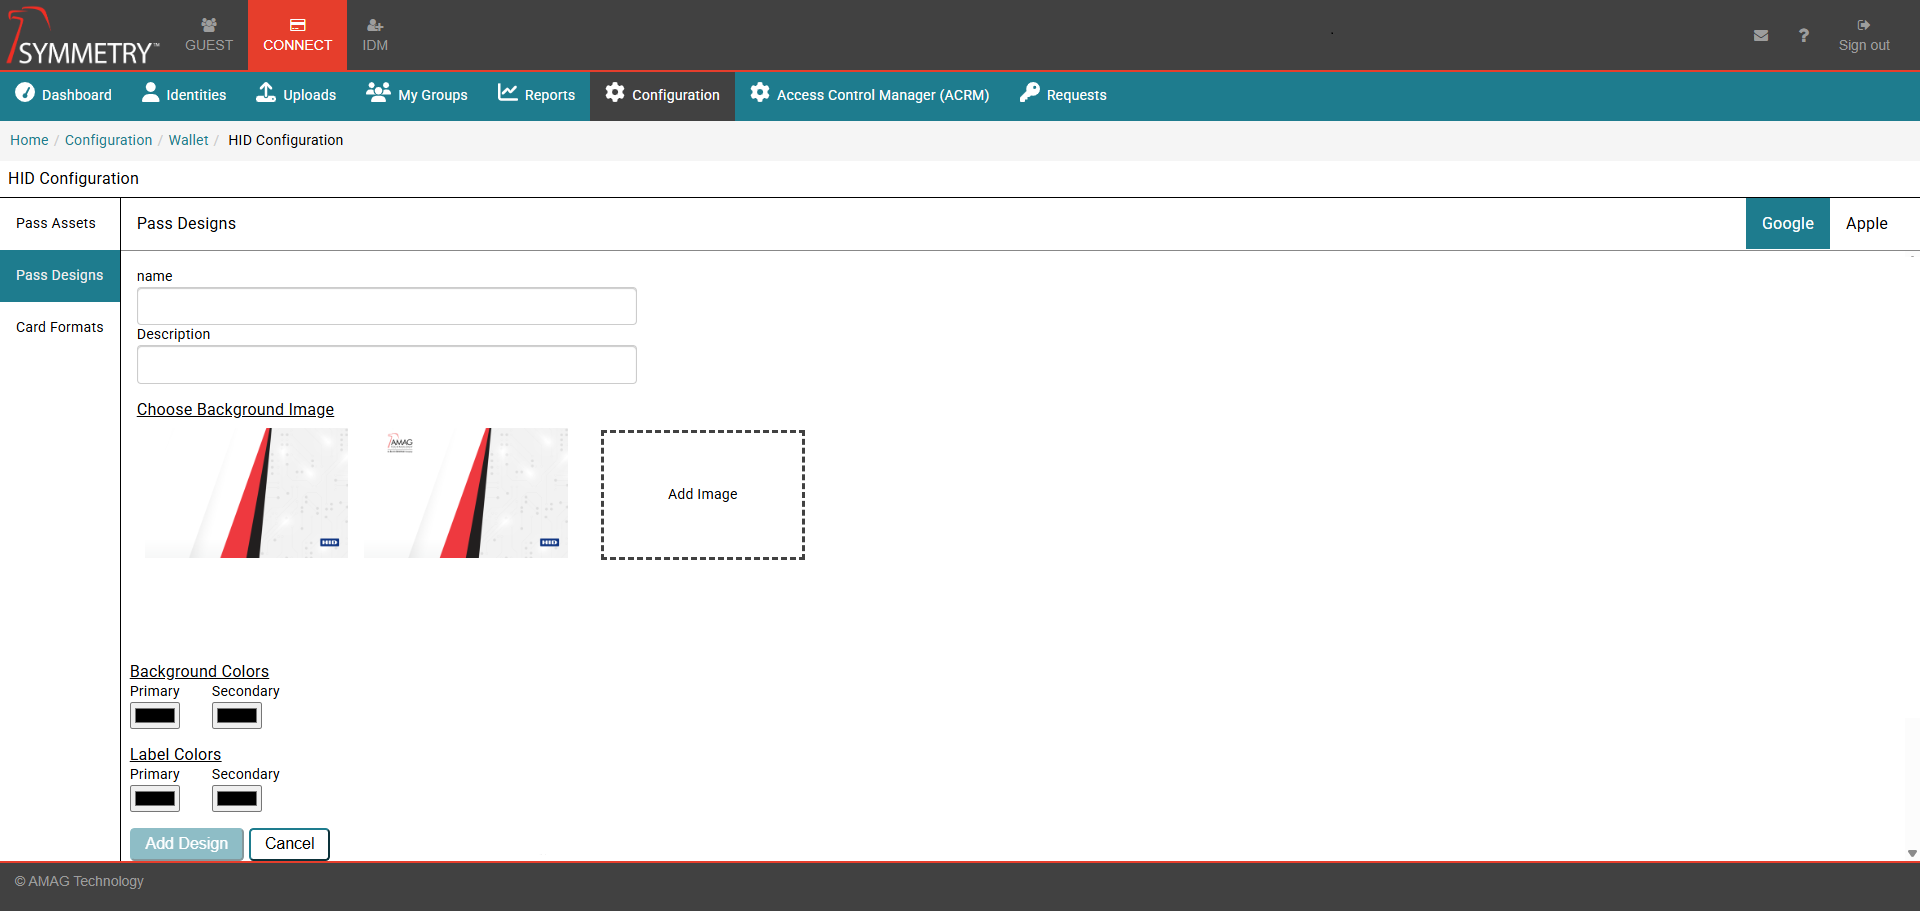
The user can create their own pass designs. This section differs for Apple (iOS) and Google. Select the format required by selecting either the Apple or Google toggle button.
The following process describes the Google option:
Click Add Pass Design to create a new pass design. Clicking on an existing design will allow the user to edit a previously created one. The following steps are similar for both creating a new pass design and editing an existing pass design.
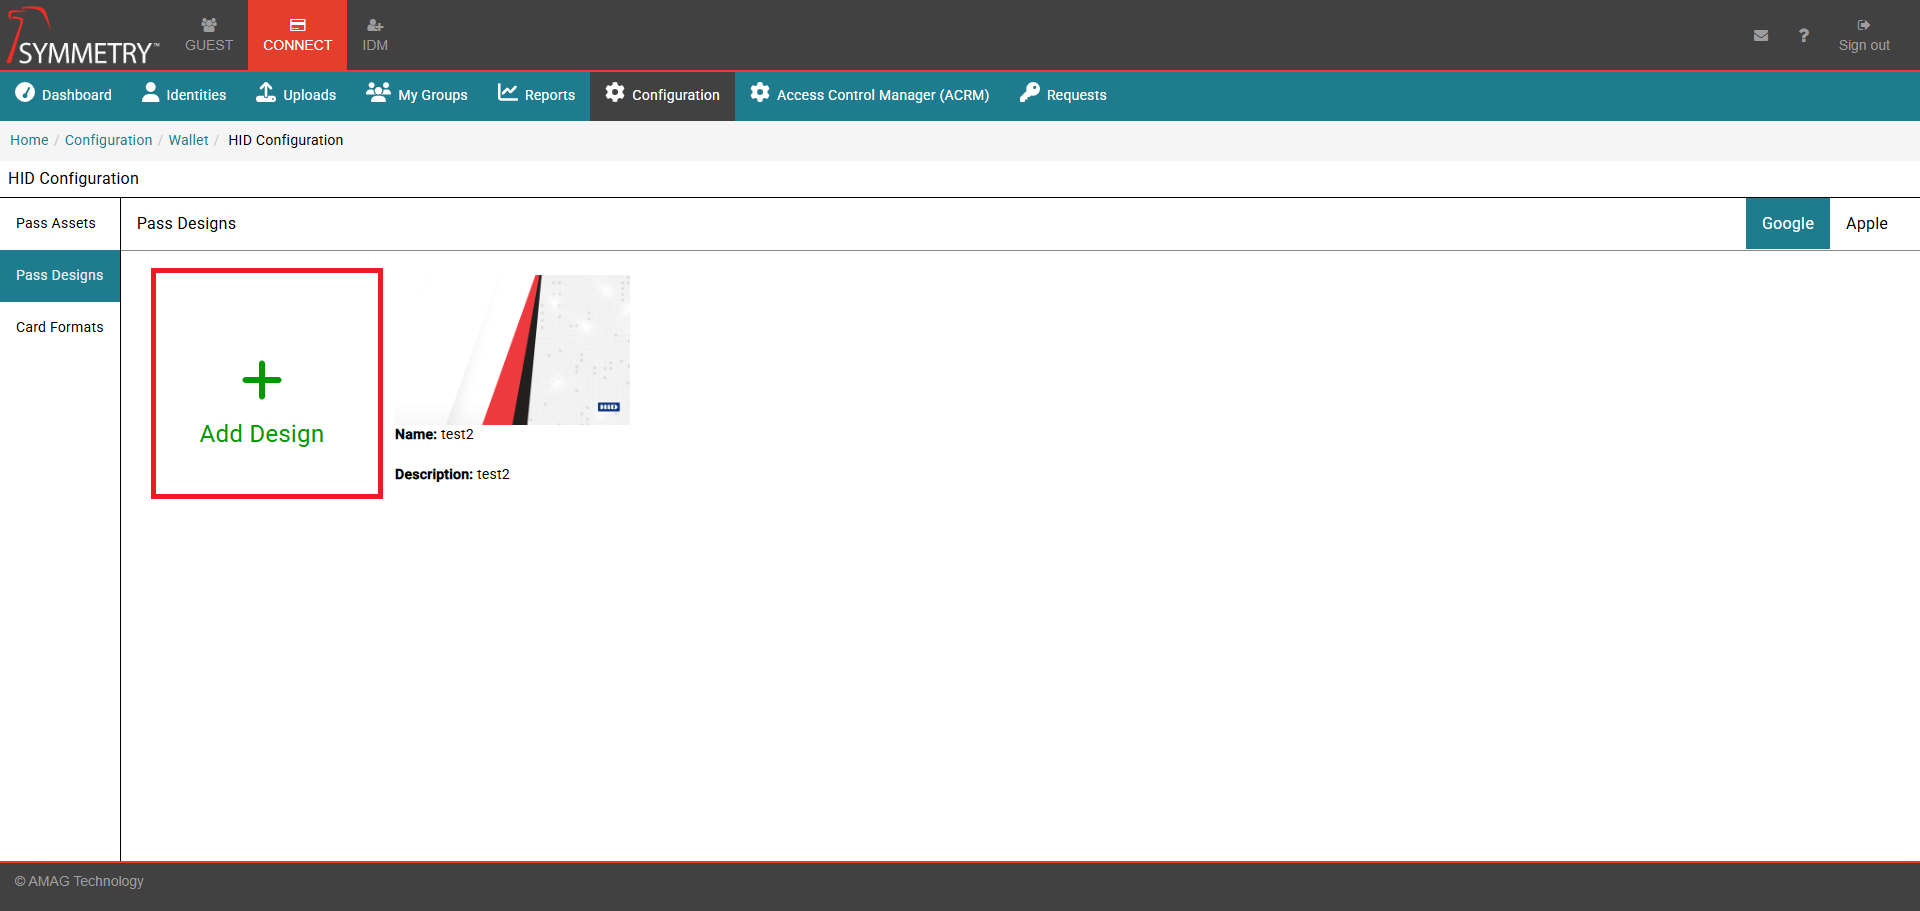
Provide a name and a description for the pass design.
Select a background for the pass design or use the Add Image function to upload a new background.
Select the primary and secondary background colors.
Select the primary and secondary label colors.
Click the Add Design button to add and save the pass design. Click Cancel to exit the pass design page and discard the pass design.
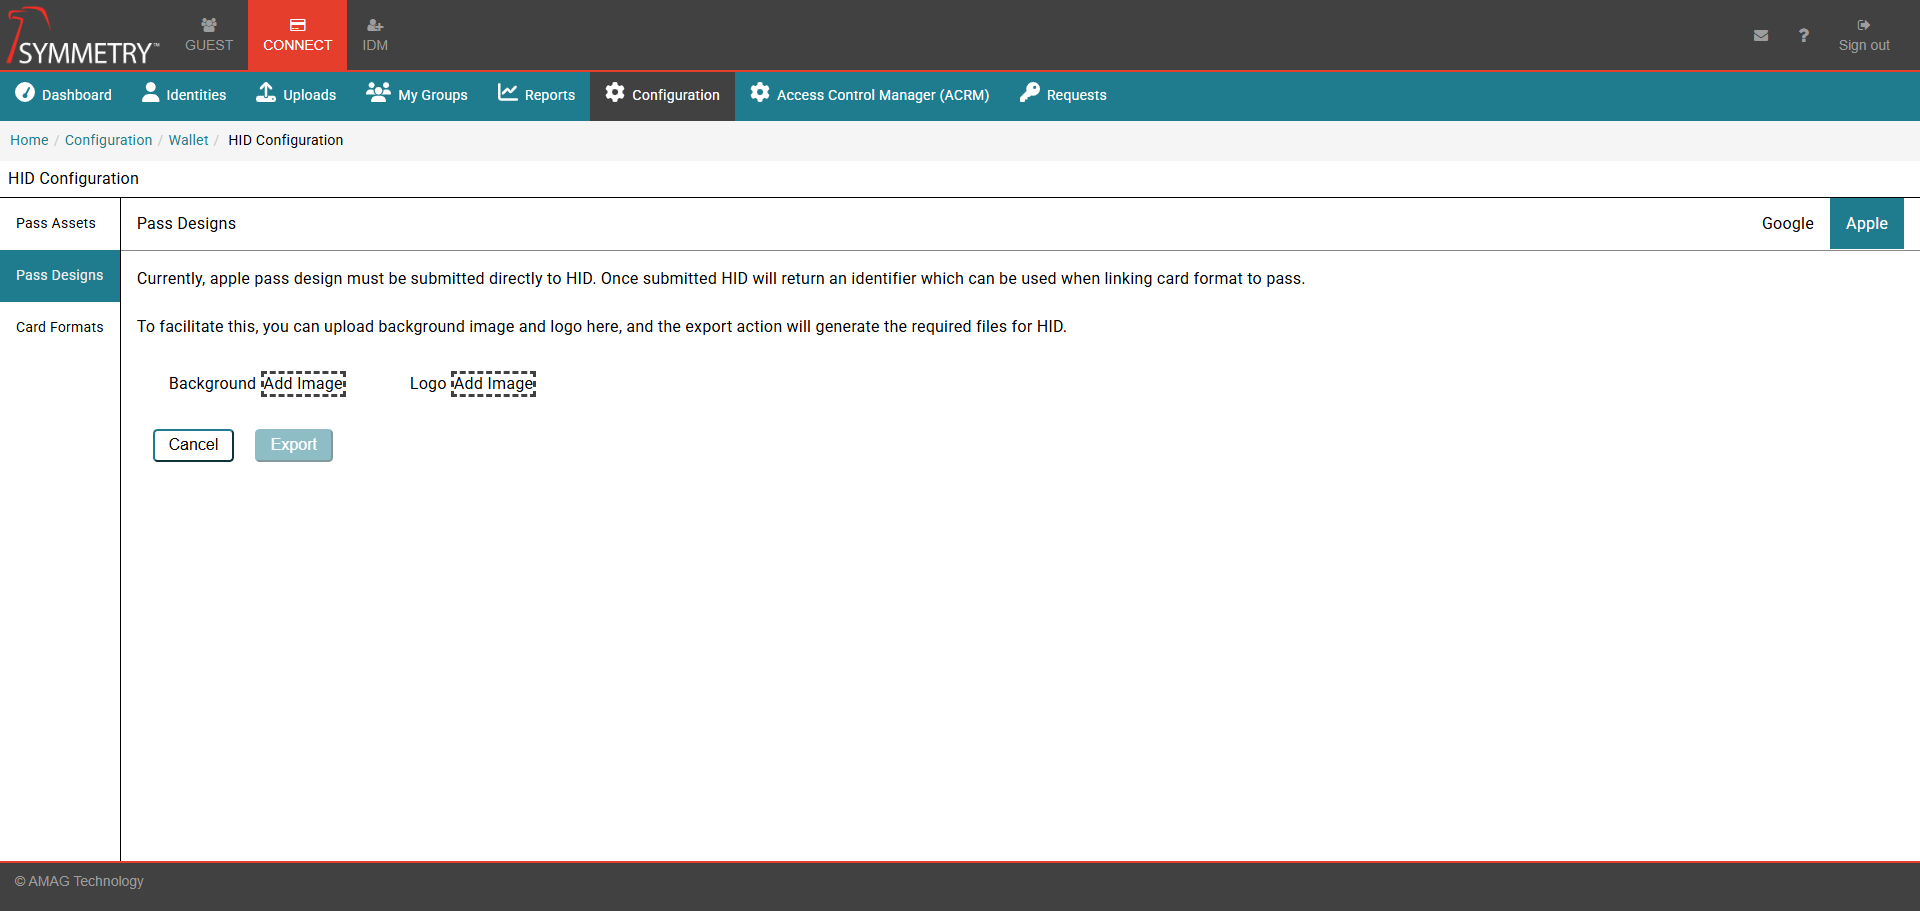
The following process describes the Apple option:
Note
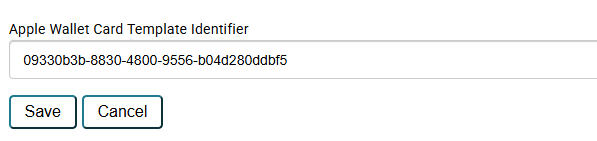
The badge configuration process for Apple requires the badge design to be uploaded and submitted to HID and verified. Once submitted and verified, HID will provide an Apple Wallet Card Template Identifier . This can be entered when prompted in the Card Formats section to apply the badge design to the relevant card format. Please contact AMAG support for further assistance if required.
Click Background and upload the desired pass design background. Click the Accept button to accept and save the selection or click the Cancel button to exit the background selection screen.
Click Logo and upload the desired pass design logo. Click the Accept button to accept and save the selection or click the Cancel button to exit the logo selection screen.
Click the Export button to export the pass design as a suitable file type to be submitted to HID for verification.
Click the Cancel button to exit the pass design screen.
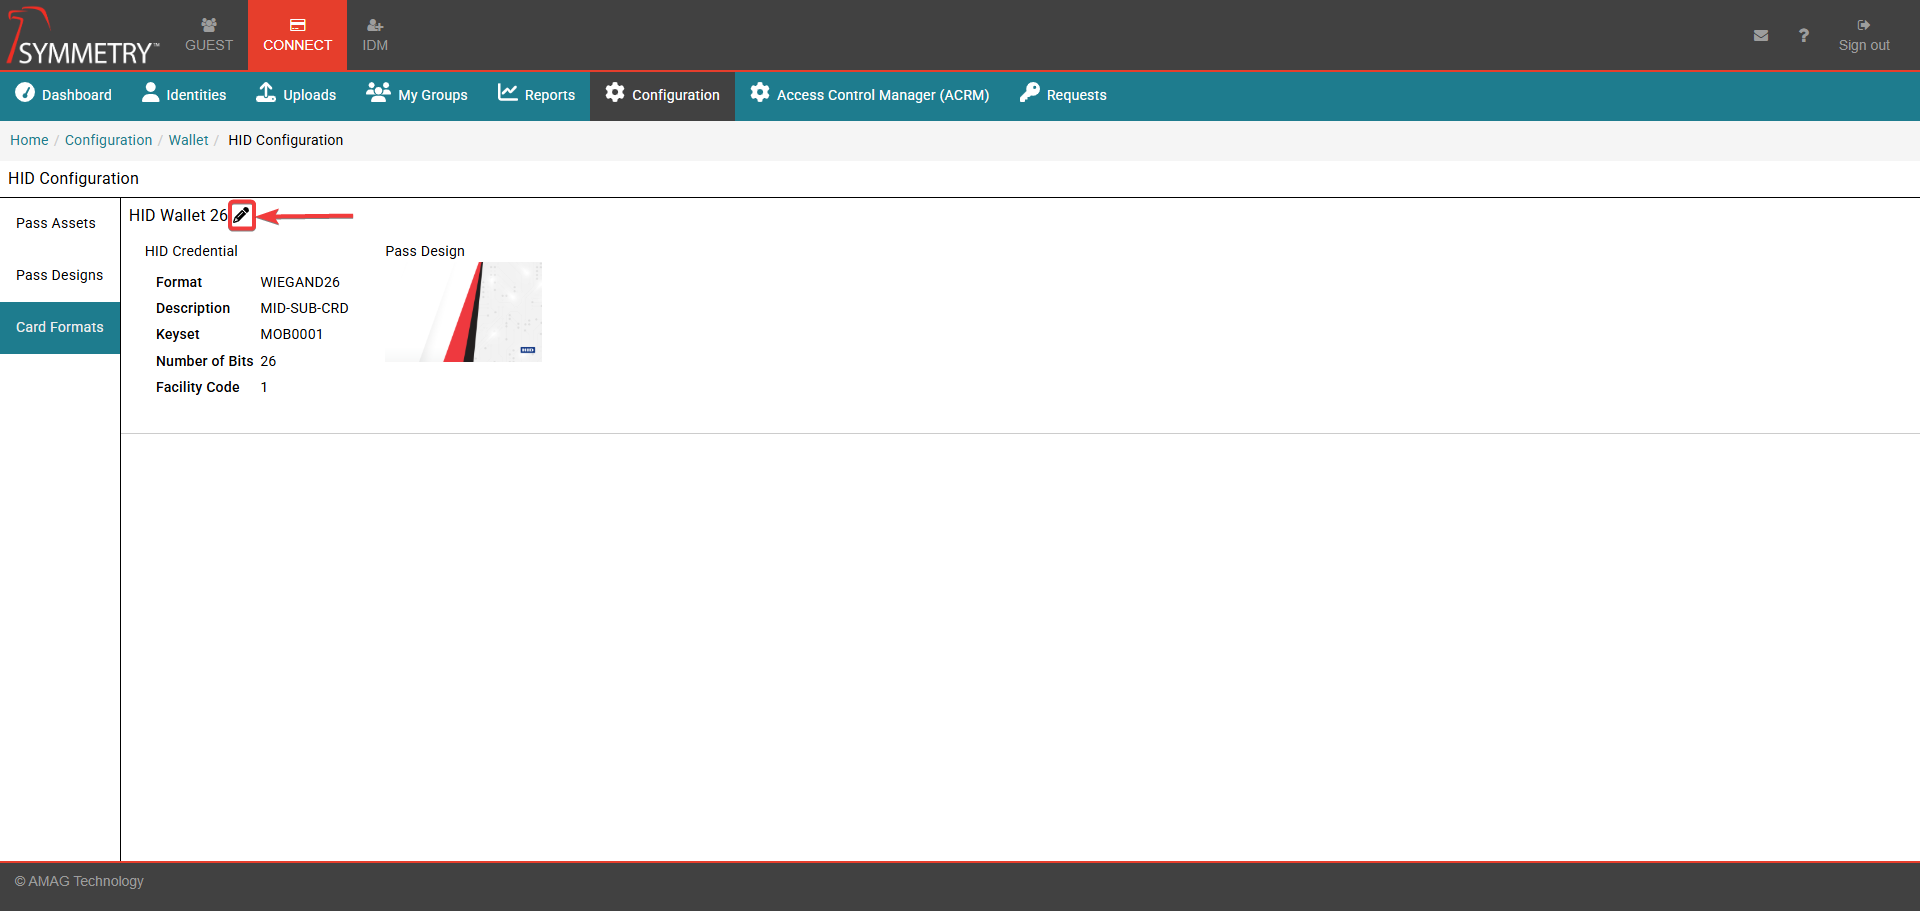
The card format section provides the user with an overview of the card/pass format that has been configured for the system to use, detailing the following information:
The type of wallet format. For example, HID Wallet 26 or SYM Blue Wallet 40
A description of the format
The number of Bits
The Facility Code associated with the pass/card.
Click the Edit icon to enter the Card Format selection screen. This will allow the user to configure the Card Format.
Select the HID credential.
Select the Google Pass Design to apply the design to the Card Format.
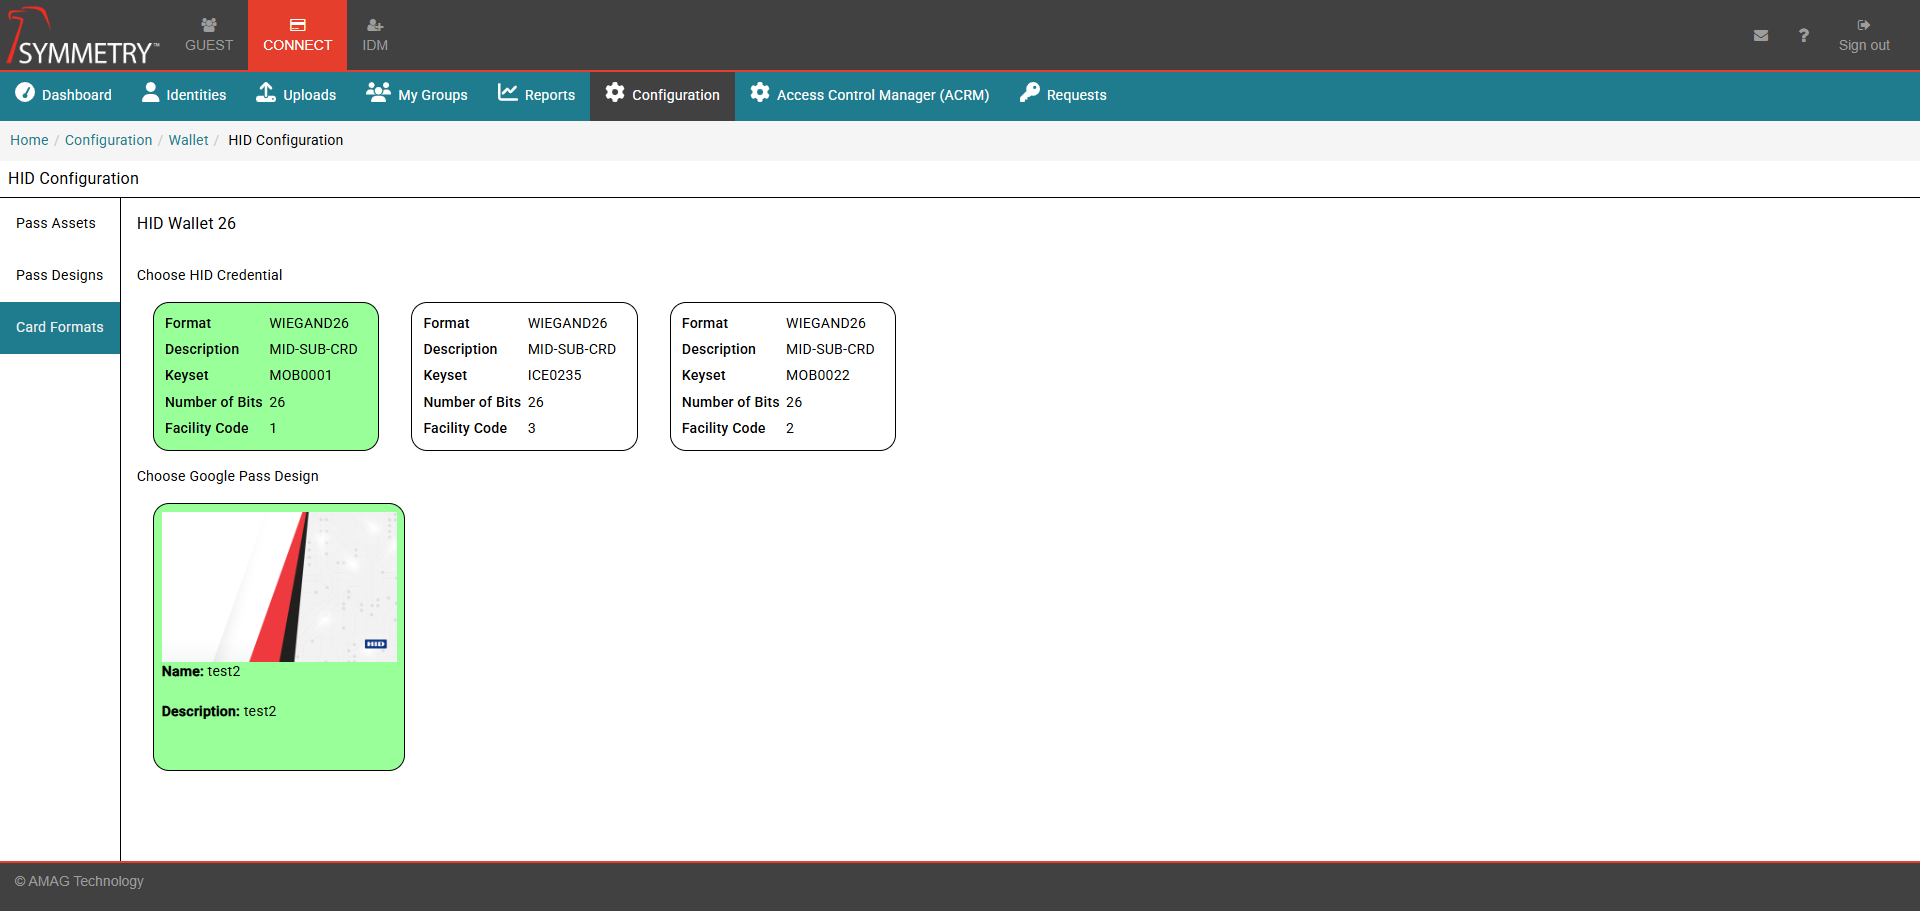
Provide the Apple Wallet Card Template Identifier number to apply the Apple Pass Design to the Card Format.
Click the Save button to save the card format configuration. Click the Cancel button to cancel the configuration and leave the page.
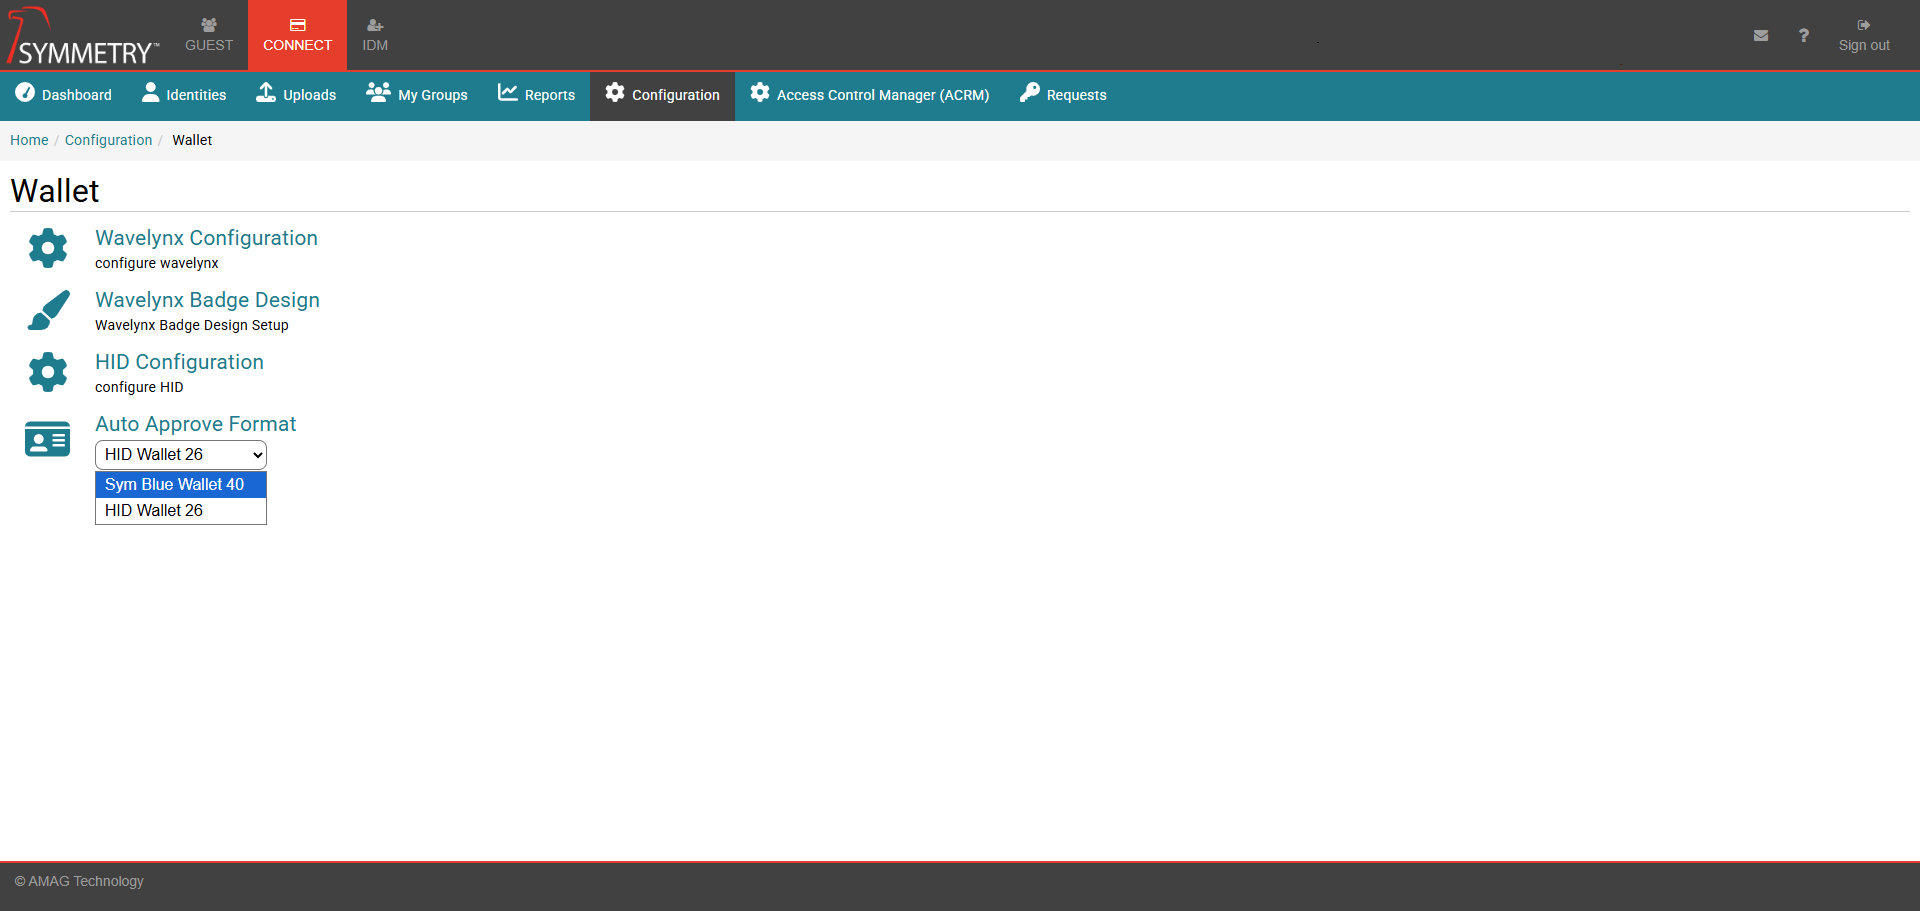
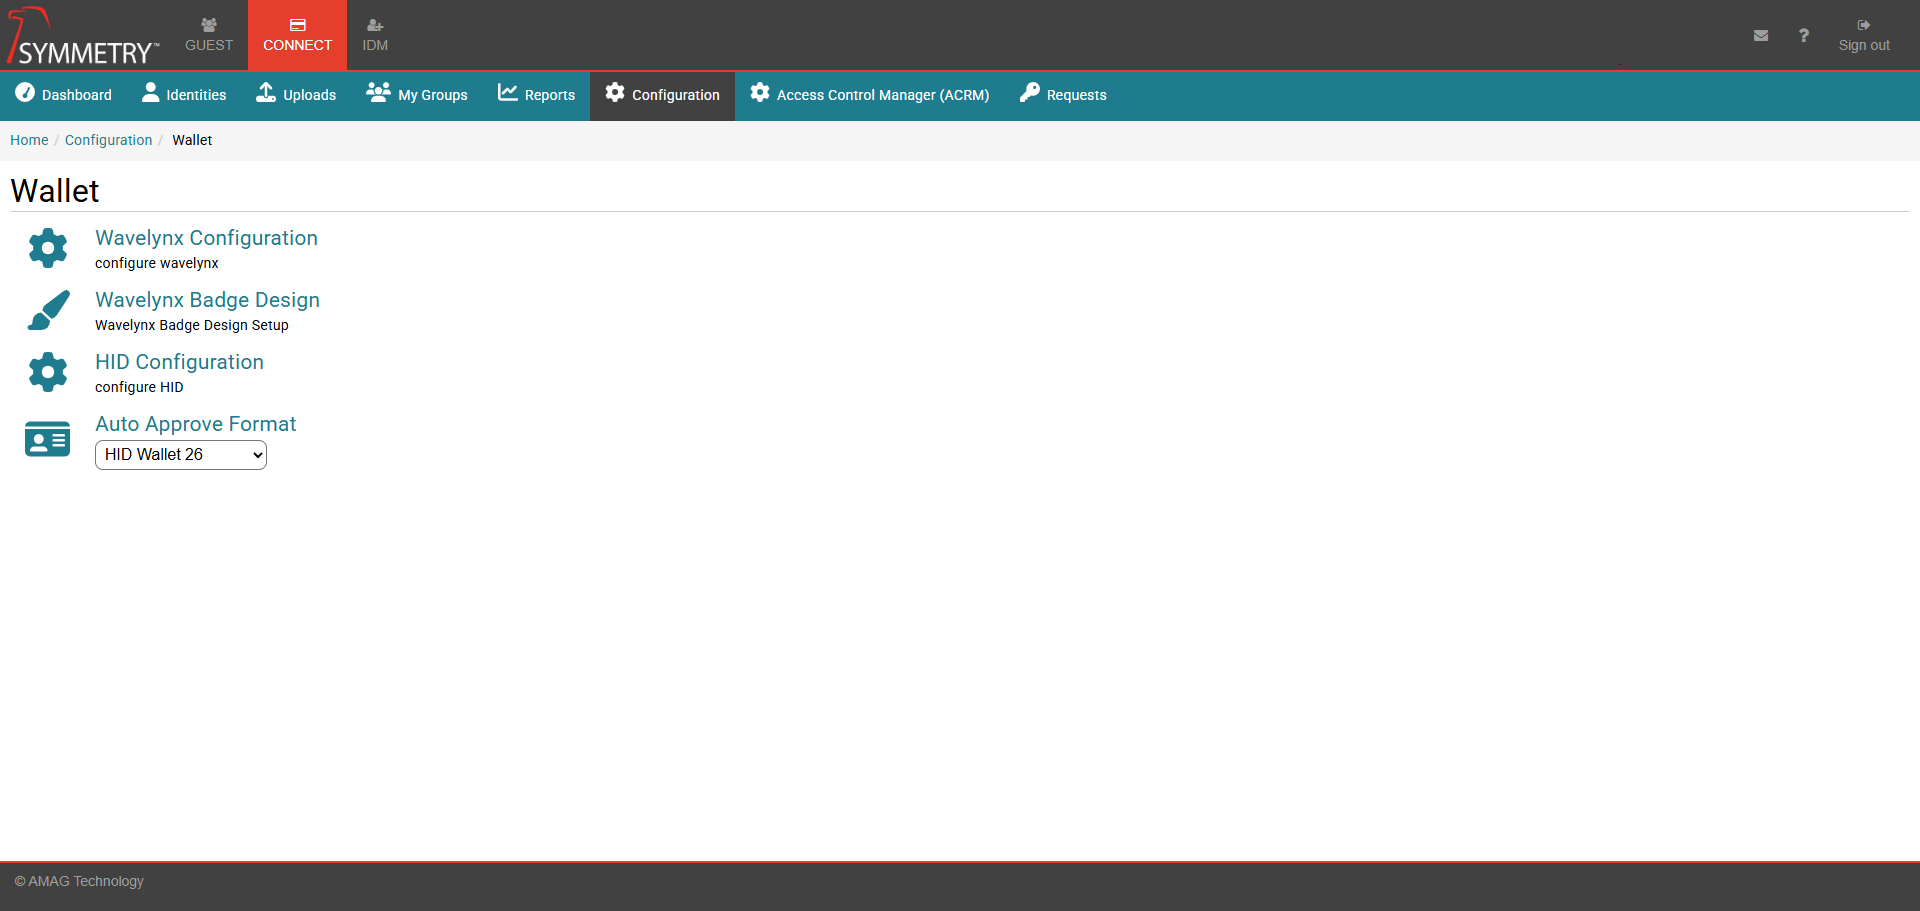
Auto Approve Format
Use the drop-down options to select the format type required for the Auto Approve function.
The selected format type will allow any credential request created for a "Corporate" badge to be approved automatically if the system is set to automatically approve credentials with this desired format type.