Logging into GUEST for the First Time
Note
The GUEST Administration Guide assumes the initial account setup has already been completed. For details regarding the initial account setup, refer to the Initial Account Setup section of this guide.
Adding a New User
Note
If Single Sign On (SSO) is used, the steps below are not required. Please contact your local IT Administrator for SSO login instructions.
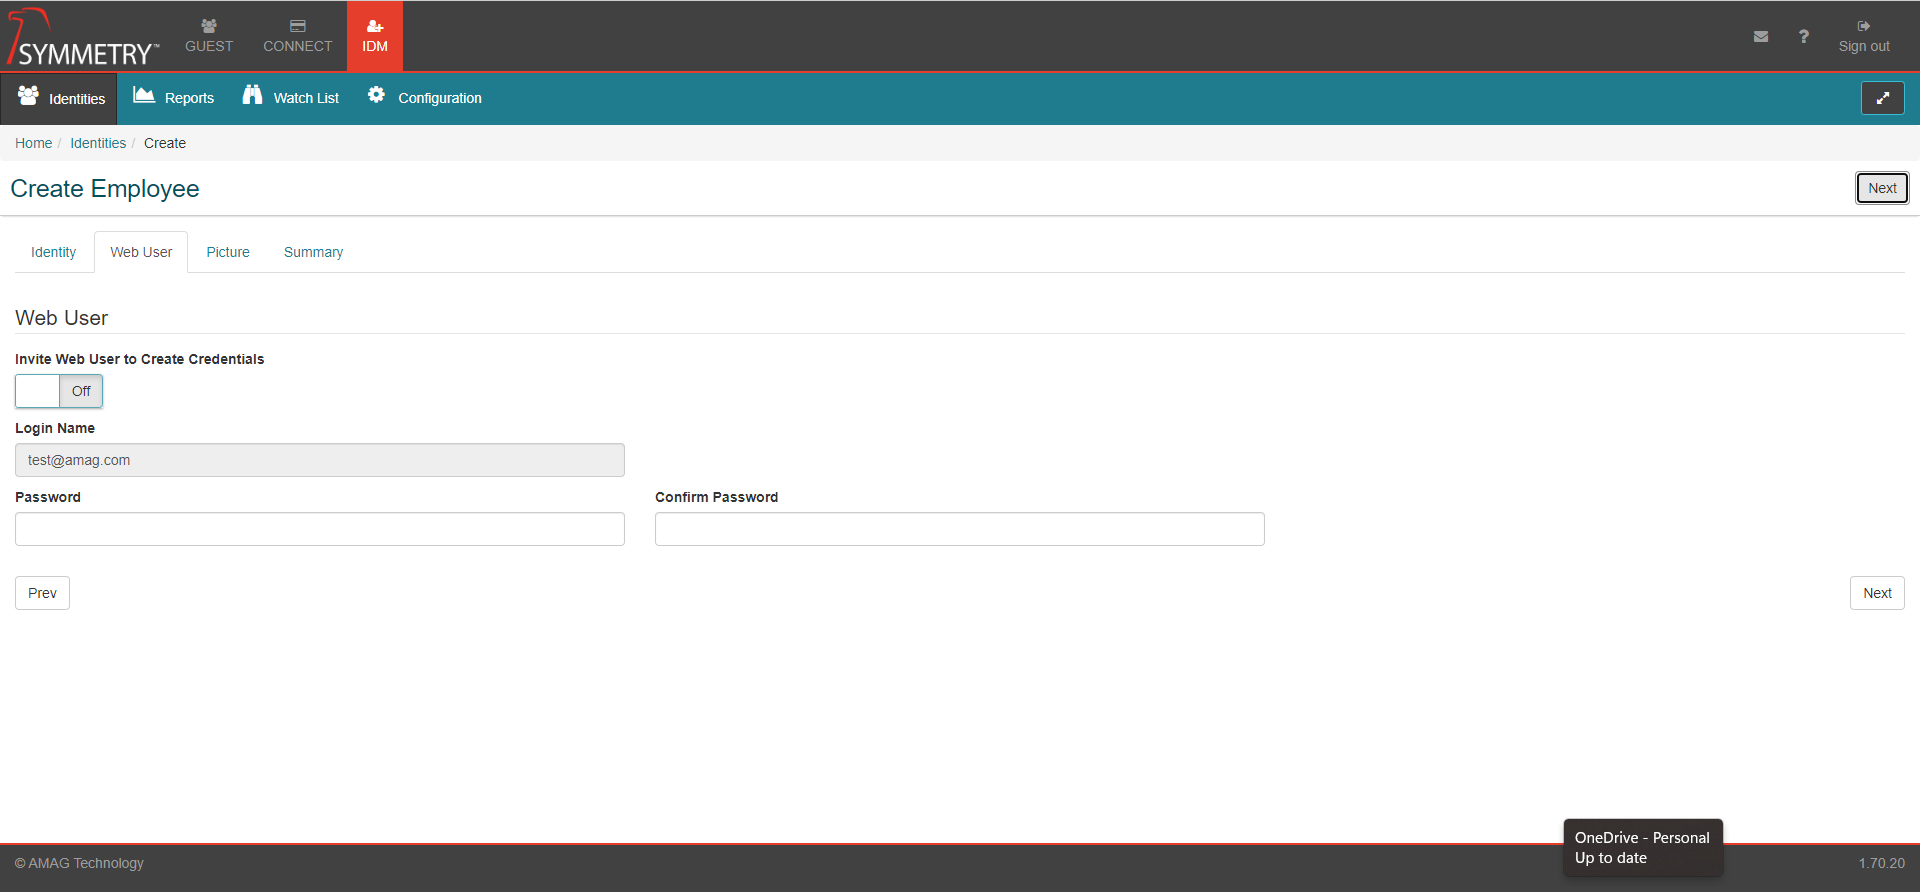
New users/identities are added via IDM. This process is covered in detail in the IDM Administration Guide (Adding Identities into IDM). As a brief overview of this process, a user name and password can be entered manually, or an email can be sent to the user allowing them to create their own user name and password.
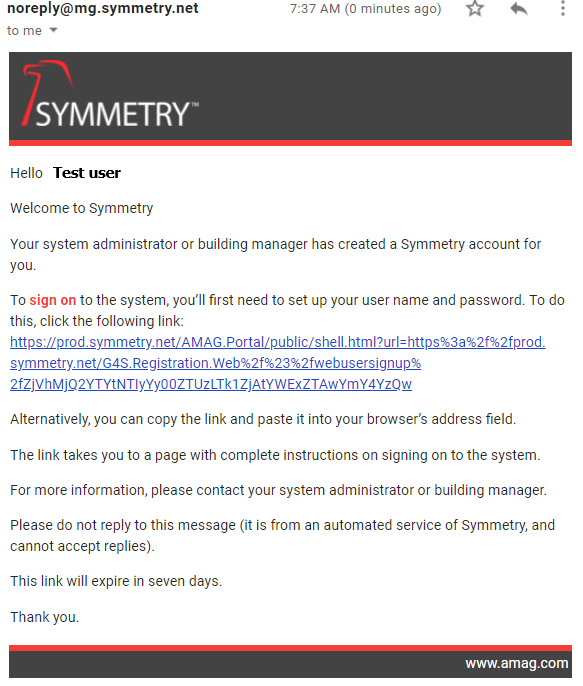
A sample registration email can be seen below. The user can click the link within the email, which then allows the user to register an identity (create a user name and password).
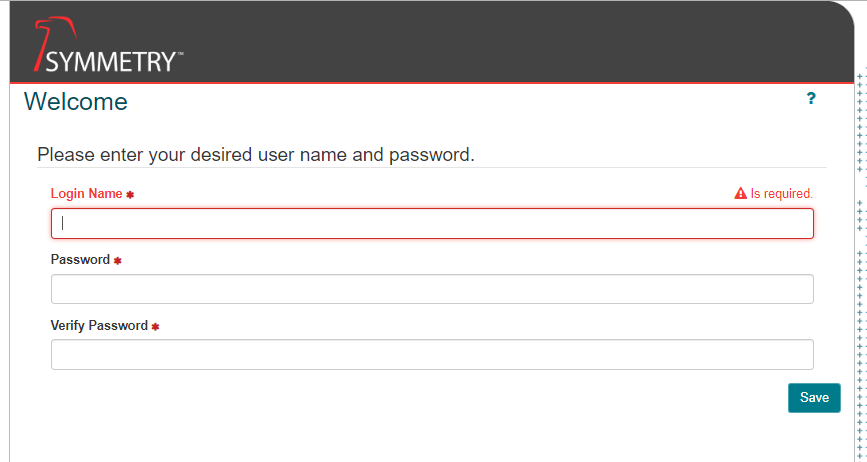
The user is able to register by clicking the link in the email. The user is then required to provide a Login Name and Password. Click the Save button to continue the registration.
GUEST Login Page
To log into the Application, go to https://training.symmetry.net/ (replace “training” with your own specific sub-domain) and enter your username and password.
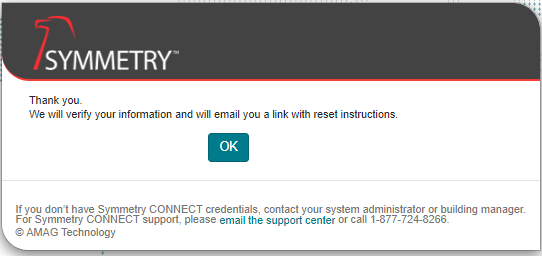
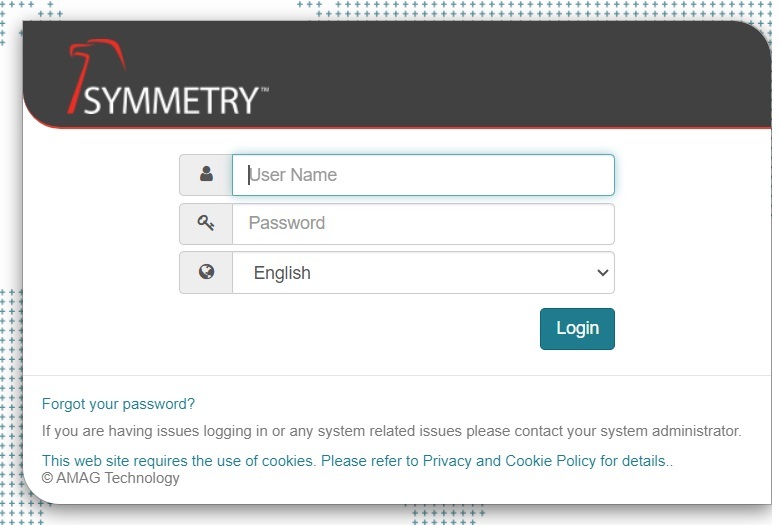
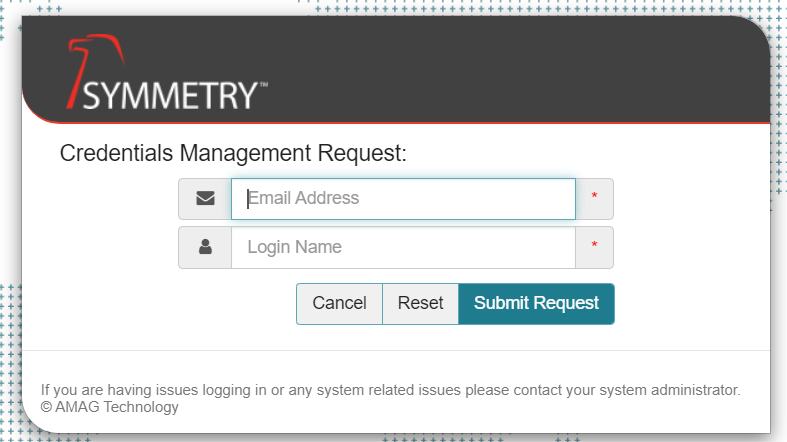
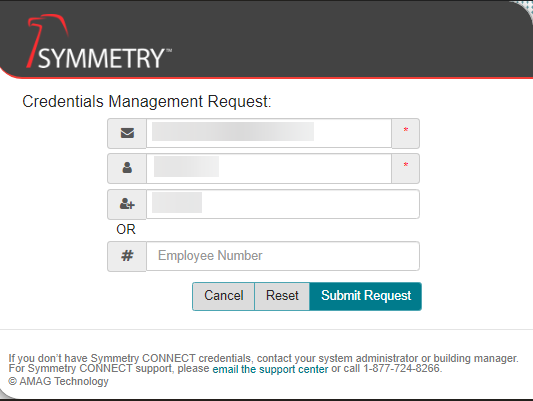
To reset your password, click the Forgot your password? link on the login page and enter the required information.
Note
The images above are dependent on whether or not your system has been configured to Use Email Address As User Name. Refer to the Settings (Group settings) for further information.
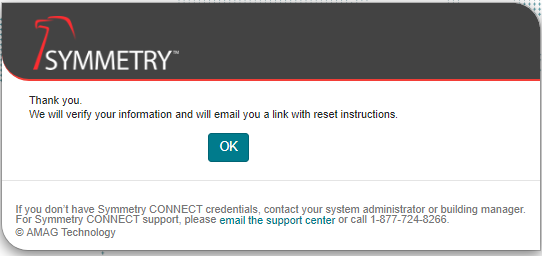
An email is sent to the user with a link that allows them to reset their password.
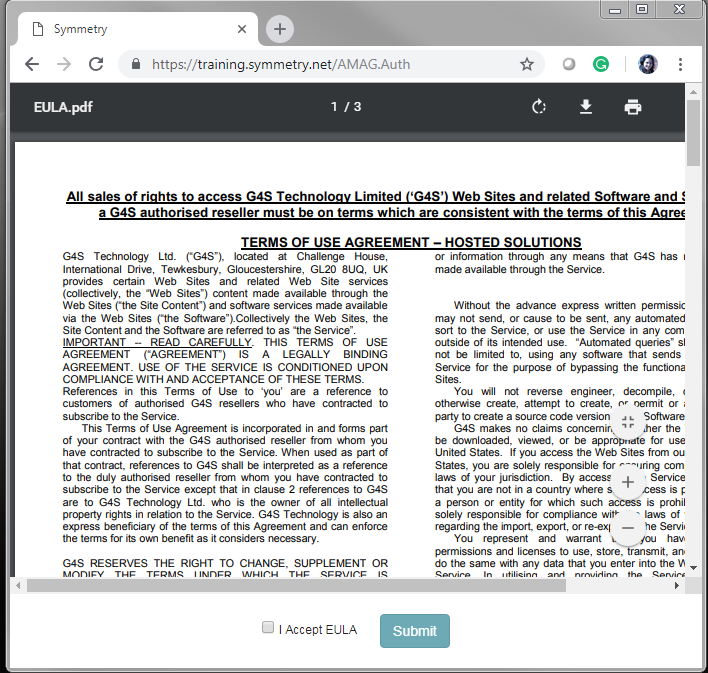
When a user logs in for the first time, they are required to read the terms and conditions of the EULA (End User License Agreement), and then select “I Accept EULA” and click the Submit button.
Warning
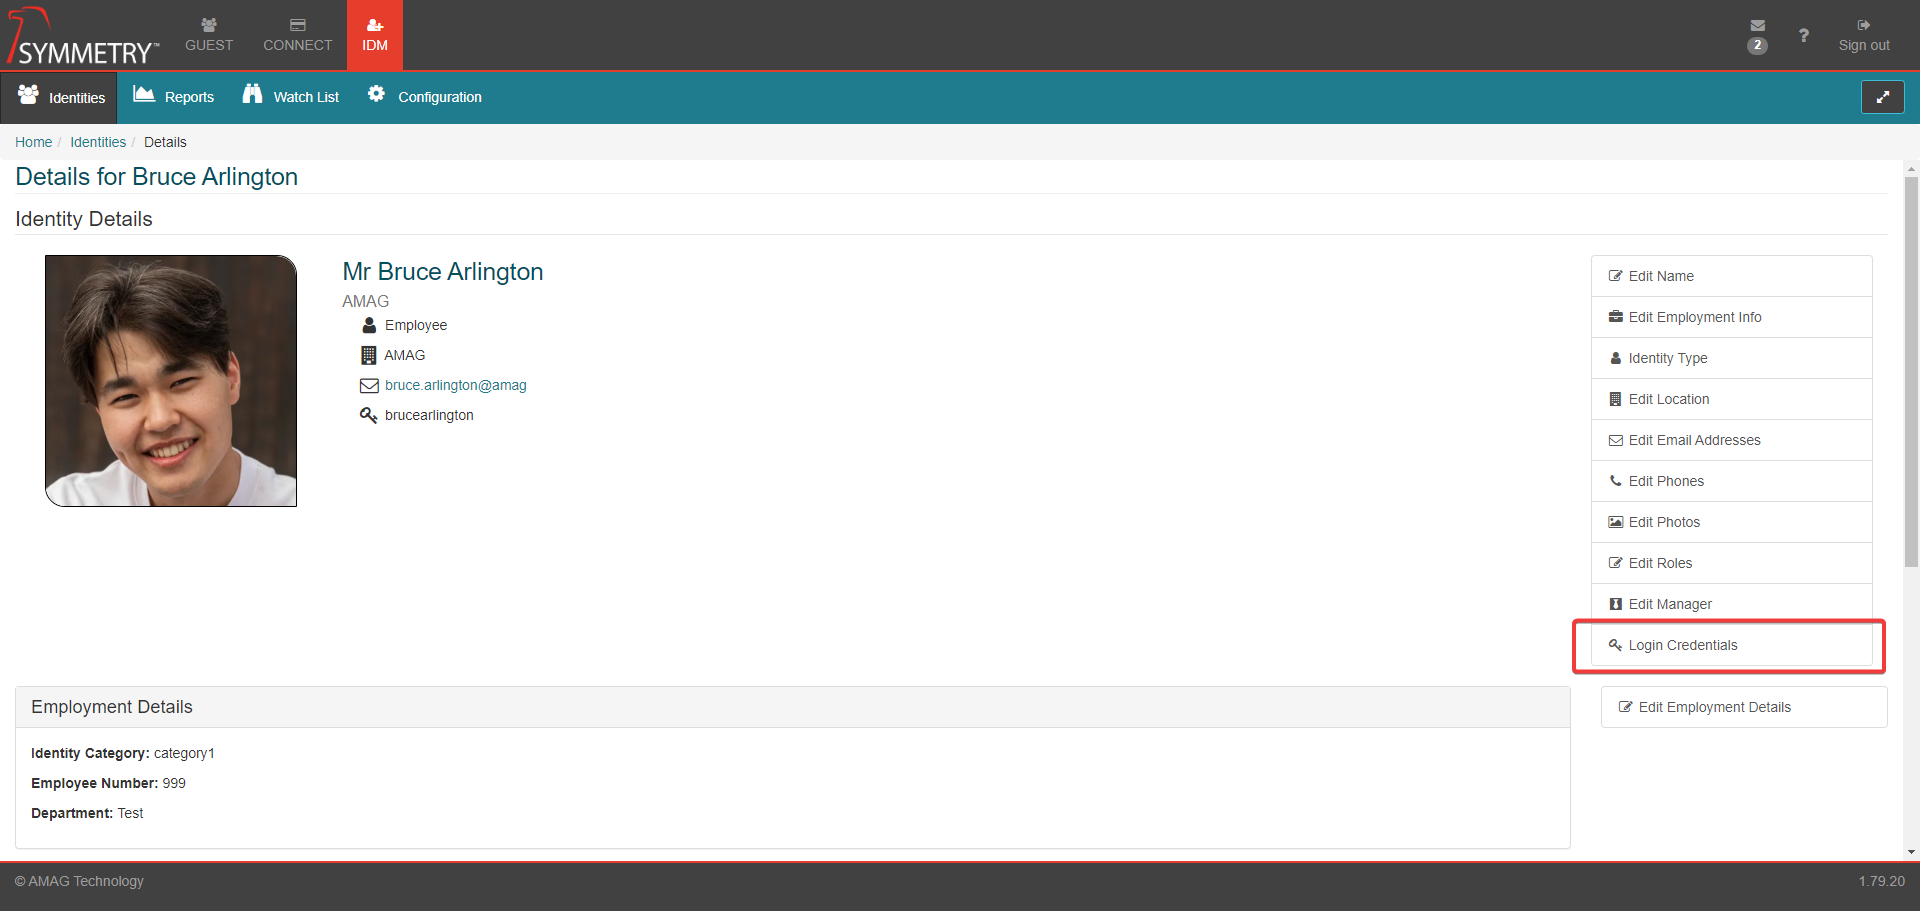
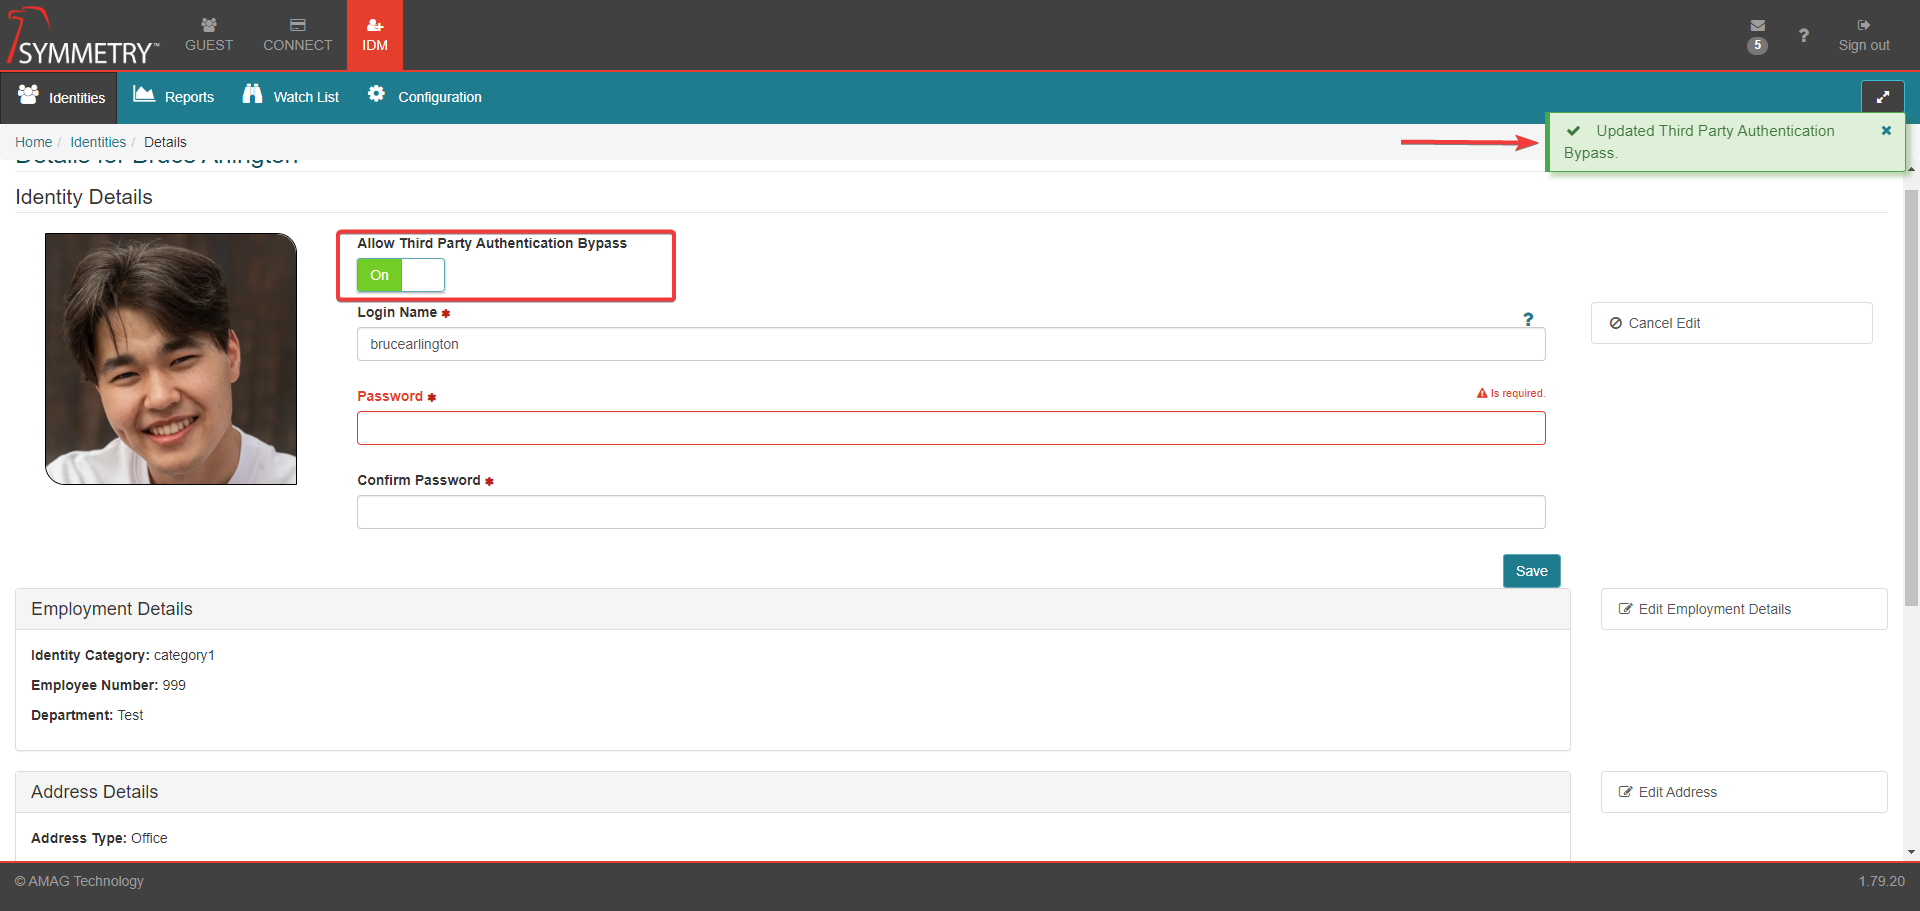
It is strongly recommended setting at least one account to Allow SSO Bypass while configuring SSO to prevent the risk of being locked out of your account. This can be done via the the IDM tab once SSO has been enabled by the following steps:
Select an identity in the Identities tab
Select Login Credentials from the right hand side
Ensure Allow SSO Bypass is set to On
Main Menu
The default launch screen is displayed with the Home ribbon (Menu) bar. The main menu options are GUEST and/or CONNECT and IDM (Identity Management) depending on what services have been enabled during the initial set up by AMAG. The logged-in user is also displayed, along with the message indicator and sign out button, to allow the user to log out of the application.
Note
If GUEST or CONNECT is not enabled for this specific account the specific tab will not be visible.
Clicking on the user name will display the User Profile. The user can amend their preferred language and add / edit their manager delegate. Refer to Assigning a User Role: Line Manager and Manager Delegate section for further information.
Clicking on the messages icon will display any recent configuration changes.
Clicking on the ? icon will take the user to the SYMMETRY CONNECT / GUEST / IDM ONLINE HELP document.

Note
Menu options for each user are limited based on the user role assigned to them. Only a system administrator can see all the menus and submenus.
Menu | Description |
|---|---|
IDM | Submenus within the IDM tab enable a system administrator to add and manage users, as well as configure certain aspects of the application including adding Companies and Buildings to the system. Please consult the IDM Administration Guide for more detail. |
Guest | Submenus on the GUEST tab include visitor registration, check-in and check-out. Extensive configuration of all facets of the visitor management life cycle are available under the Configuration submenu on the GUEST tab. |
GUEST Ribbon Sub-Menus

Menu | Description |
|---|---|
Dashboard | The dashboard displays the daily and hourly expected visits, list of My Visits and Favorite Visitors as well as the quick link to saved reports. The Information sub-section provides the instructions to setup Outlook or Gmail Calendar Integration, Print utility, Scan utility and - provided the options are switched ON in Configuration - the Guard Assist Portal and the Self-Registration Kiosk. Only users holding GUEST Admin and/or Receptionist roles can see the Dashboard. |
My Visits | Only available to Host or Host Delegate users. They can see a list of their own visits filtered by date range. They can also search for visitors they have marked as favorites and for Delegates they want to assign as Host Delegates for them. They can also access the New Visit page from this tab. |
Reception | Only available to users with Reception role. They can check-in and check-out visitors and can also access the 'New Visit' page. |
Visit Approval | Only available to GUEST Admin users and any IDM or GUEST users that are included in a Visit Approval Workflow. Provided Visit Approval in GUEST > Configuration has been switched ON, users with approval rights will be able to approve/deny visits on the Visit Approval page. |
Reports | Only available to users who hold the GUEST Admin and / or Report Viewer Roles. Users with reporting privileges are able to run various reports related to different aspects of the visitor management life cycle. |
New Visit | Only available to Host, Host Delegate and Reception users and provided Show New Visit tab in Configuration > System is ticked. If Show New Visit tab is not ticked then this tab is still accessible via My Visits. Visitors are registered ahead of their visit by the relevant “Host” user on the New Visit tab. This tab is also used by Reception users to register walk-in visitors upon arrival. |
Configuration | Configuration of the entire visitor management life cycle occurs on the Configuration tab. Only users who hold the GUEST Admin role have access to this tab. |
 | QR Code Scanner: Indicates a QR Code (barcode) scanner is configured for use with GUEST. QR Codes are typically included in the visitor registration email and can be scanned to locate the visitor record. |
 | ID Scanner: Indicates that an ID Scanner (e.g. Driver’s License) is configured and connected to the local workstation. A visitor’s ID can be scanned to locate the visitor record, or to register the visitor without having to type their name. |
 | ID Scanner Not Found: Indicates that an ID Scanner has not been found on the local workstation. |
 | Identity Search: Global Identity search field. |
 | Full Screen: Allows the user to toggle between standard and full-screen mode. |
Note
GUEST menu options are only available to user accounts that have the relevant user role associated with them.