Setting up Audits
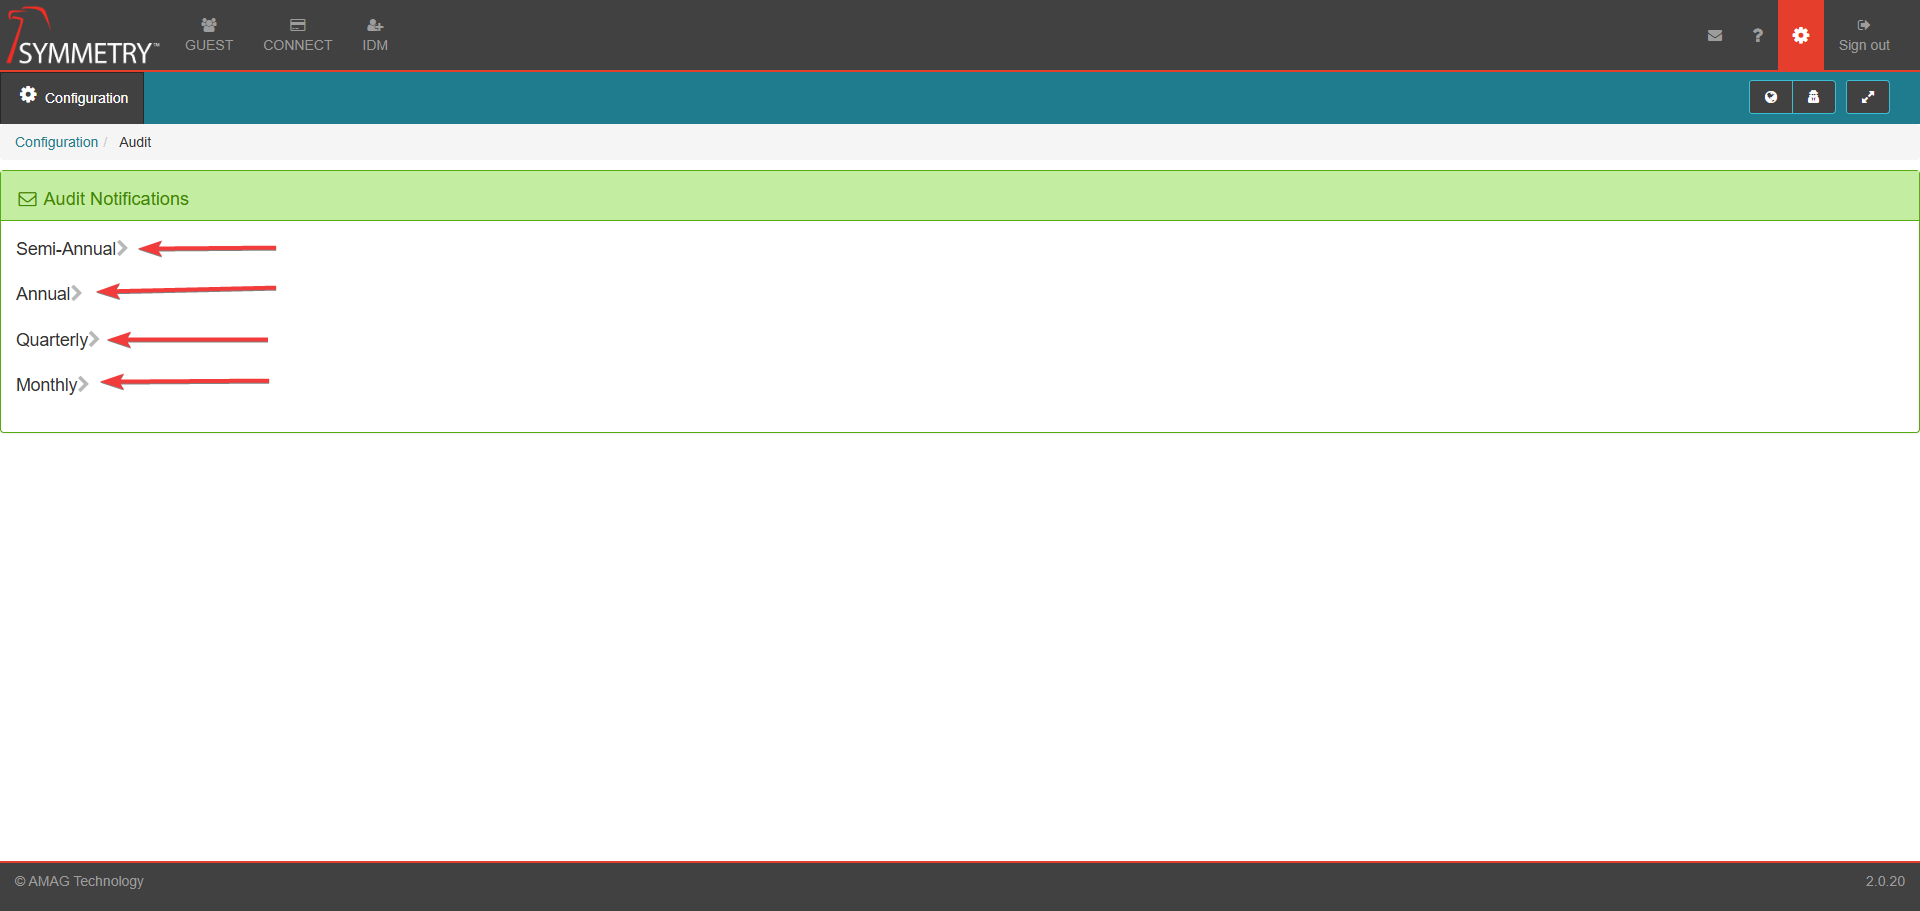
CONNECT allows organization to set up audits by access group on a Annual, Semi-Annual, Quarterly, or Monthly basis. If an access group does not need to be audited, then it can be excluded as well. Audits are used to ensure that the identities/users with access should have access. Unless it was previously transferred, the ACRM (Access Control Manager) or ACR (Access Controller) that approved/assigned the access will be responsible for the audit.
Default Audit Frequency
The default audit frequency is set via the Configuration > System Settings > Notifications > Audits page. It defines the audit frequency that will be assigned to any new access group brought up from the access control system.
Note
Set this value before Access Groups are initially brought up from the access control system to prevent having to update the access groups later.
Exclude Access Groups from Audits
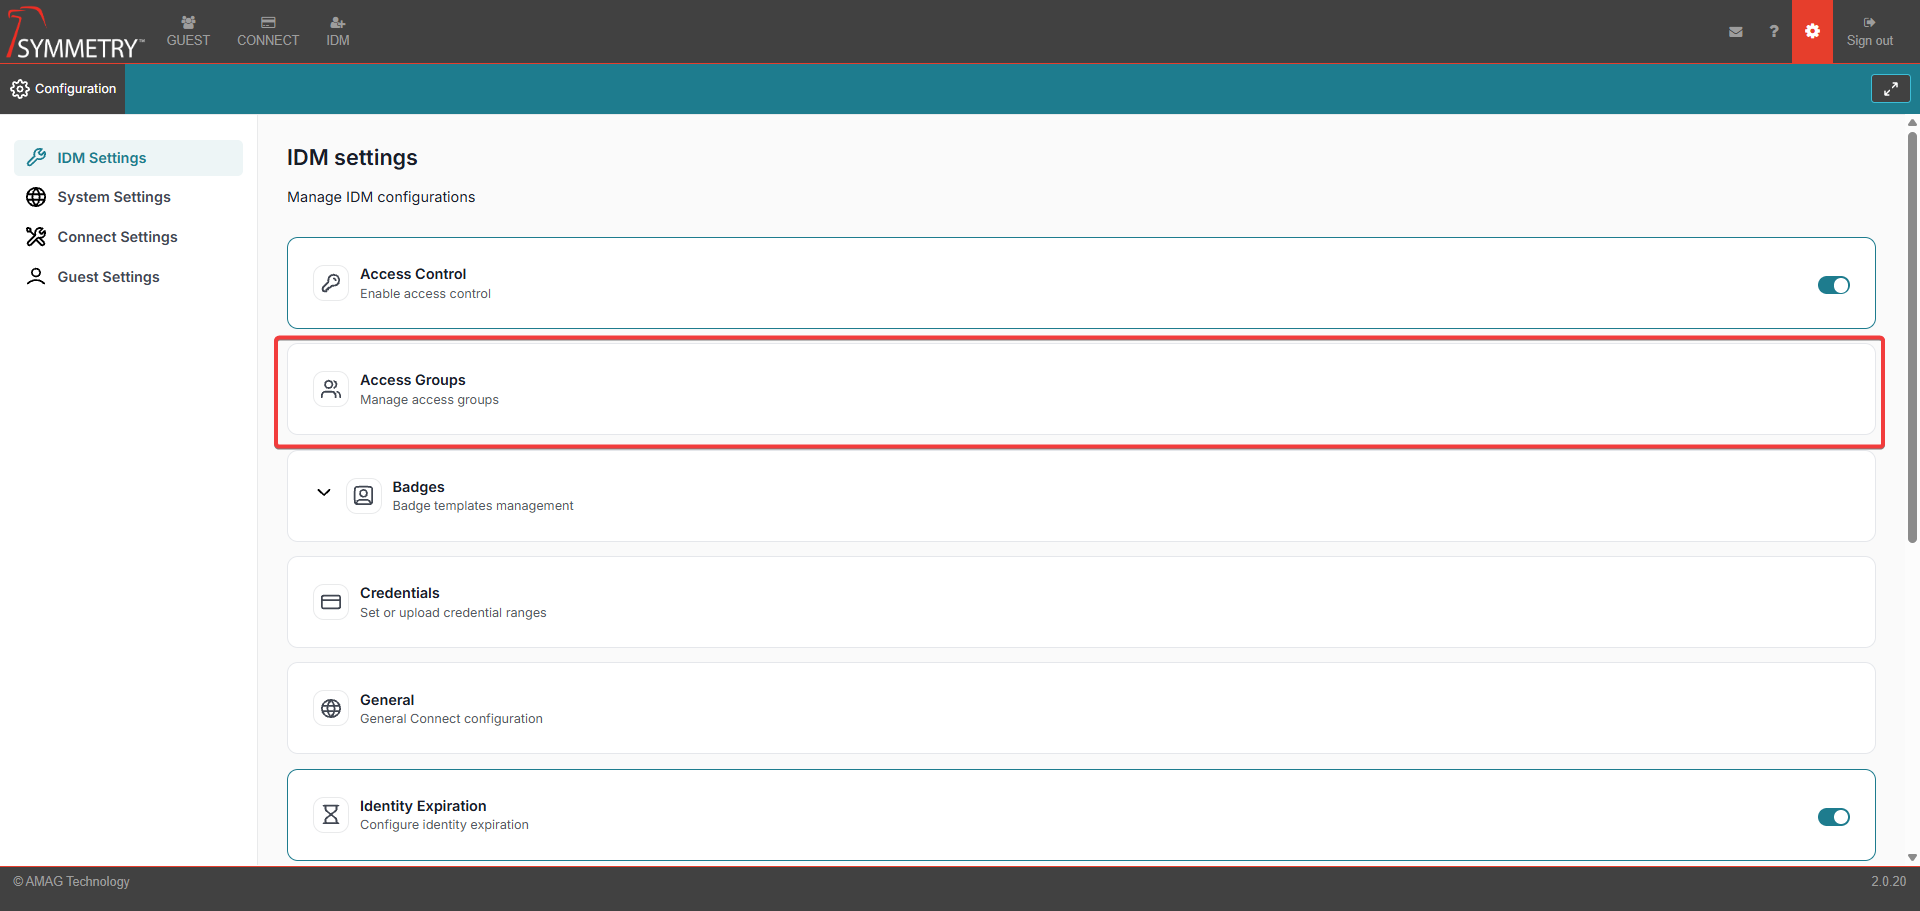
The user can exclude access groups from being audited by unchecking the Is auditable option for the access group. This can be done - either by individual access group or in bulk - via the Configuration >IDM Settings > Access Group page.
To configure per access group:
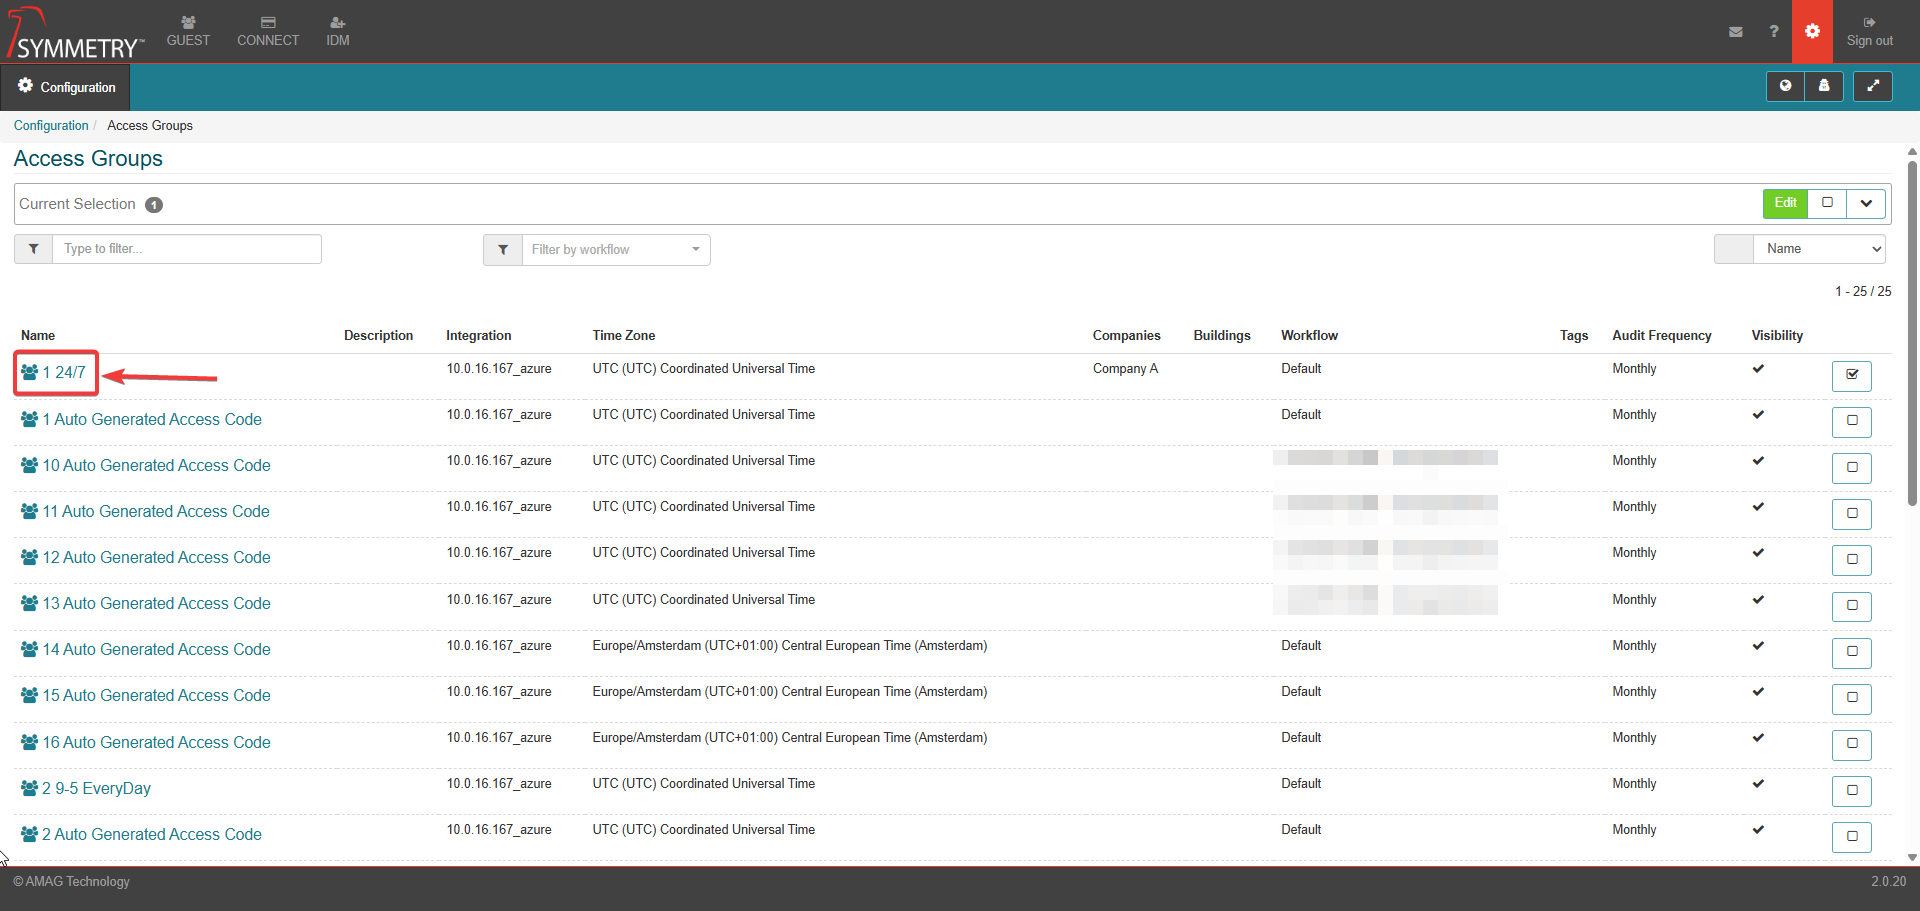
Navigate to the Configuration >IDM Settings > Access Groups page.
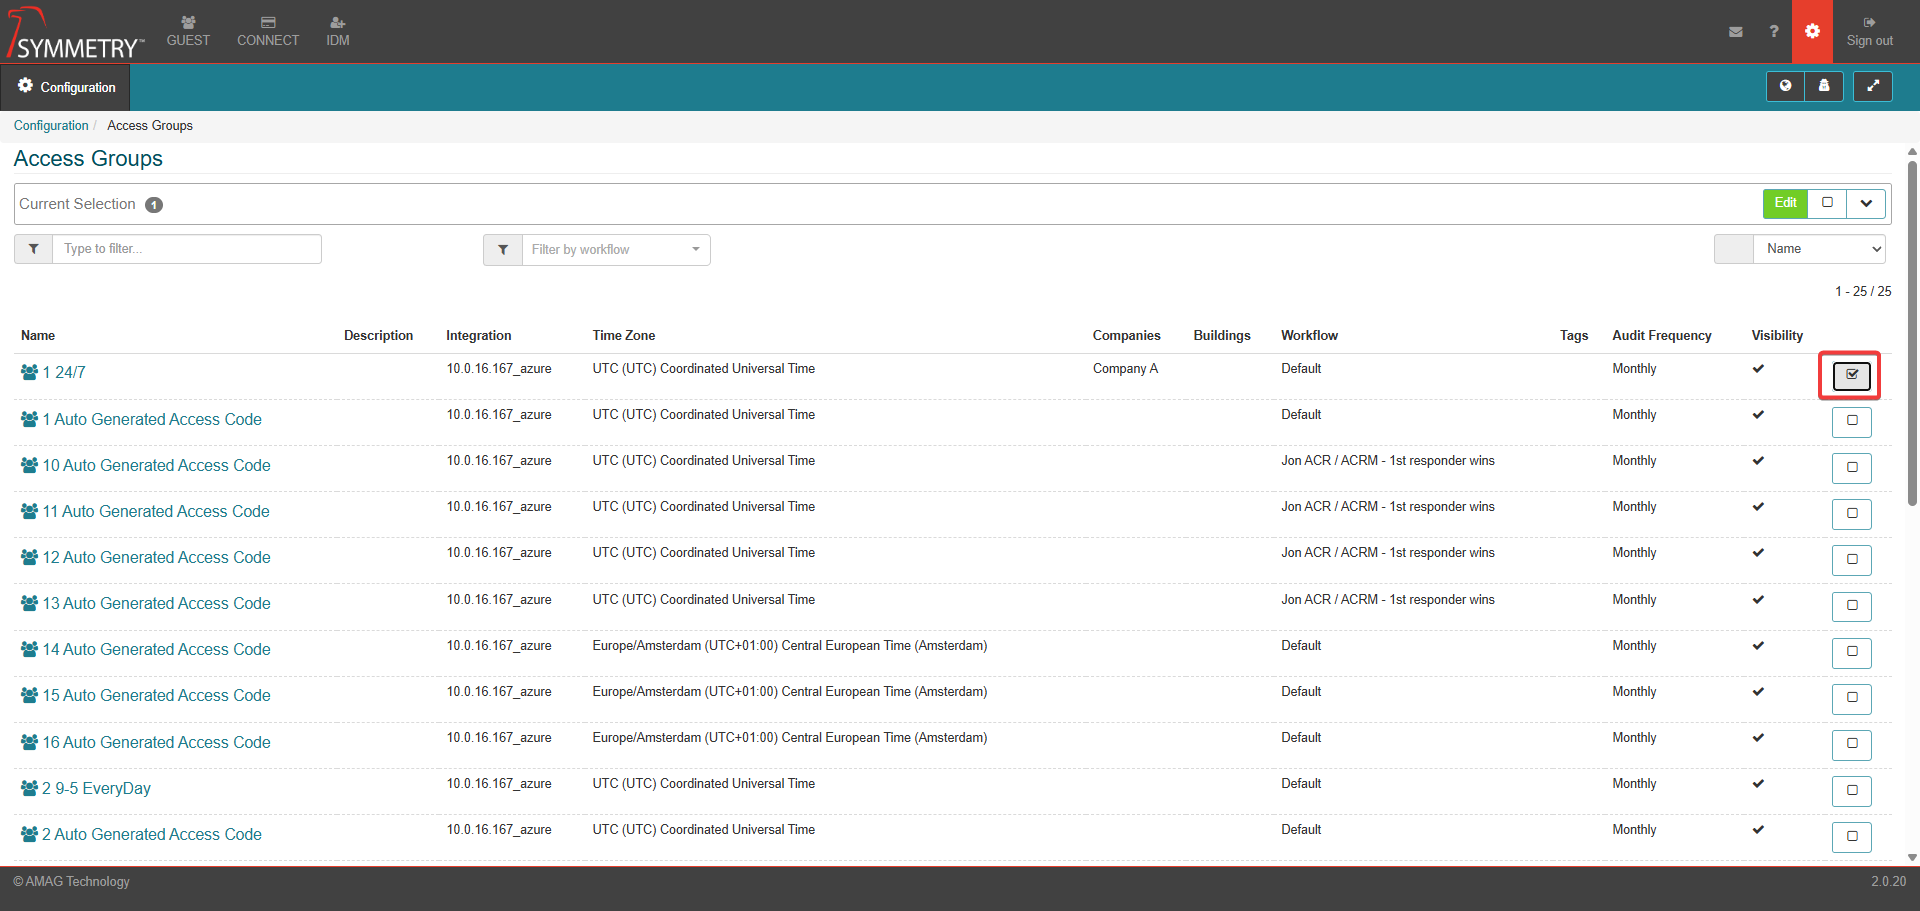
Select the access group that requires updating by selecting the tick box on the right of the screen.
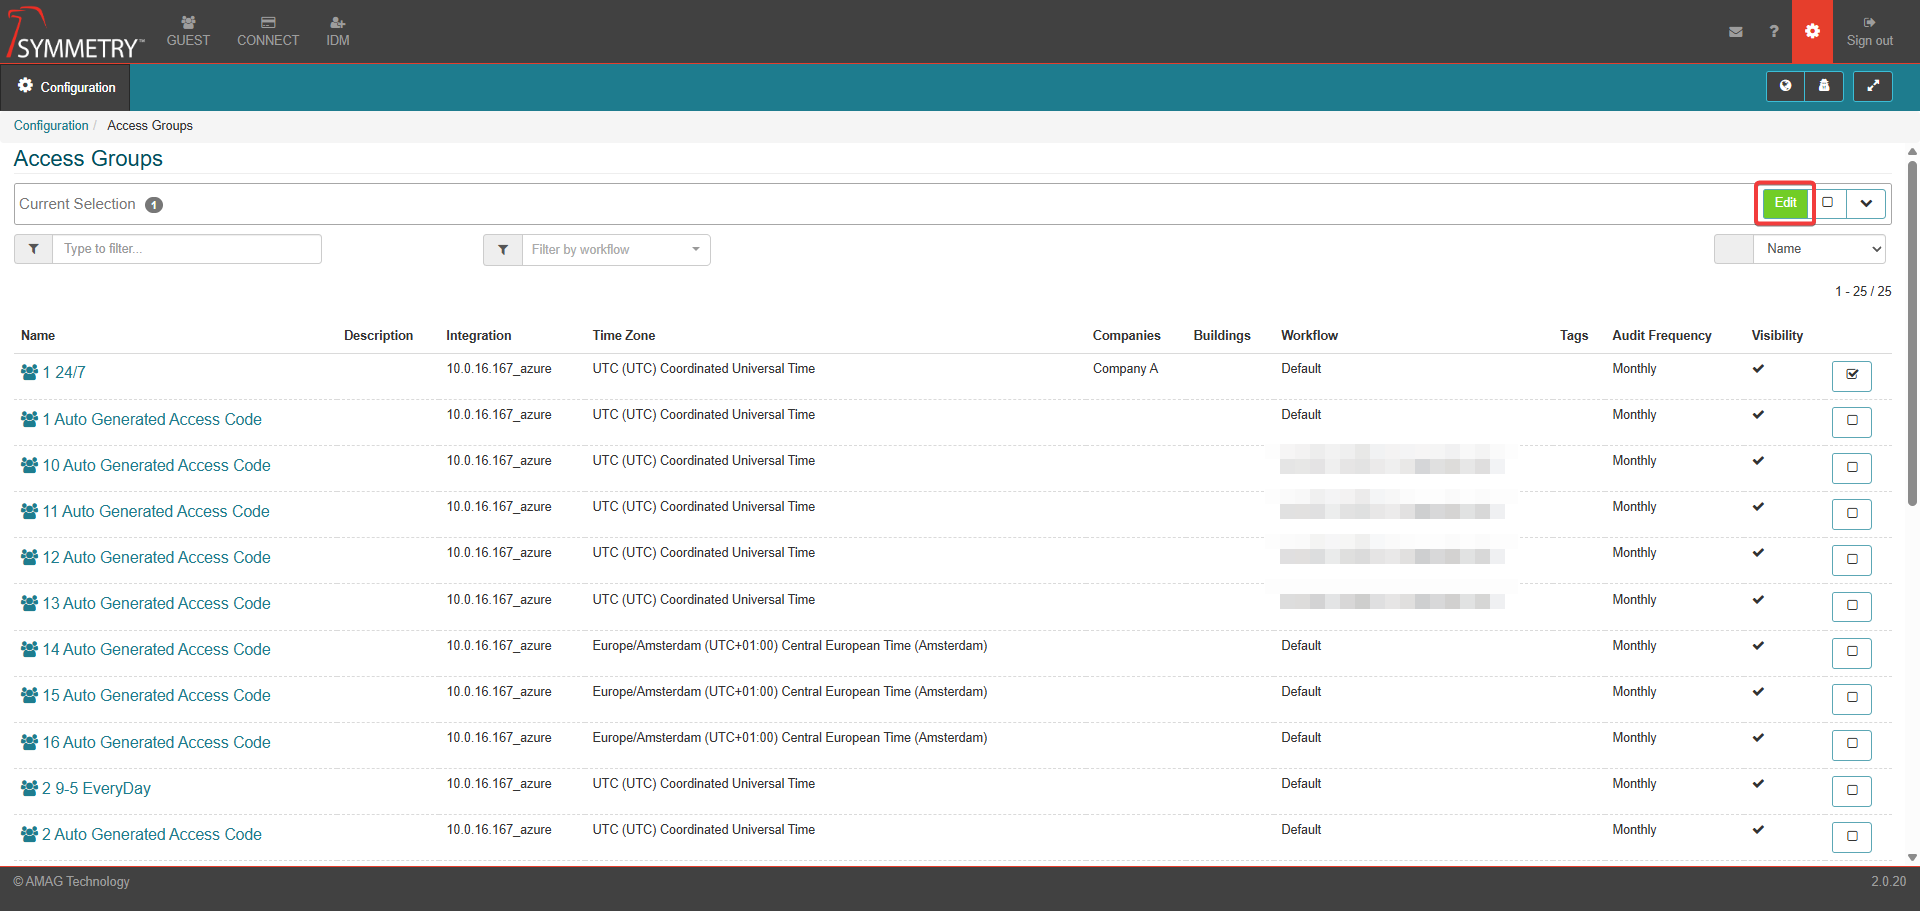
Next, click the Edit button in the upper-right corner.
Alternatively to the last 2 steps, the user can select the access group that requires updating by clicking on its name on the left of the screen, which automatically navigates to the Access Group edit page.
On the Access Group page, under the Connect section, uncheck the Is auditable tick box.
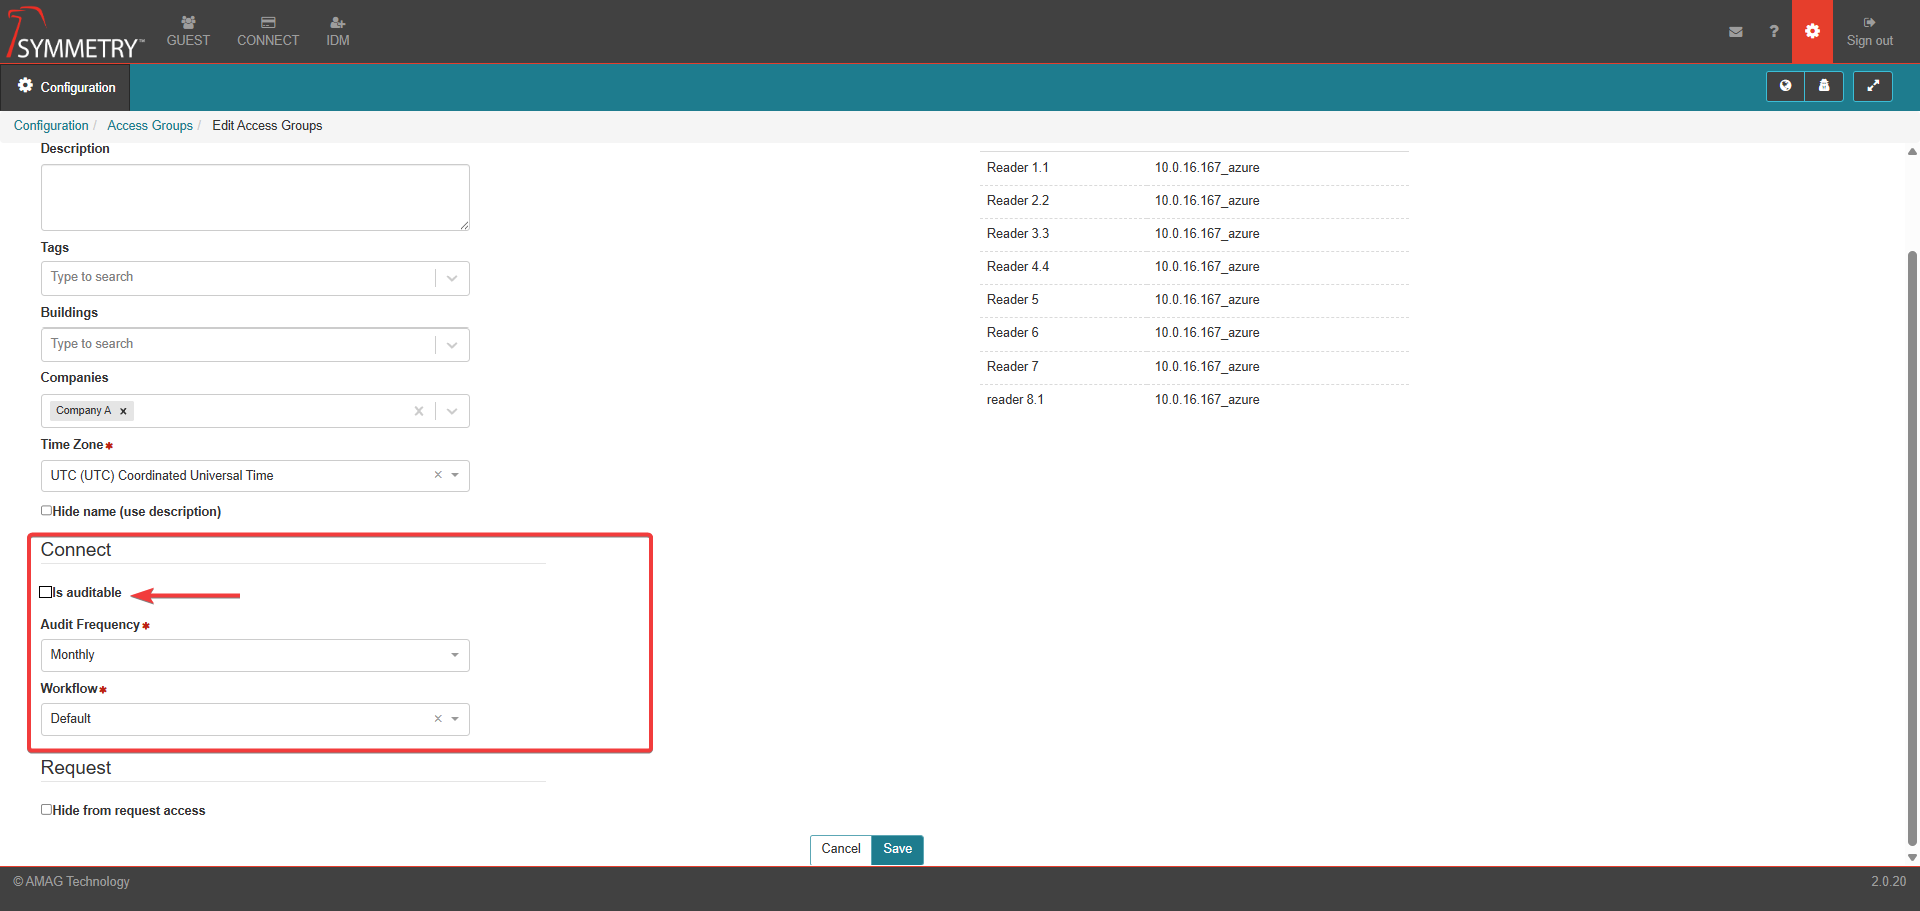
Click the Save button to apply the settings.
To configure in bulk:
Navigate to the Configuration > IDM Settings > Access Groups page.
Select the multiple access groups that require updating by selecting the tick box on the right of the screen.
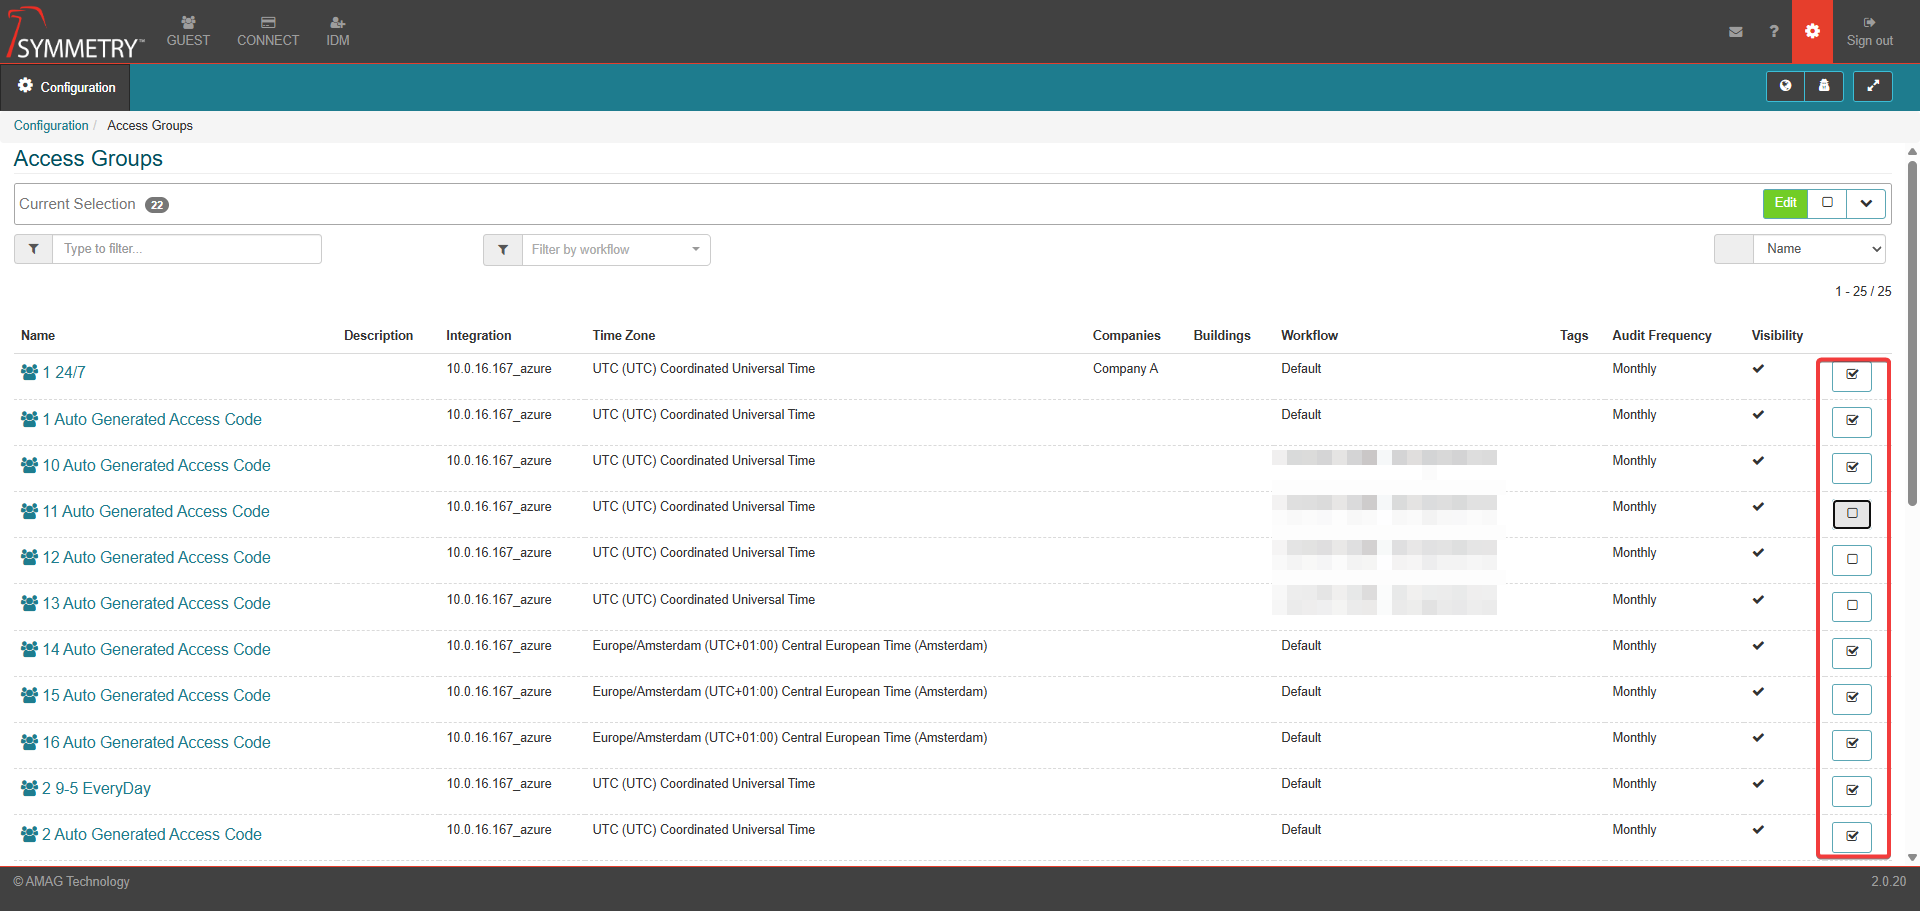
Next, click the Edit button in the upper-right corner.
Note
The number of selected access groups are highlighted in the Current Selection window.

On the Access Group page, under the Connect section, uncheck the Is auditable tick box.
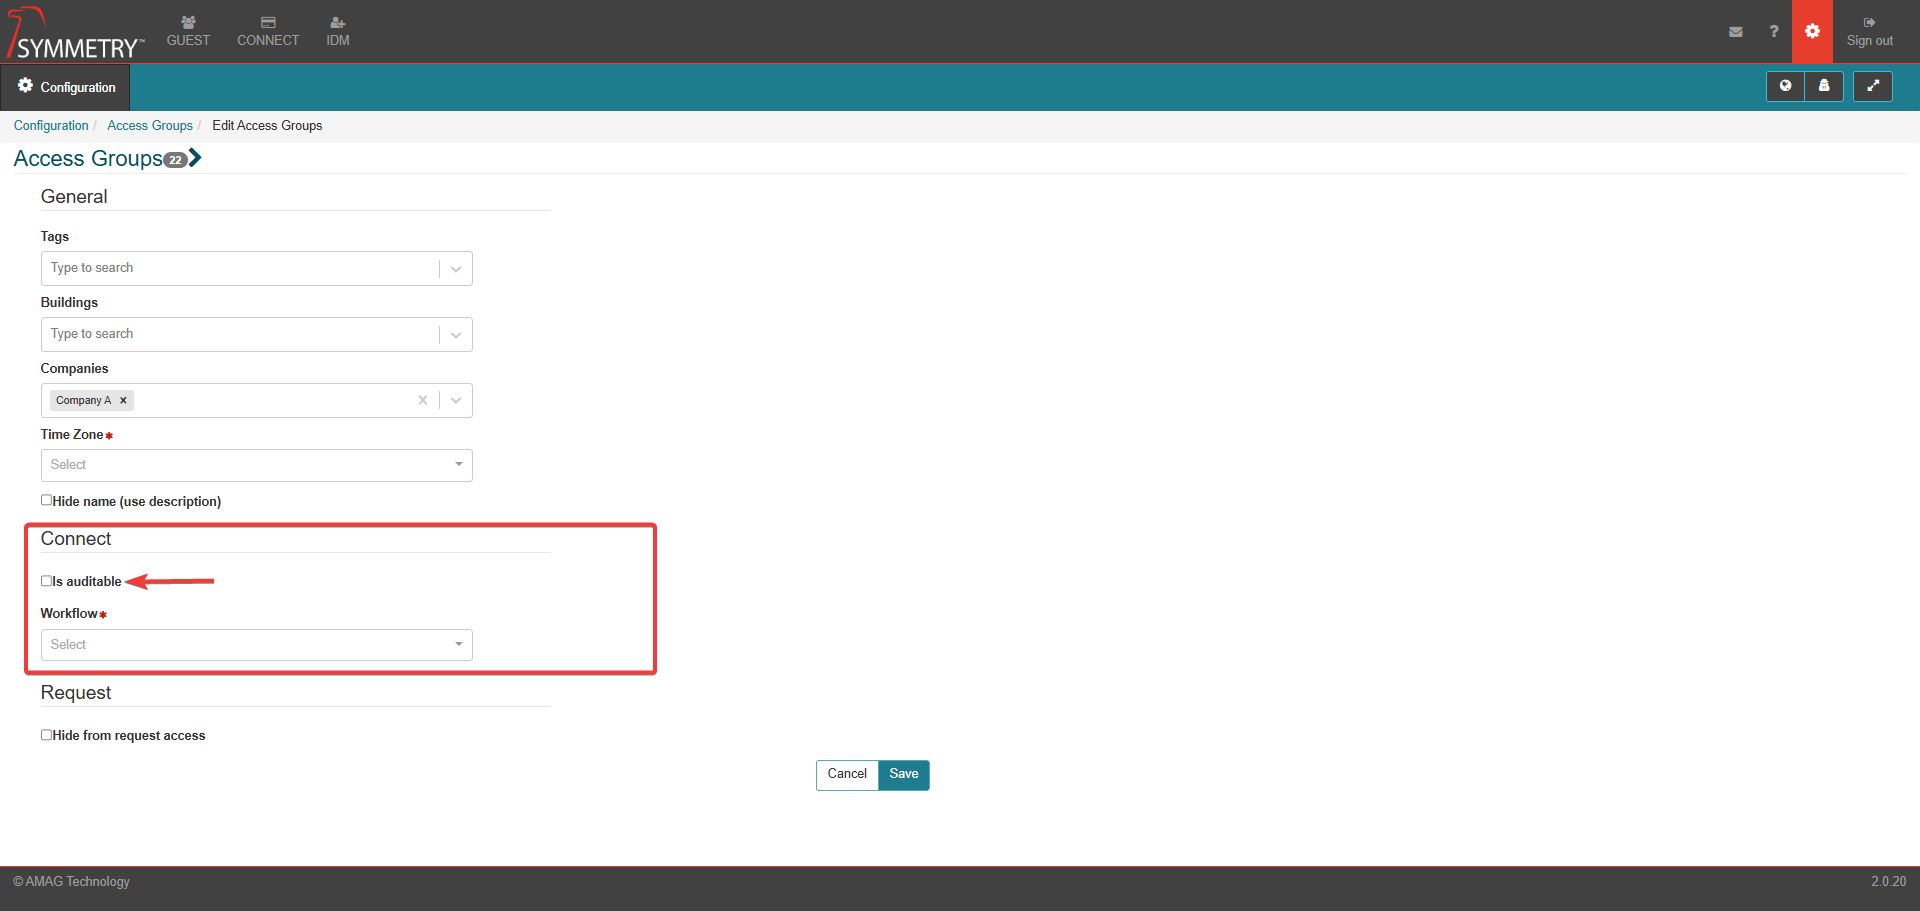
Click the Save button to apply the changed settings to all selected Access Groups in one go.
Set Audit Frequency
Once all the access groups that should not be audited have been excluded, it time to ensure the remaining have the correct audit period.
Navigate to the Configuration > IDM Settings > Access Groups page.
Select individual or multiple Access Groups that require the ability to be auditable.
Next, click the Edit button in the upper right of the current selection section.
Make sure the Is Auditable tick box is selected for all applicable access groups.
On the Access Group page, under the Connect section, select the correct Audit Frequency from the drop-down box.
Monthly
Quarterly
Semi-Annual
Annual
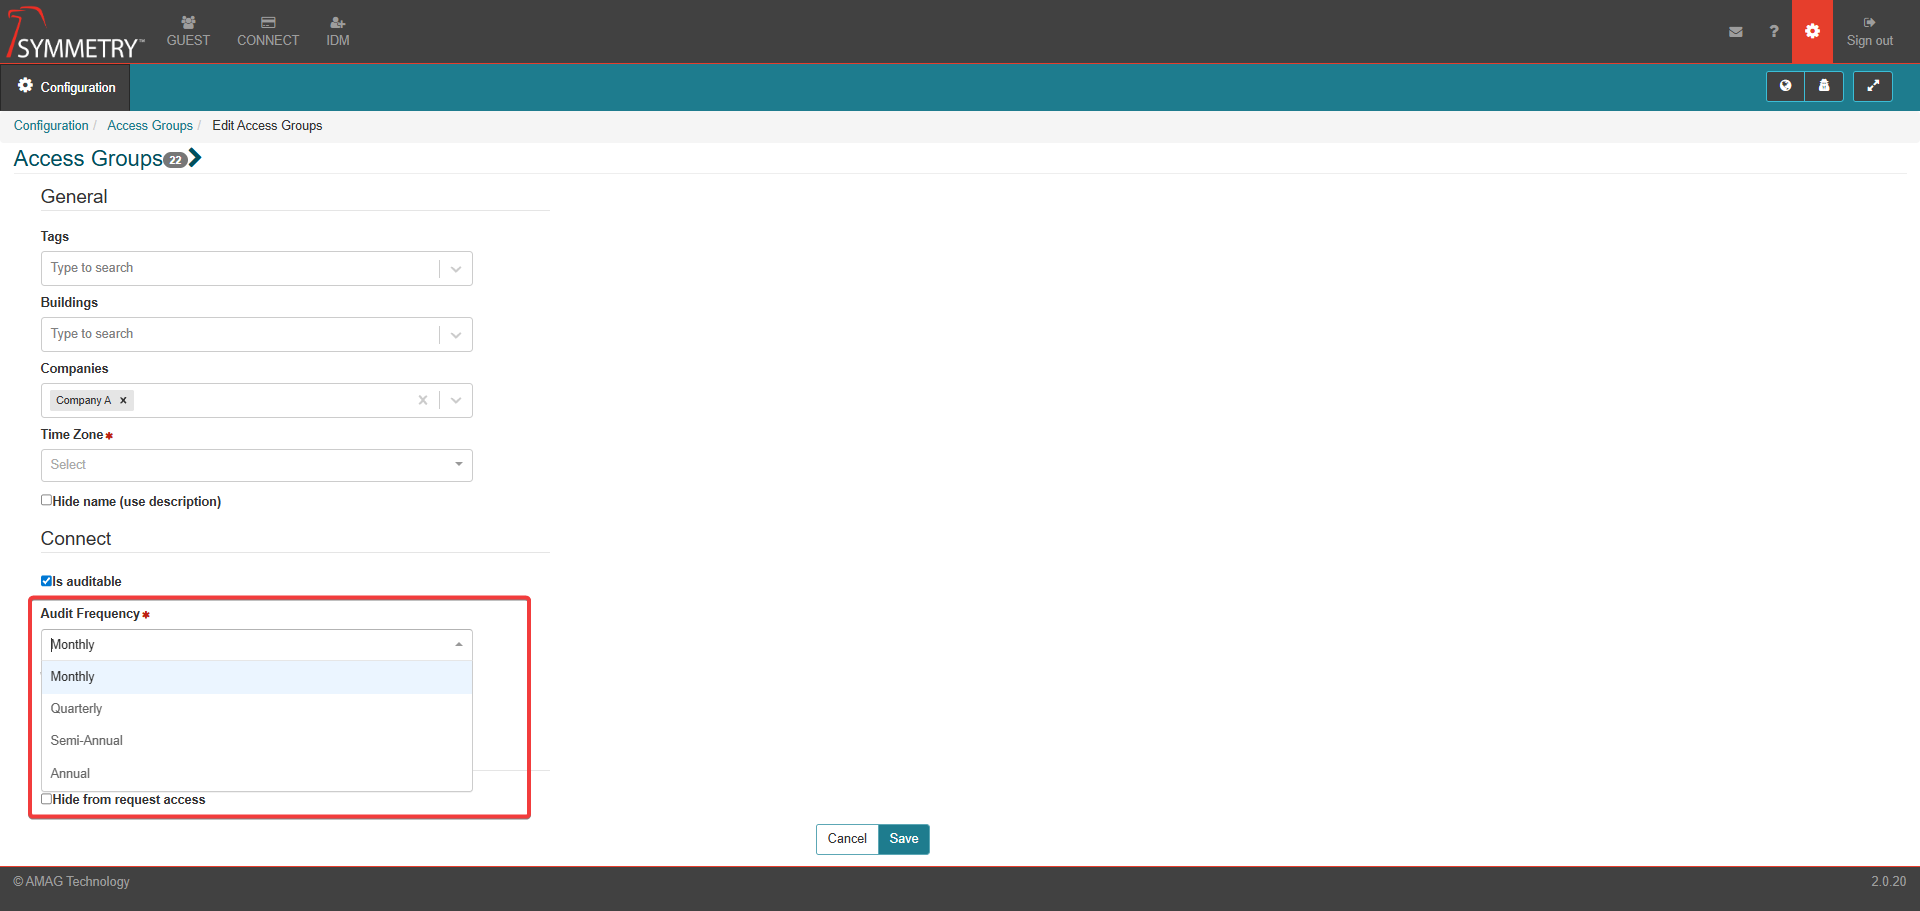
Click the Save button to apply the settings.
Enable Audit Campaigns
Once all the access groups are configured to the desired audit frequency and access groups that do not need to be audited are excluded, users can enable audit campaigns via the Configuration > Connect Settings > Audits page.
To enable audit campaigns:
Navigate to the Configuration > Connect Settings >Audits page.
Note
Toggle to the On position to be able to access the configuration settings for the Audits section
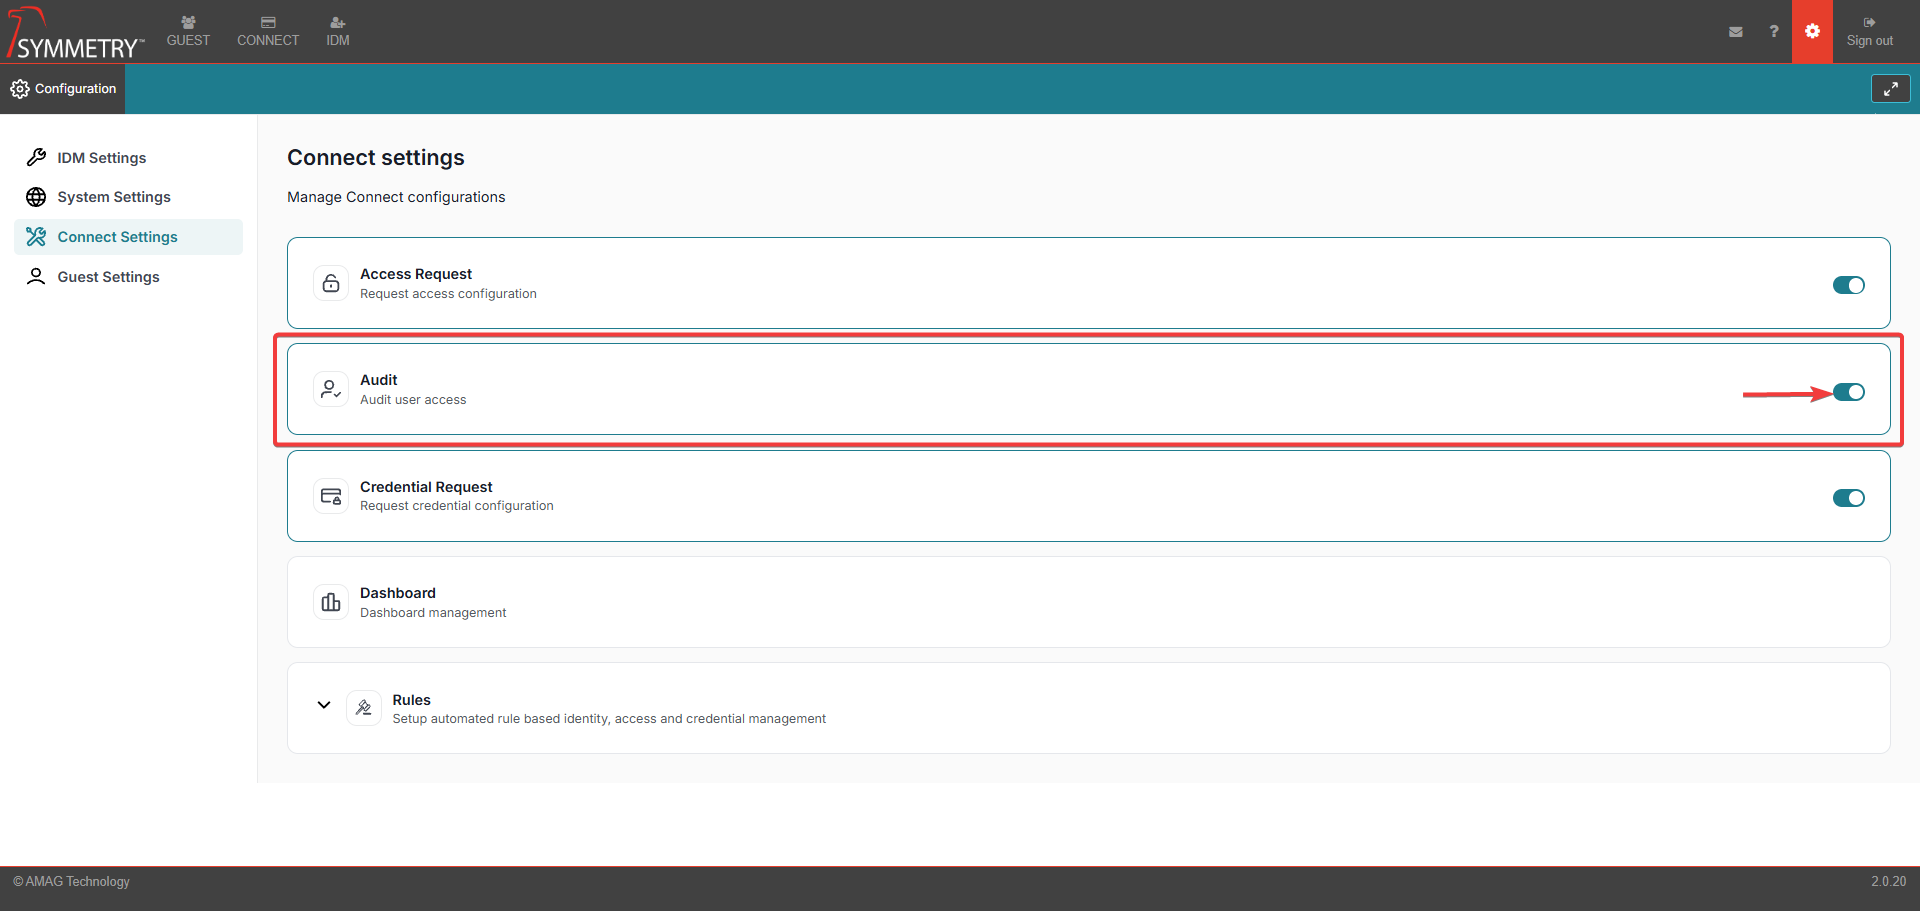
Under the Audit Campaigns section, toggle On for any audit campaign that is required. User can also enable and configure 'suggestions' , which suggest the outcome of the audit, dependent on how long the audited identity has held the access for.
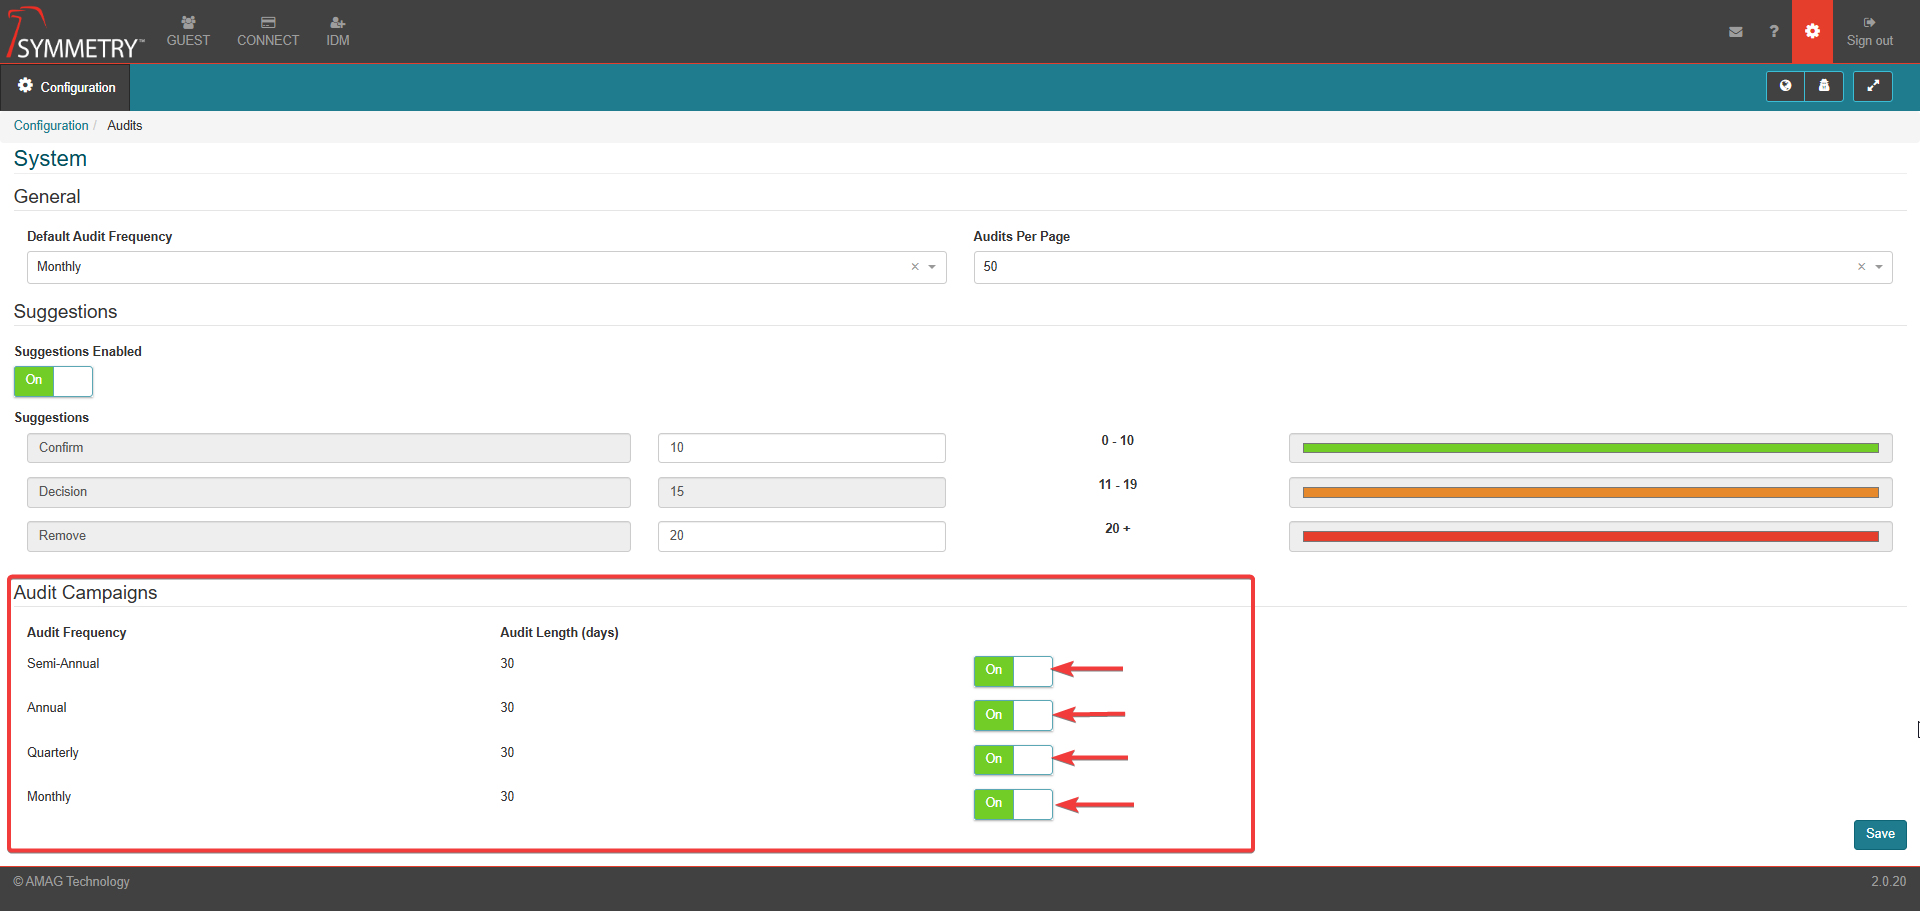
Click the Save button to apply the settings.
Configure Audit Notifications
Notifications are configured via Configuration > System Settings > Notifications then select the Audit section. The options include:
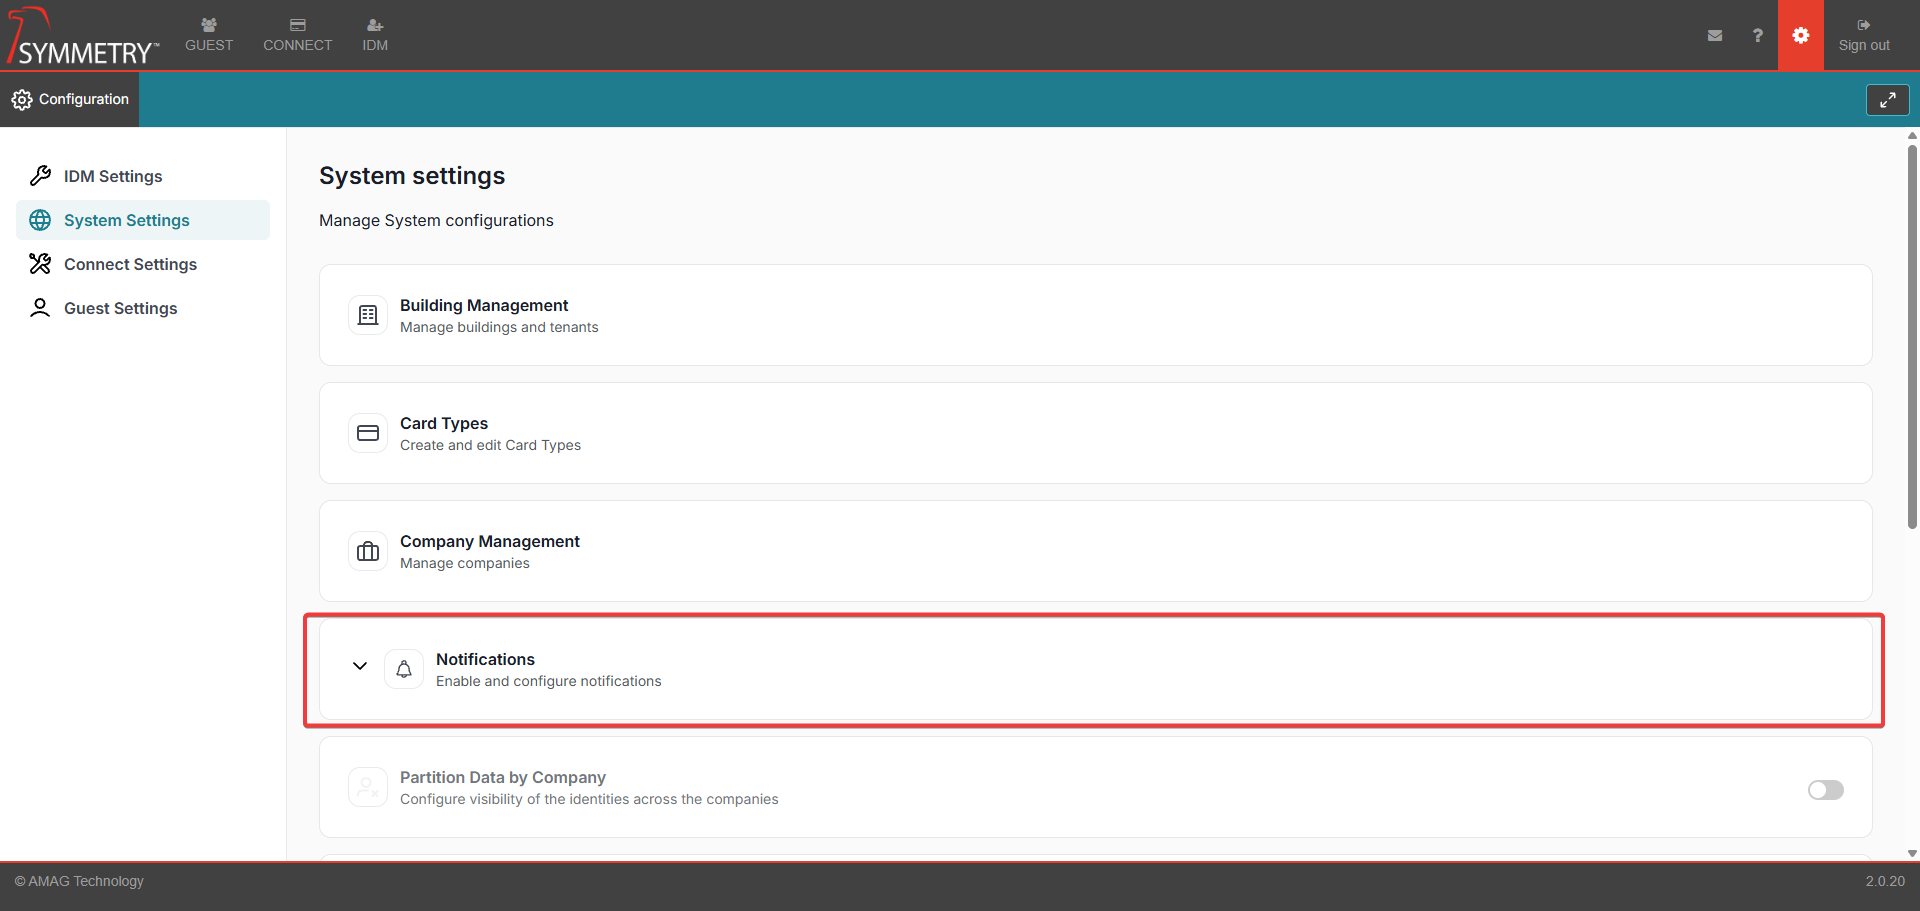
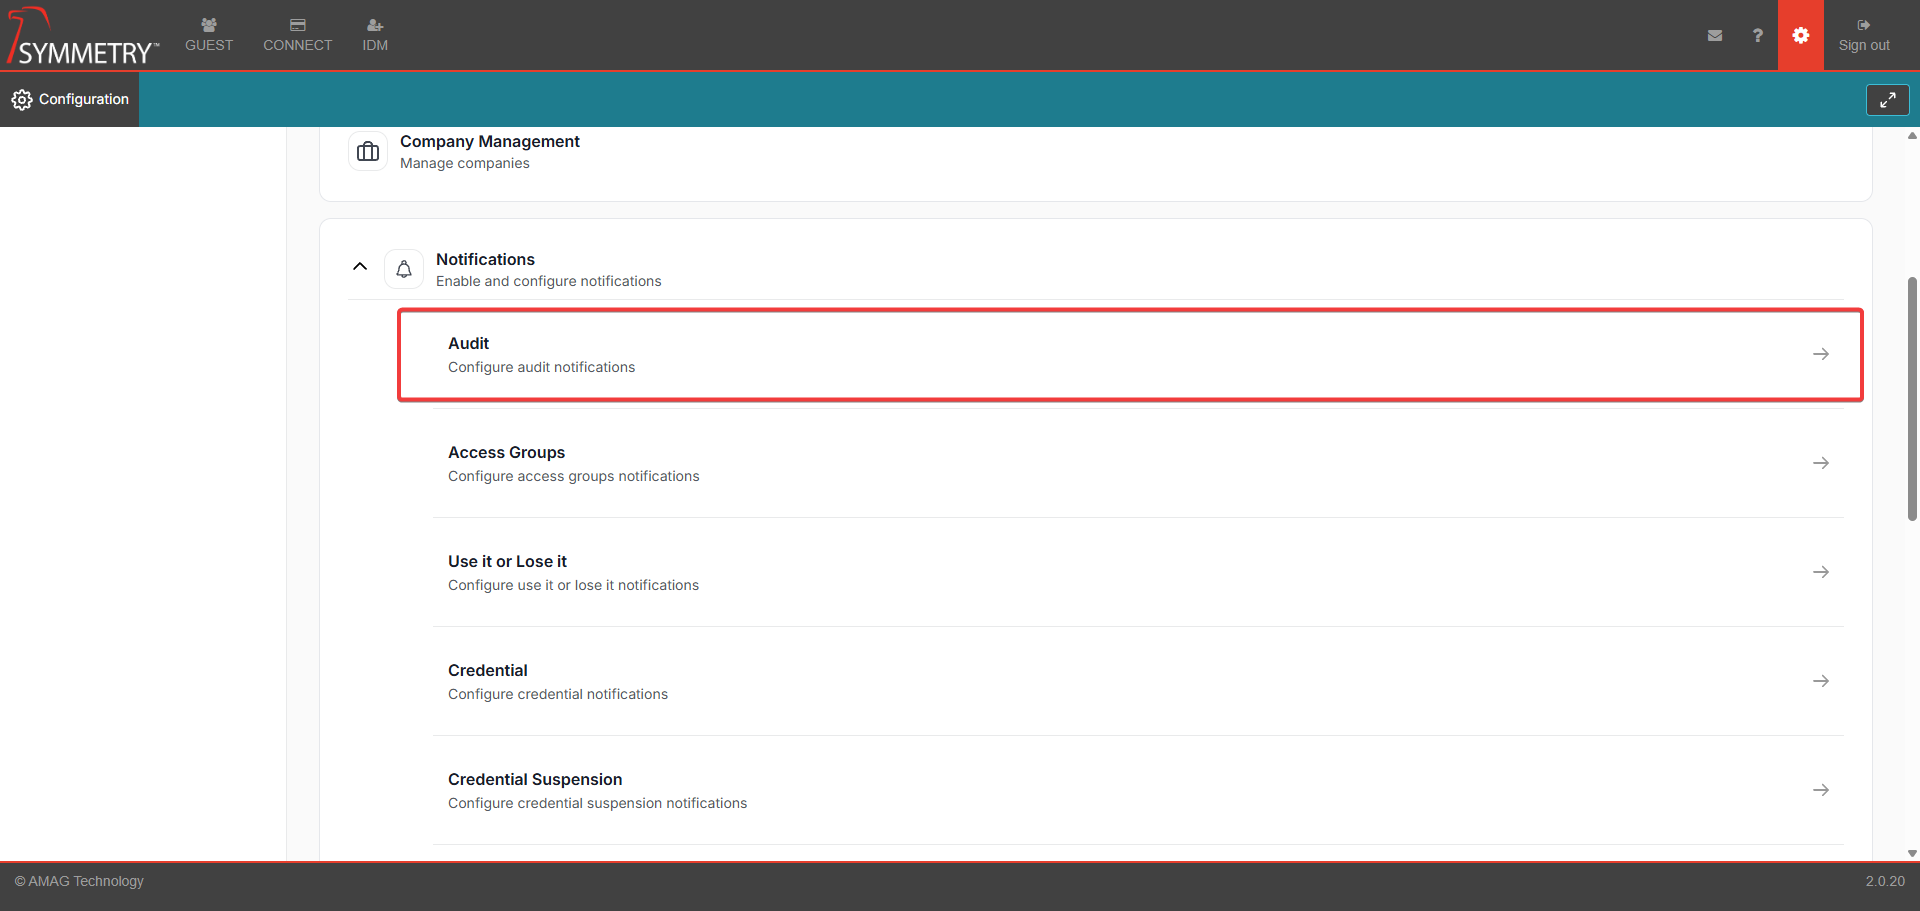
Initial (Day 0)
Reminder (Day 15)
Reminder (End of Audit)
Overdue (Daily through from Day 1 to Day 15)
Note
Notifications are only configurable for campaigns that are currently enabled.
To configure notifications:
Navigate to the Configuration > System Settings > Notifications then select the Audit section.
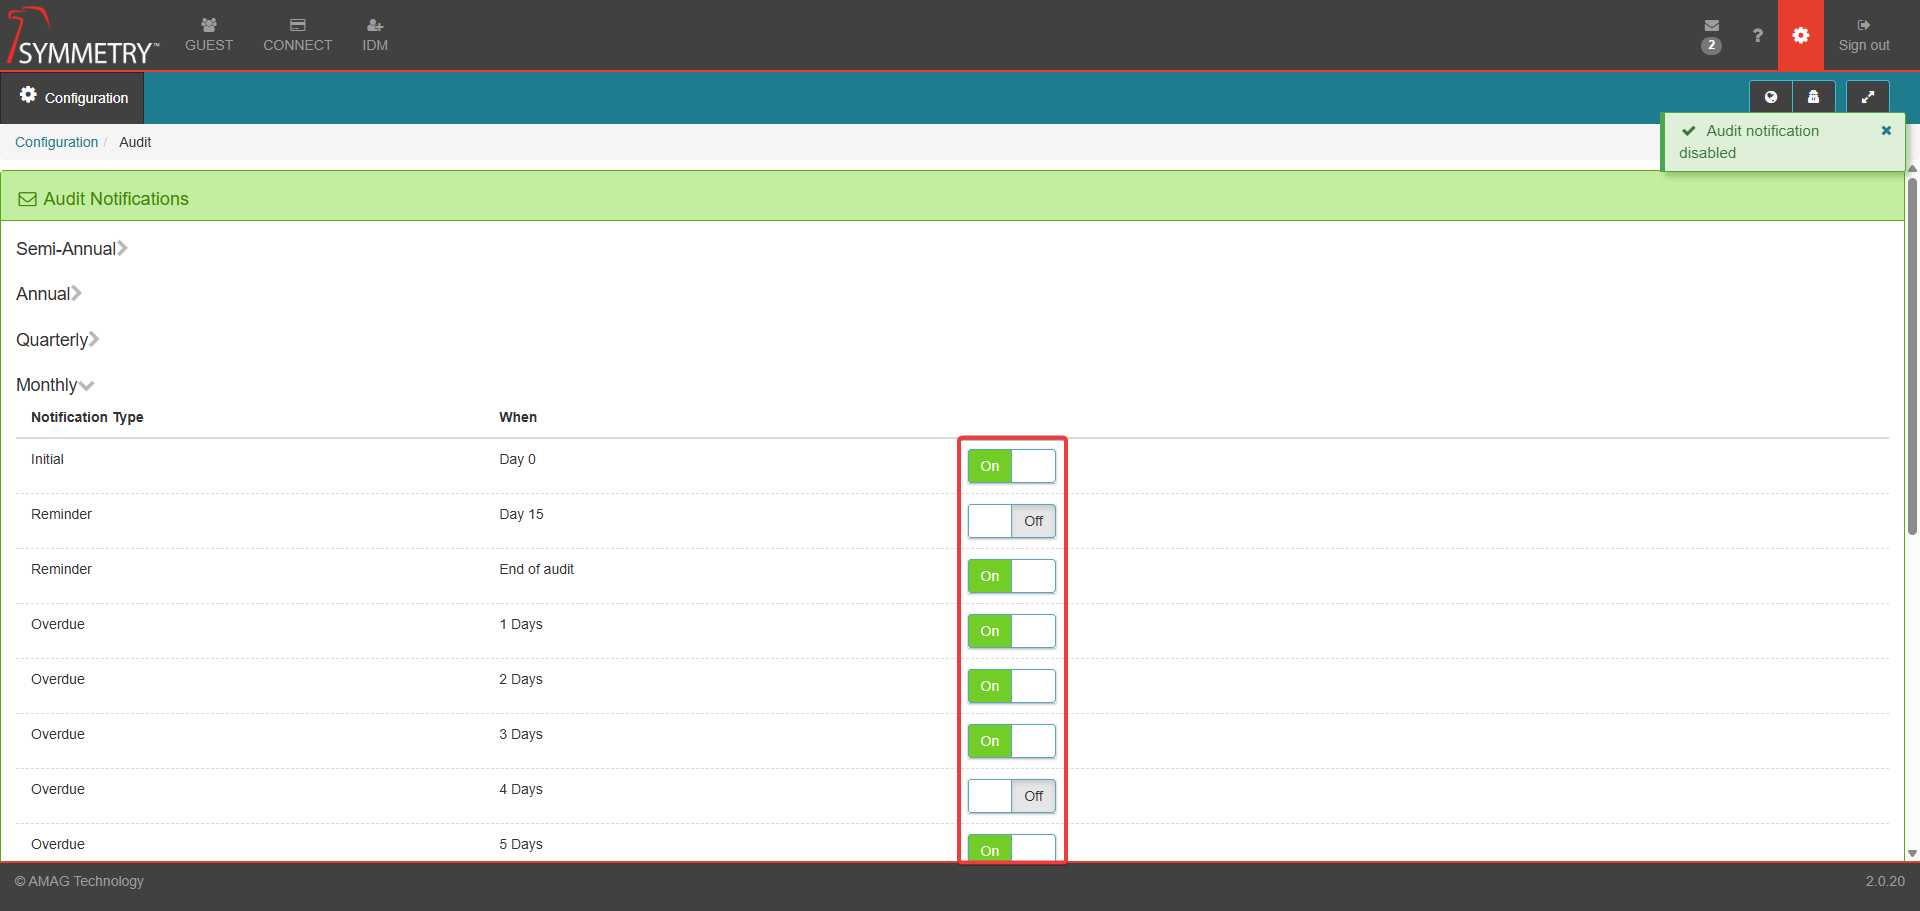
Expand the campaign you would like to configure.
Select On to enable the notification, or Select Off to disable.
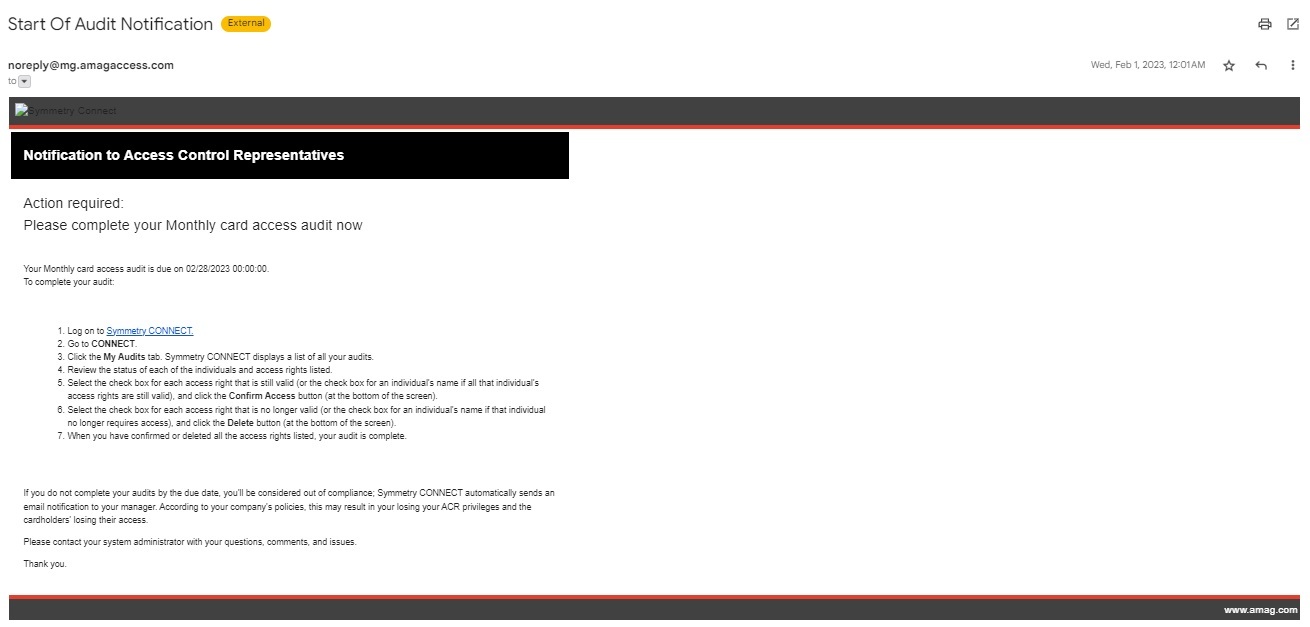
On Day 1 of the Audit, all ACRs with active audits will receive - if enabled - a 'Start of Audit Notification' configured similar to the below example.
On Day 15 of the Audit, all ACRs with outstanding audits will receive - if enabled - a 'Audit Reminder Notification'. On Day 31, all ACRs with outstanding audits will receive - if enabled - a 'Audit Reminder Notification' configured similarly to the below example.
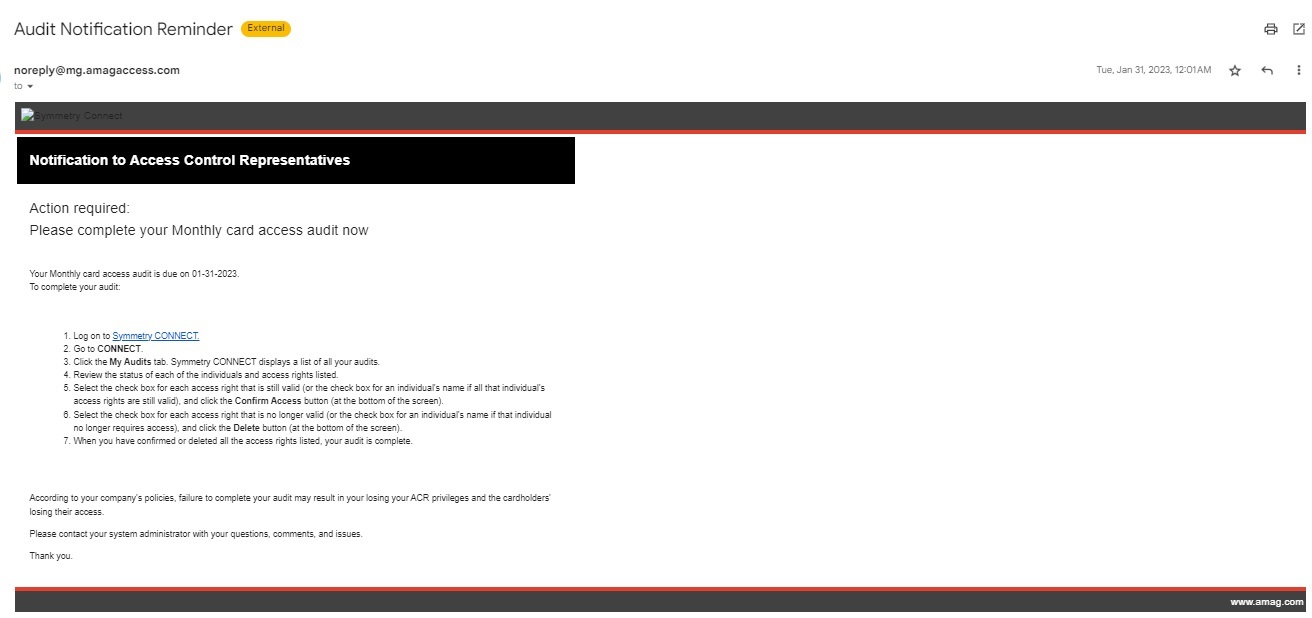
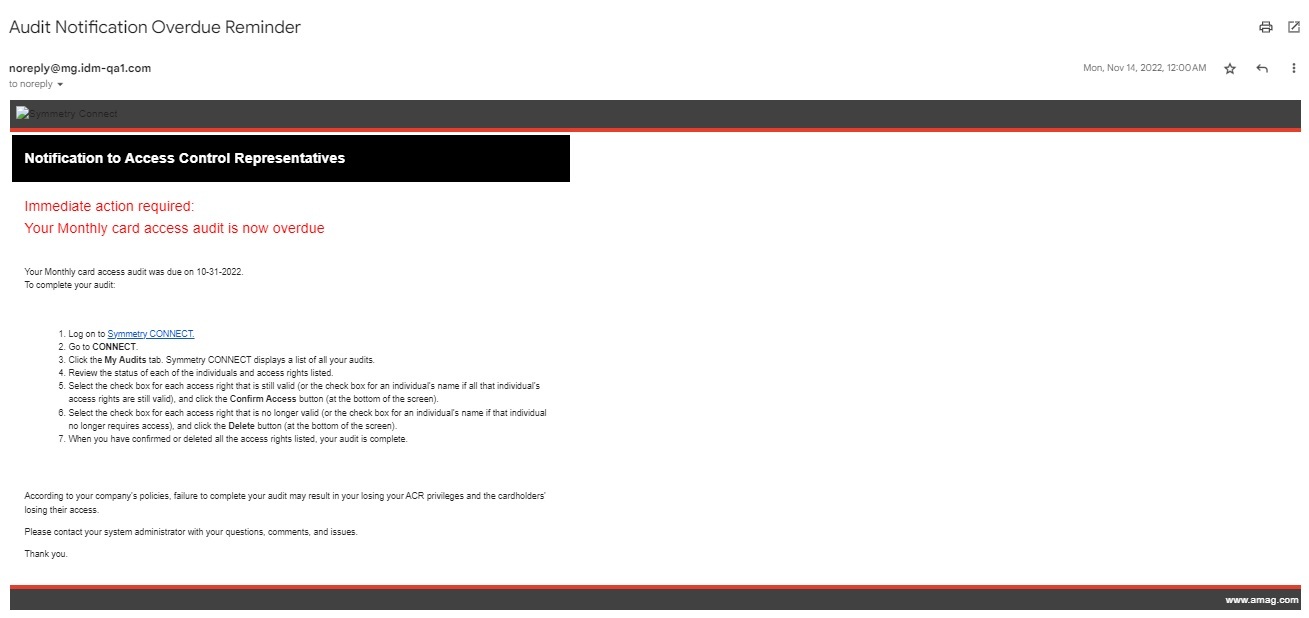
For the 15 days after the Audit, all ACRs with outstanding audits will receive - if enabled - a 'Audit Notification Overdue Reminder' configured similarly to the below example.