Self Registration Kiosk
Note
The images shown in this document are displaying the Self Registration kiosk using the default colors and images.
Self registration kiosk is a separate interface designed to operate on a mobile tablet, allowing visitors to register and/or check themselves in or out without requiring assistance from a Reception user.
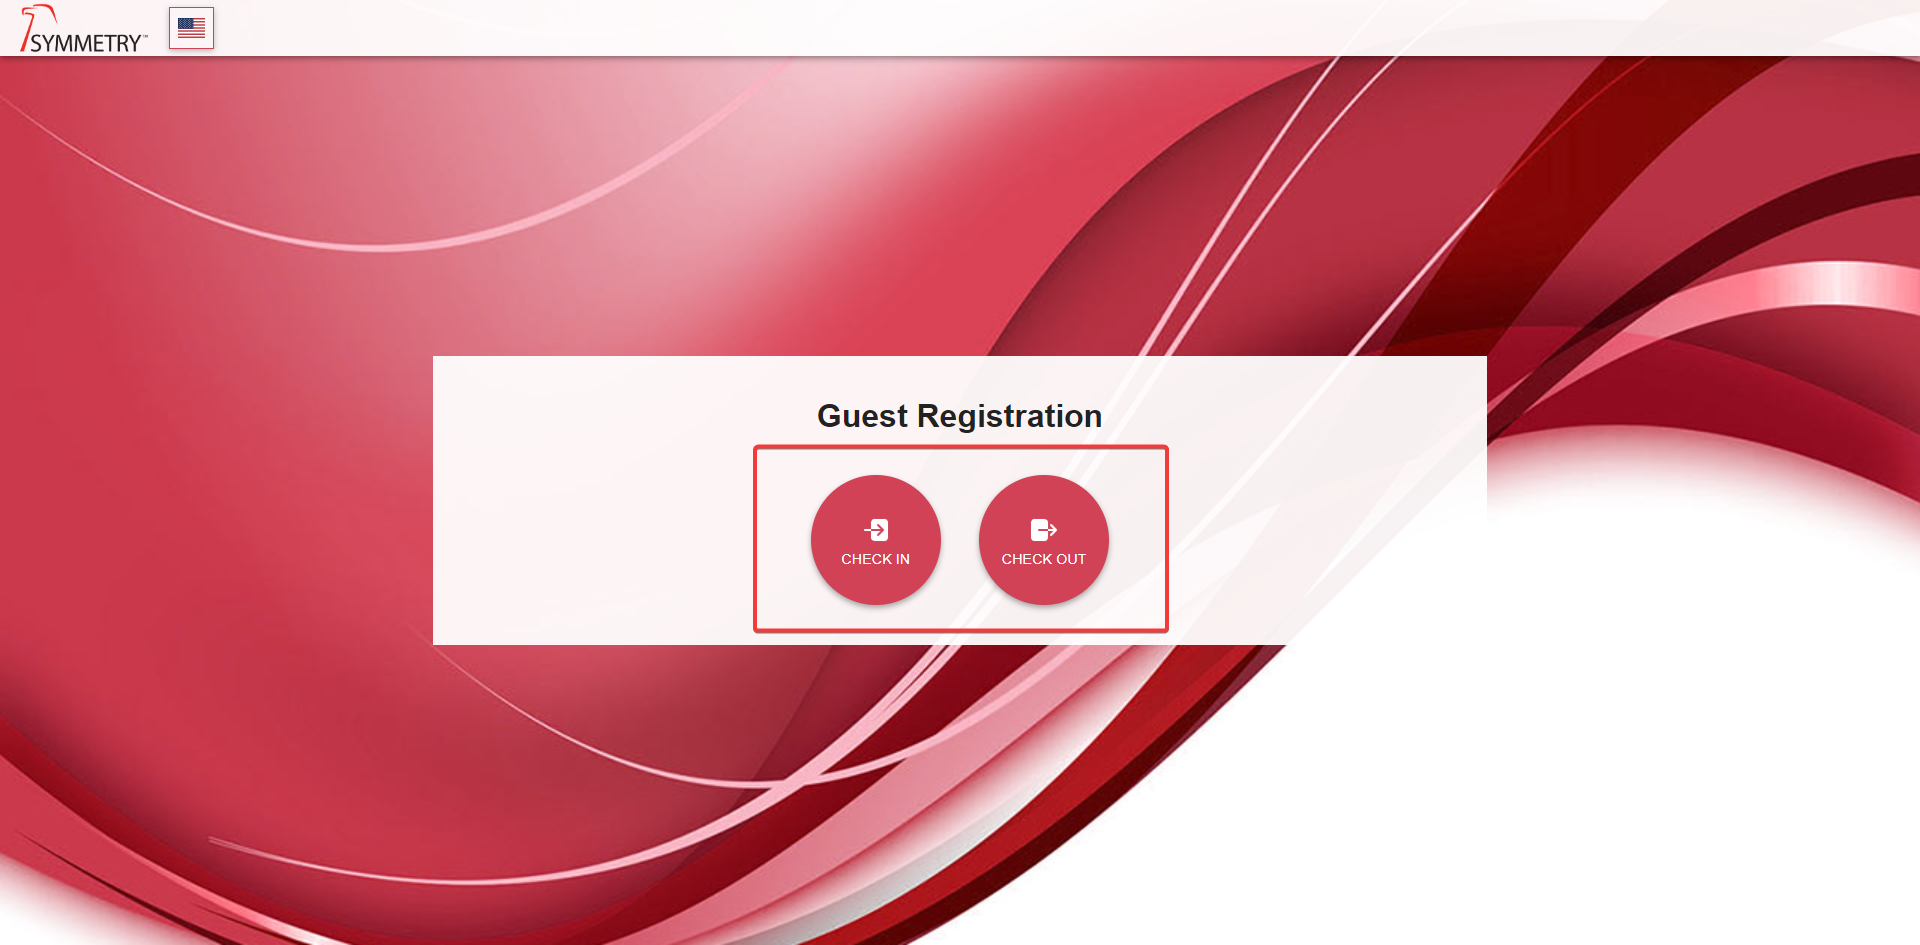
Dependent on configuration, the Home screen is as displayed below. The user navigates by either clicking the buttons in the center of the screen or clicking the icons at the top of the screen. The user can also select a different language (if configured) by selecting the Flag icon and selecting the language required from the options available.
Self registration kiosk is highly configurable in terms of both the check-in process and the look and feel of the kiosk interface. Customers will typically use their own corporate logo, background image and colors for the kiosk.
For further information regarding the configuration of the Self Registration kiosk refer to the Self Registration section of this guide.
Visitor Check In Using Self Registration Kiosk
Depending on configuration, the visitor will have various check in options available, below is an example of some of the options and a description:
Note
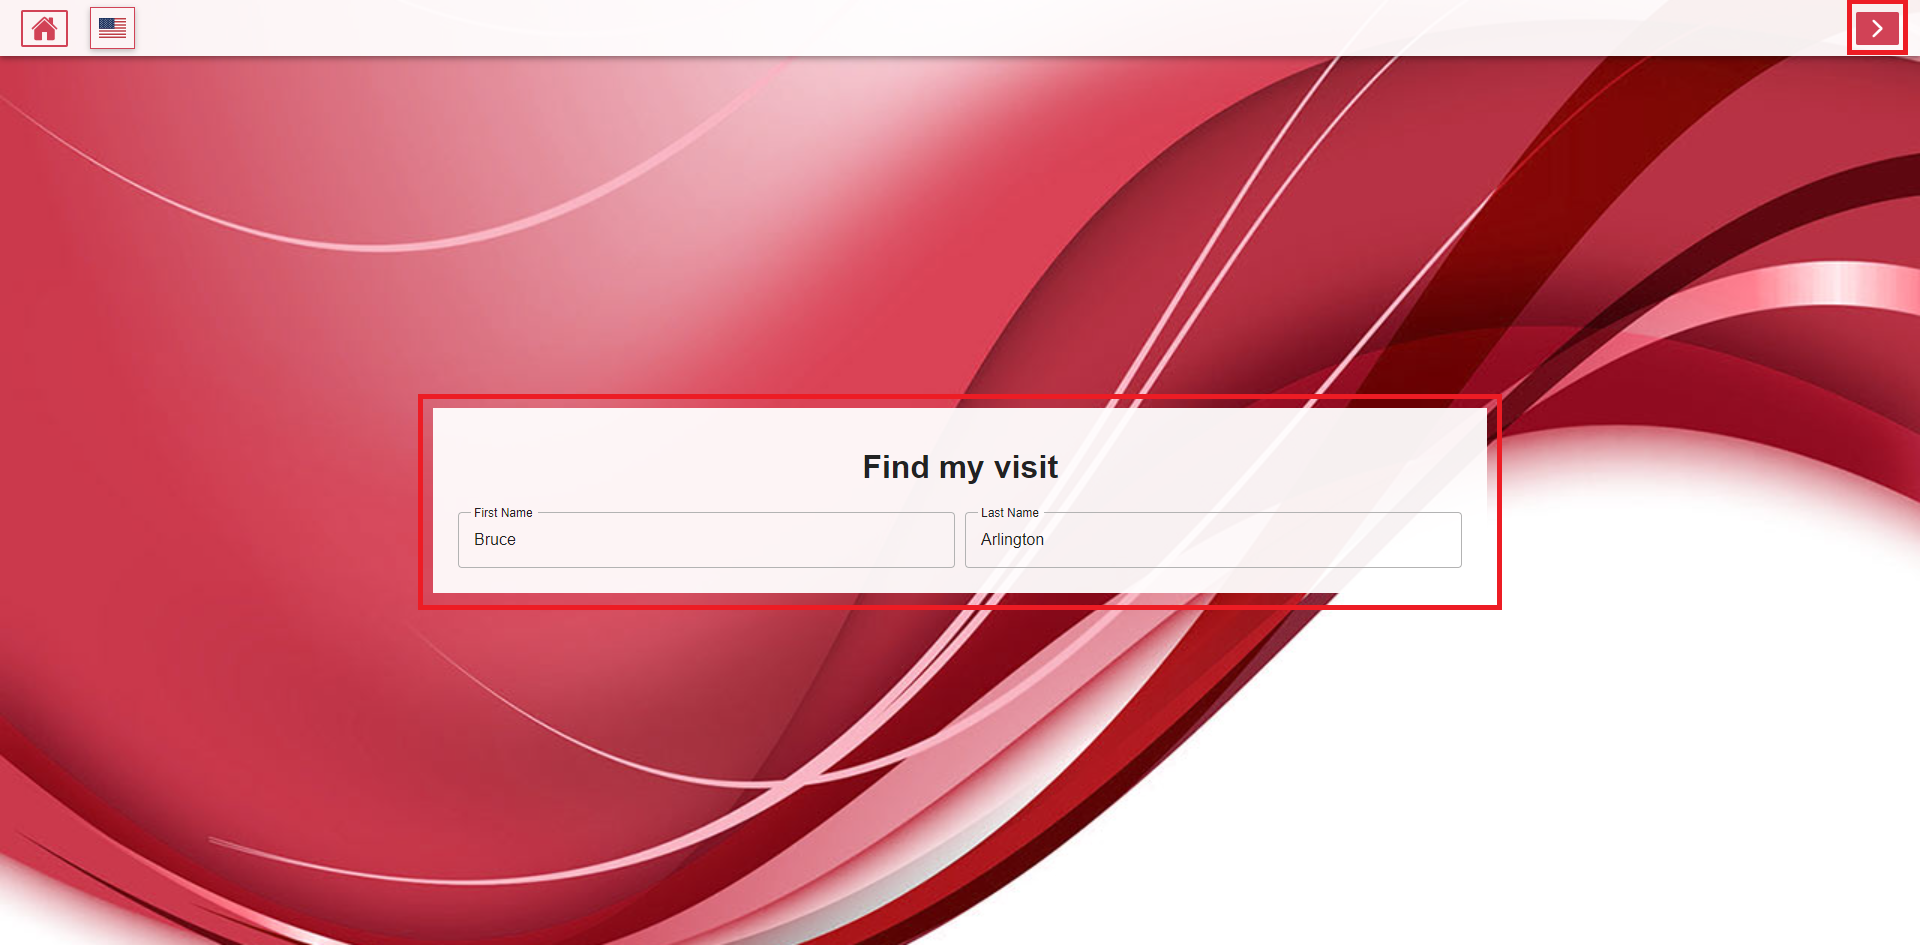
When entering each of these sub-screens the user will have additional options at the top of the screen - Home icon to return to the home page, forward icon to move to the next page and backwards icon to move to the previous page.
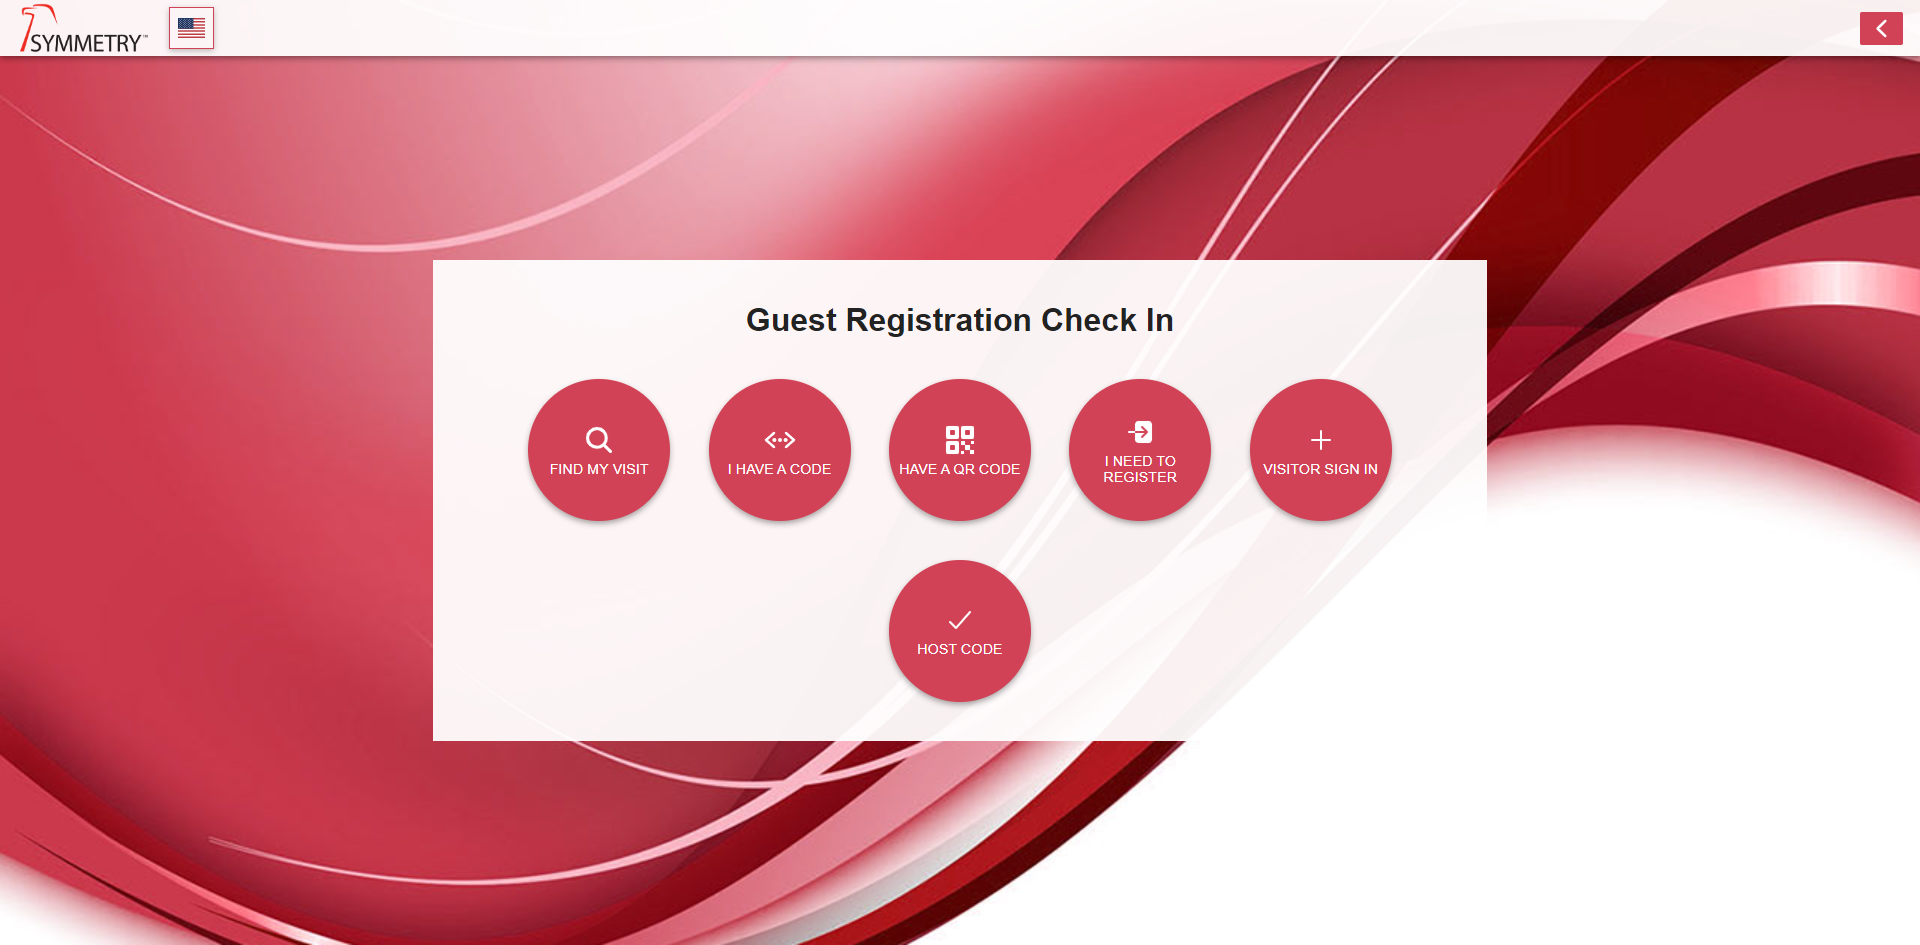
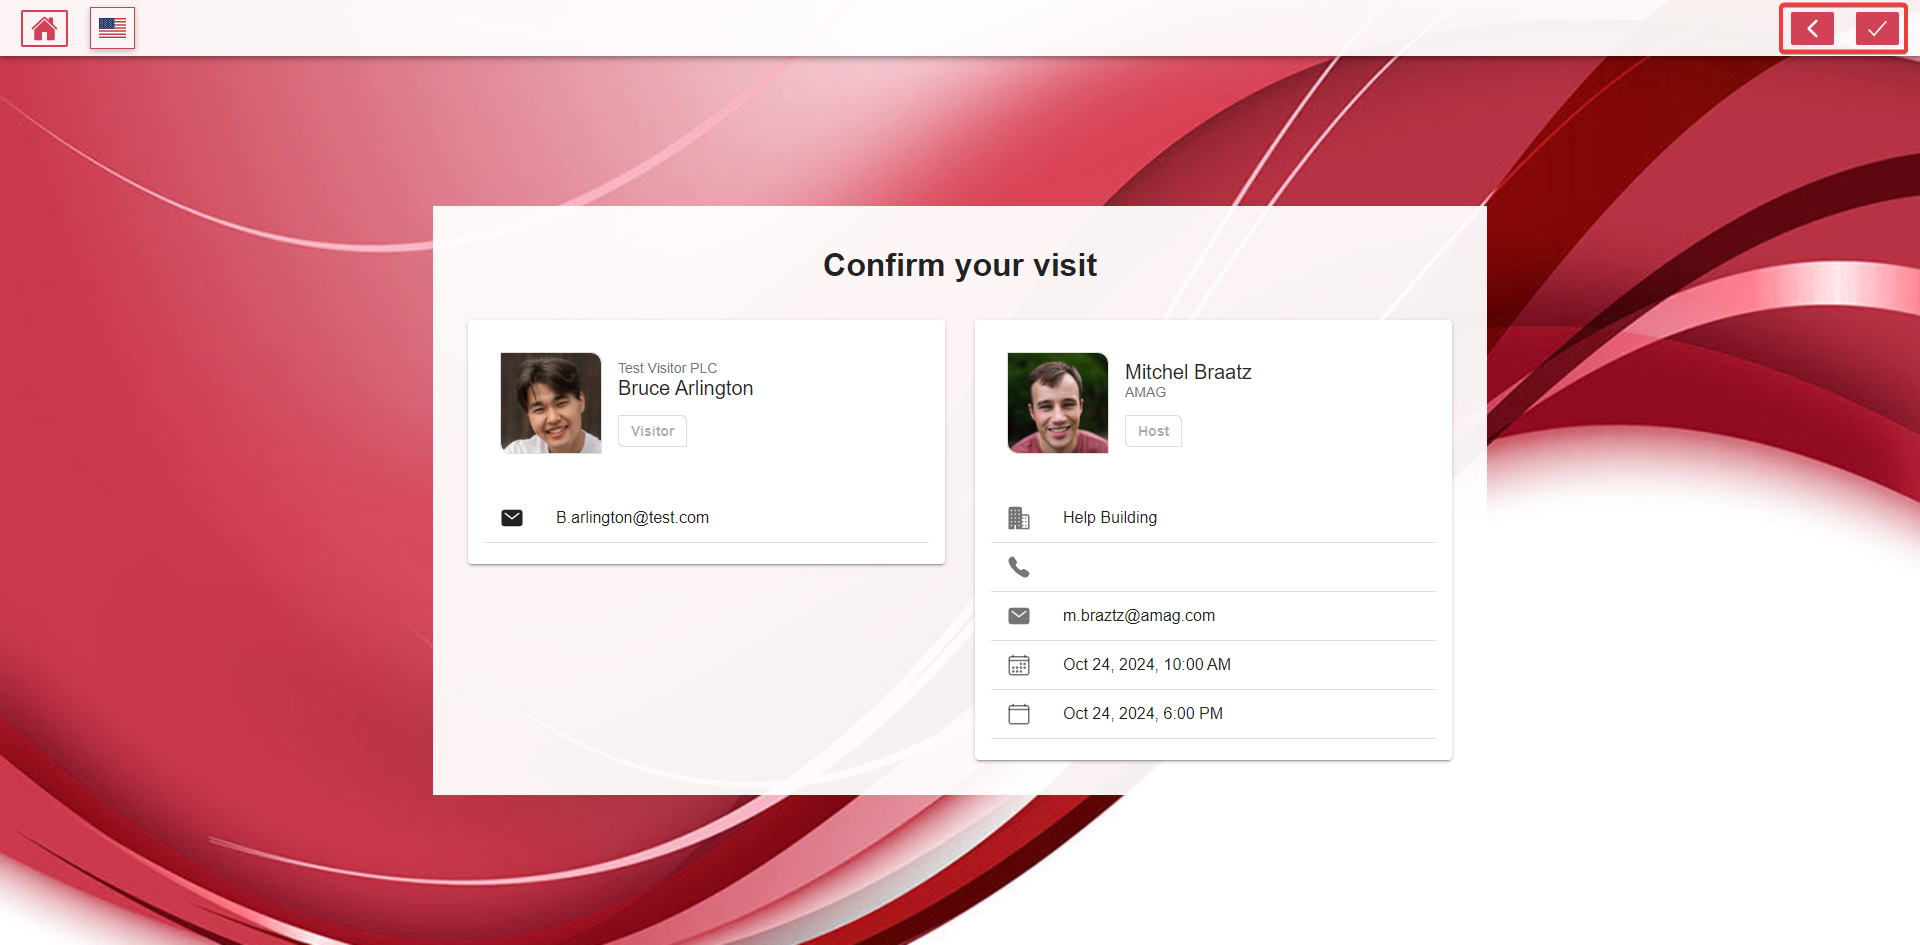
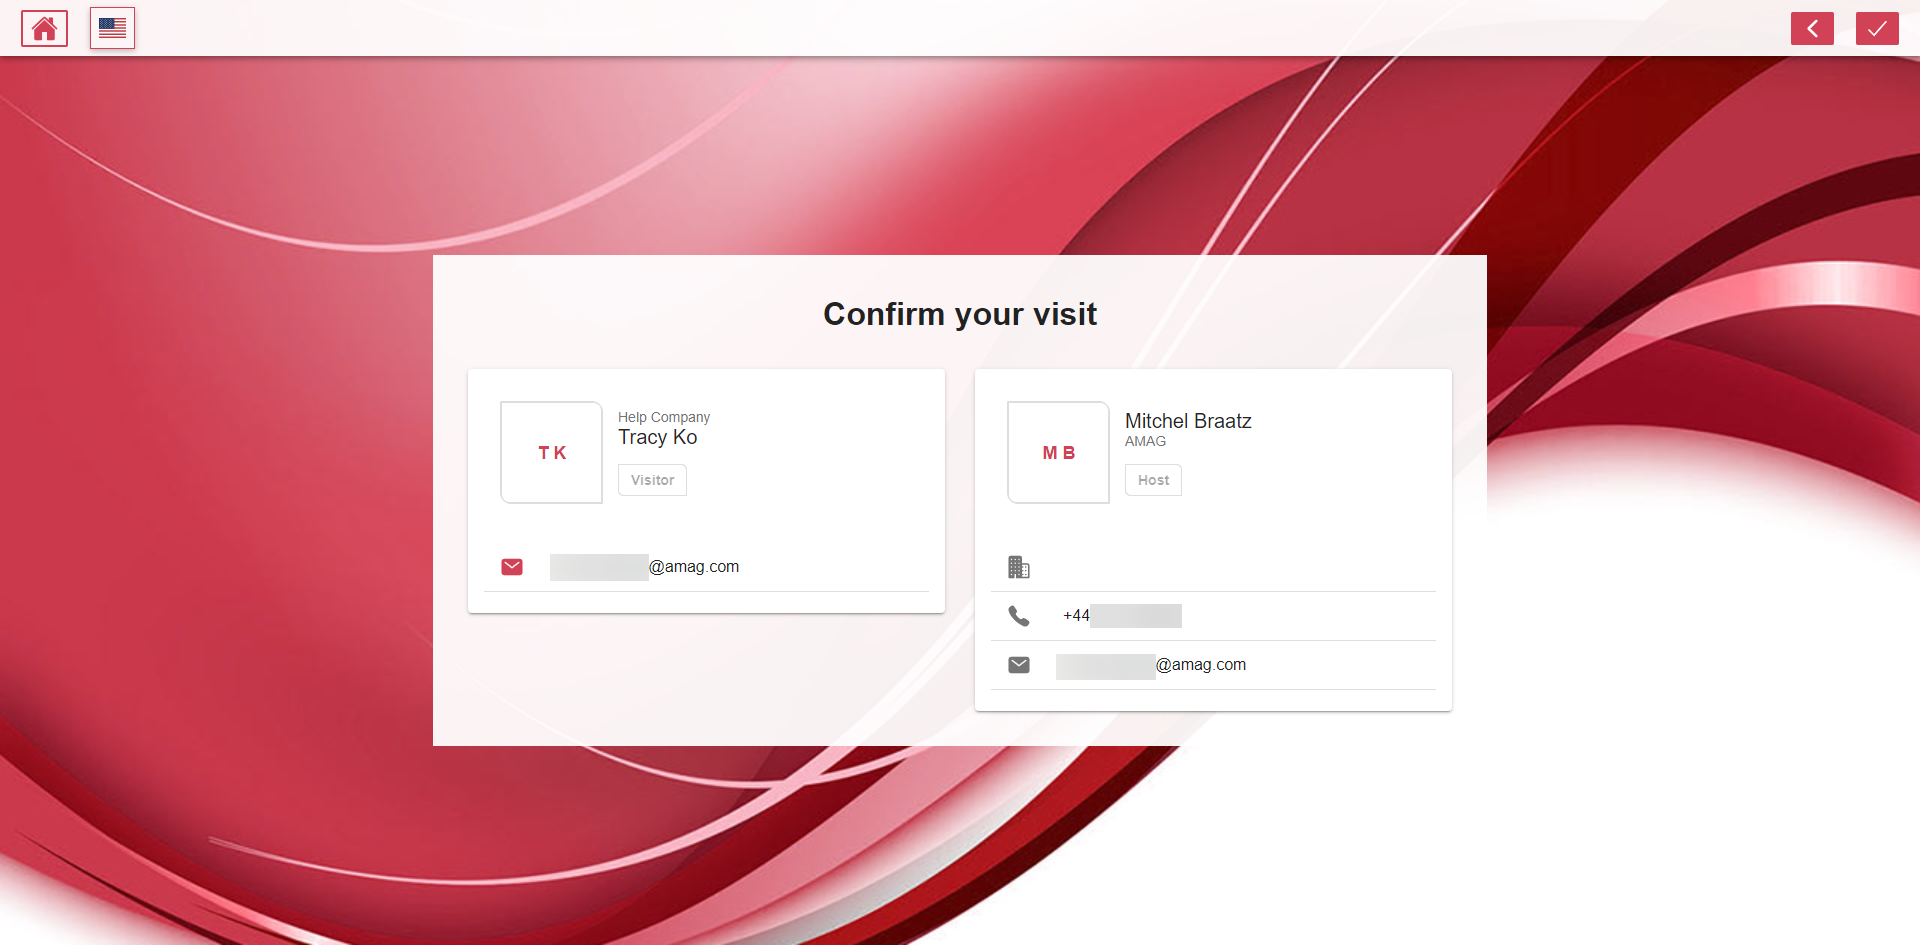
Find My visit: Registered visitors that don’t have their QR code can search for their visit by manually entering their name, then select the next button icon. The visitor is then required to Confirm Your Visit by clicking the Confirm (✓) icon button.
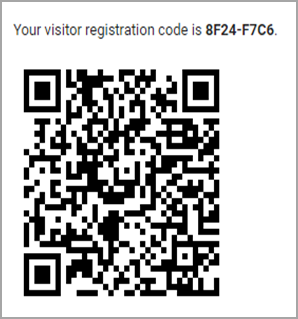
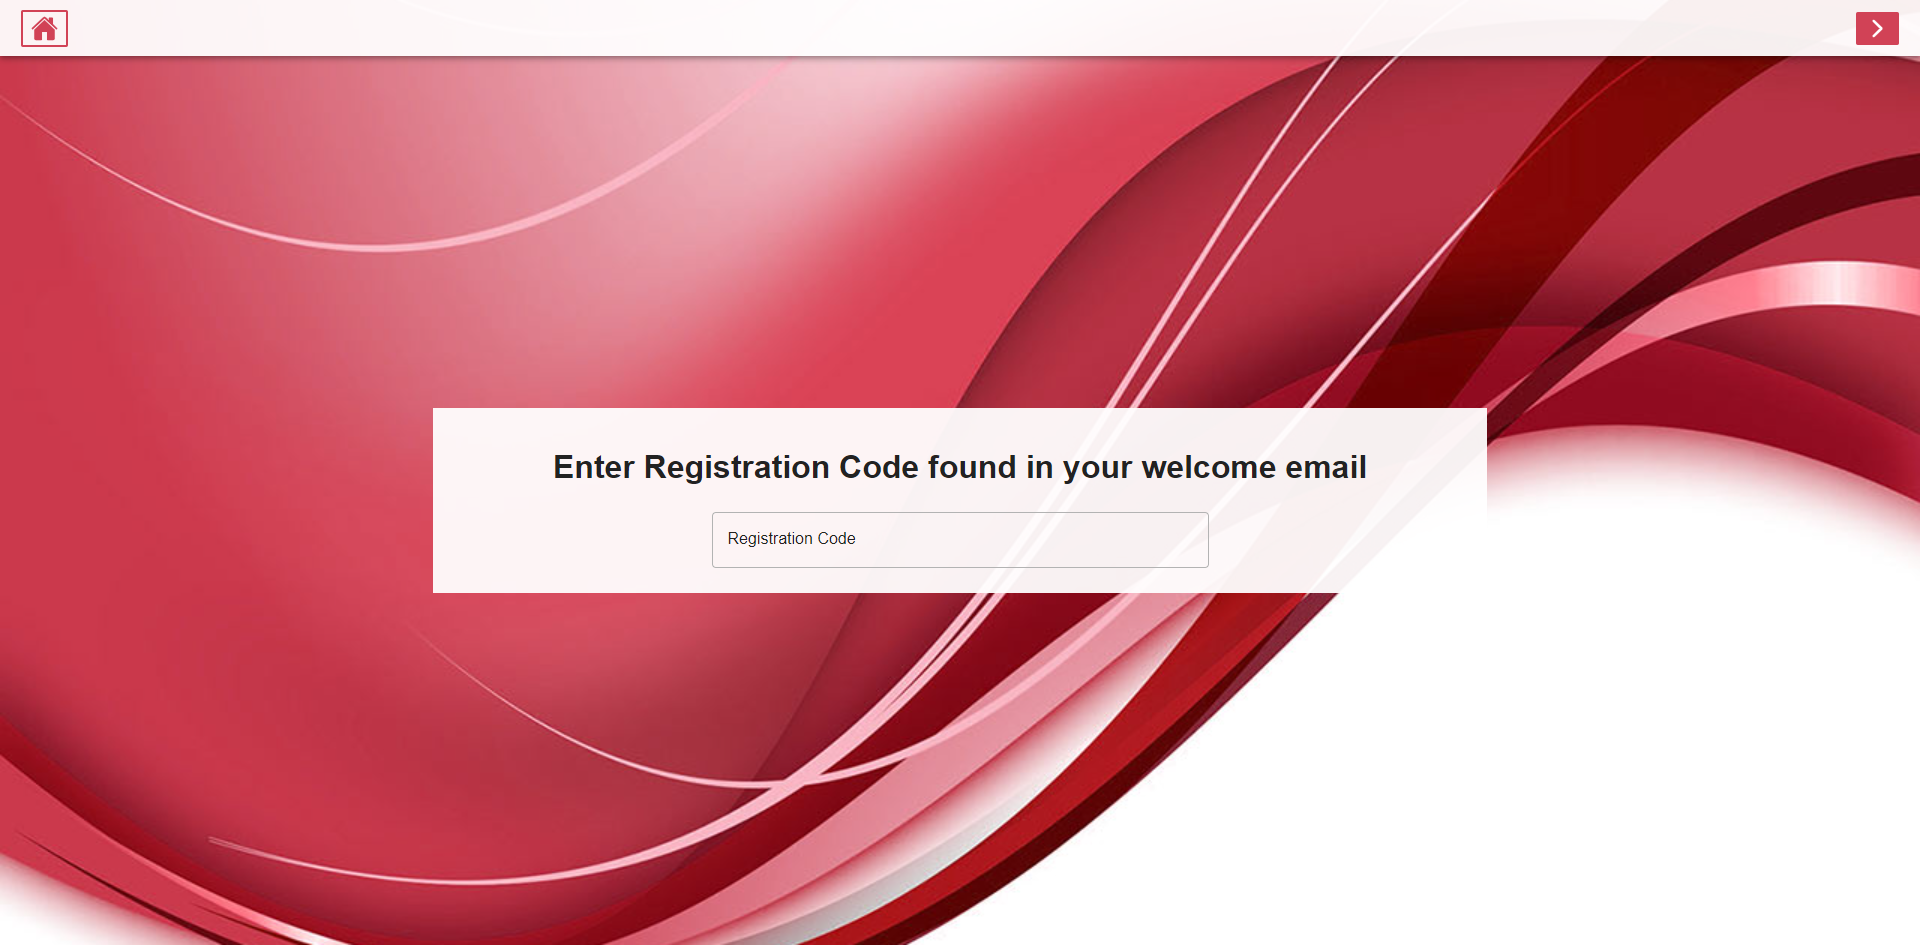
I Have a Code: Pre-registered visitors with a registration Code (contained in the visitor registration email) are able to enter the Registration Code into the device to locate their record, then select the next button icon. The visitor is then required to Confirm Your Visit by clicking the Confirm (✓) icon button.

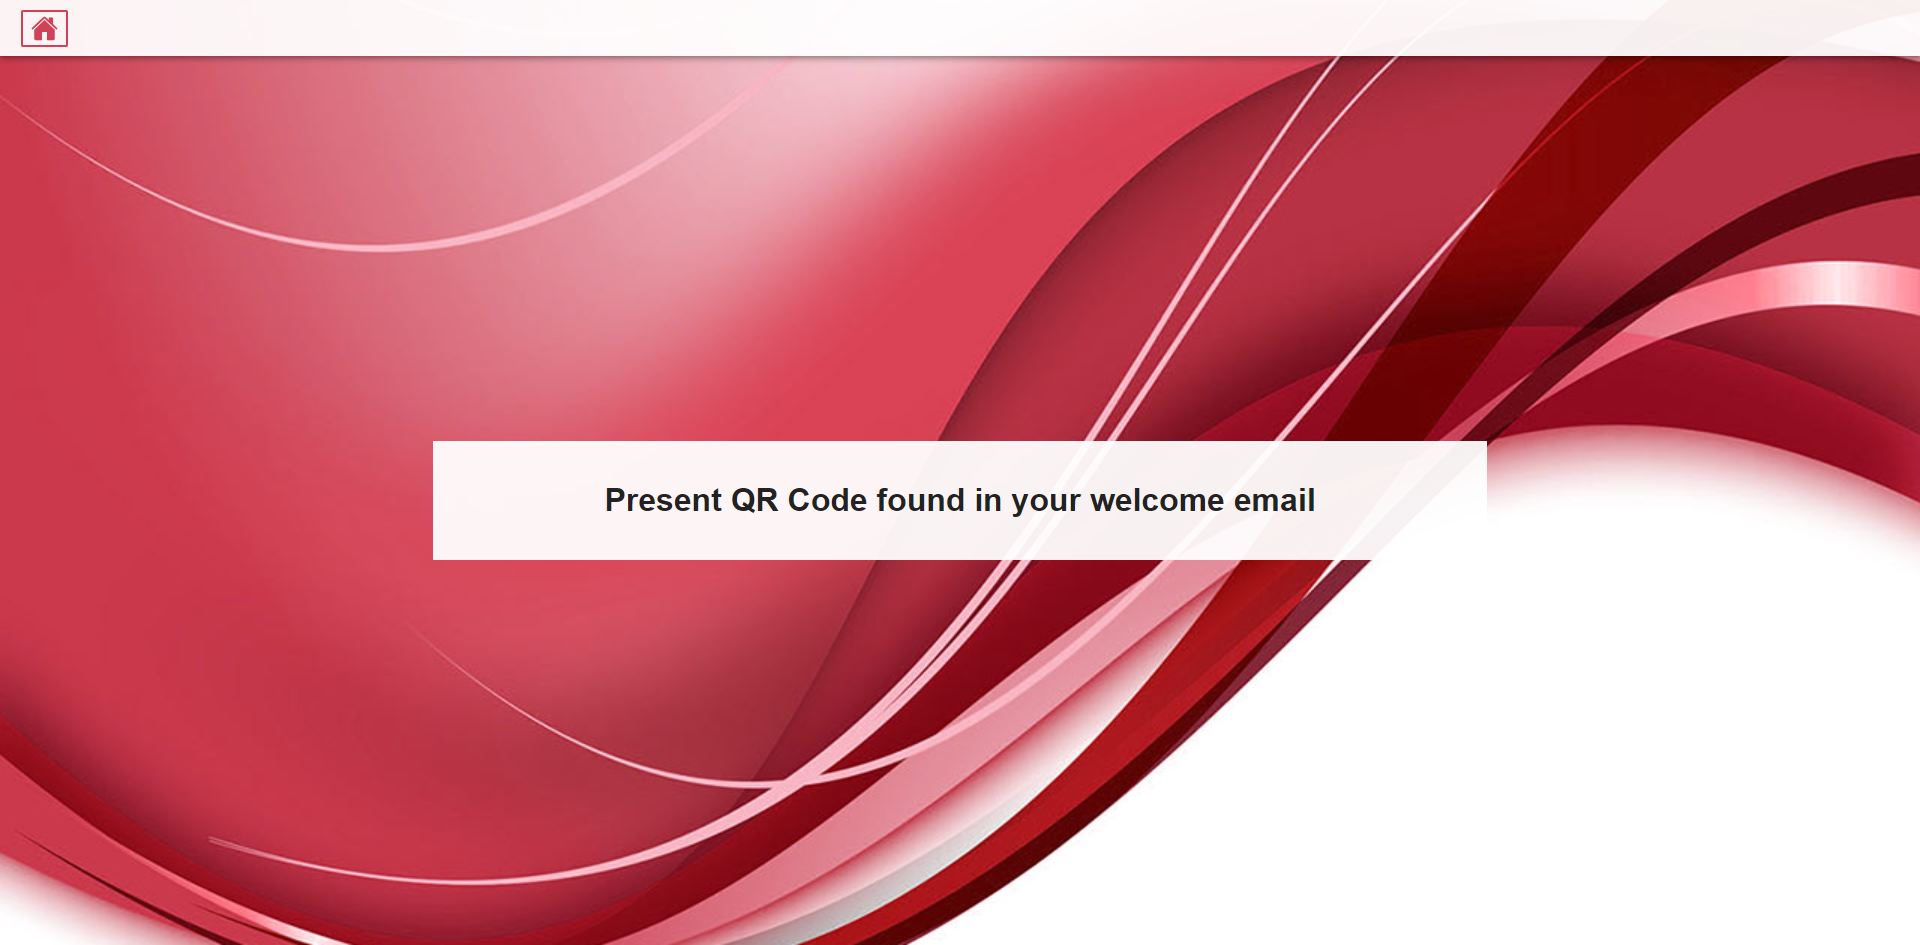
I Have a QR Code: Pre-registered visitors with a QR code (contained in the visitor registration email) are able to scan the QR code using the camera on the mobile device to locate their record, then select the next button icon. The visitor is then required to Confirm Your Visit by clicking the Confirm (✓) icon button.

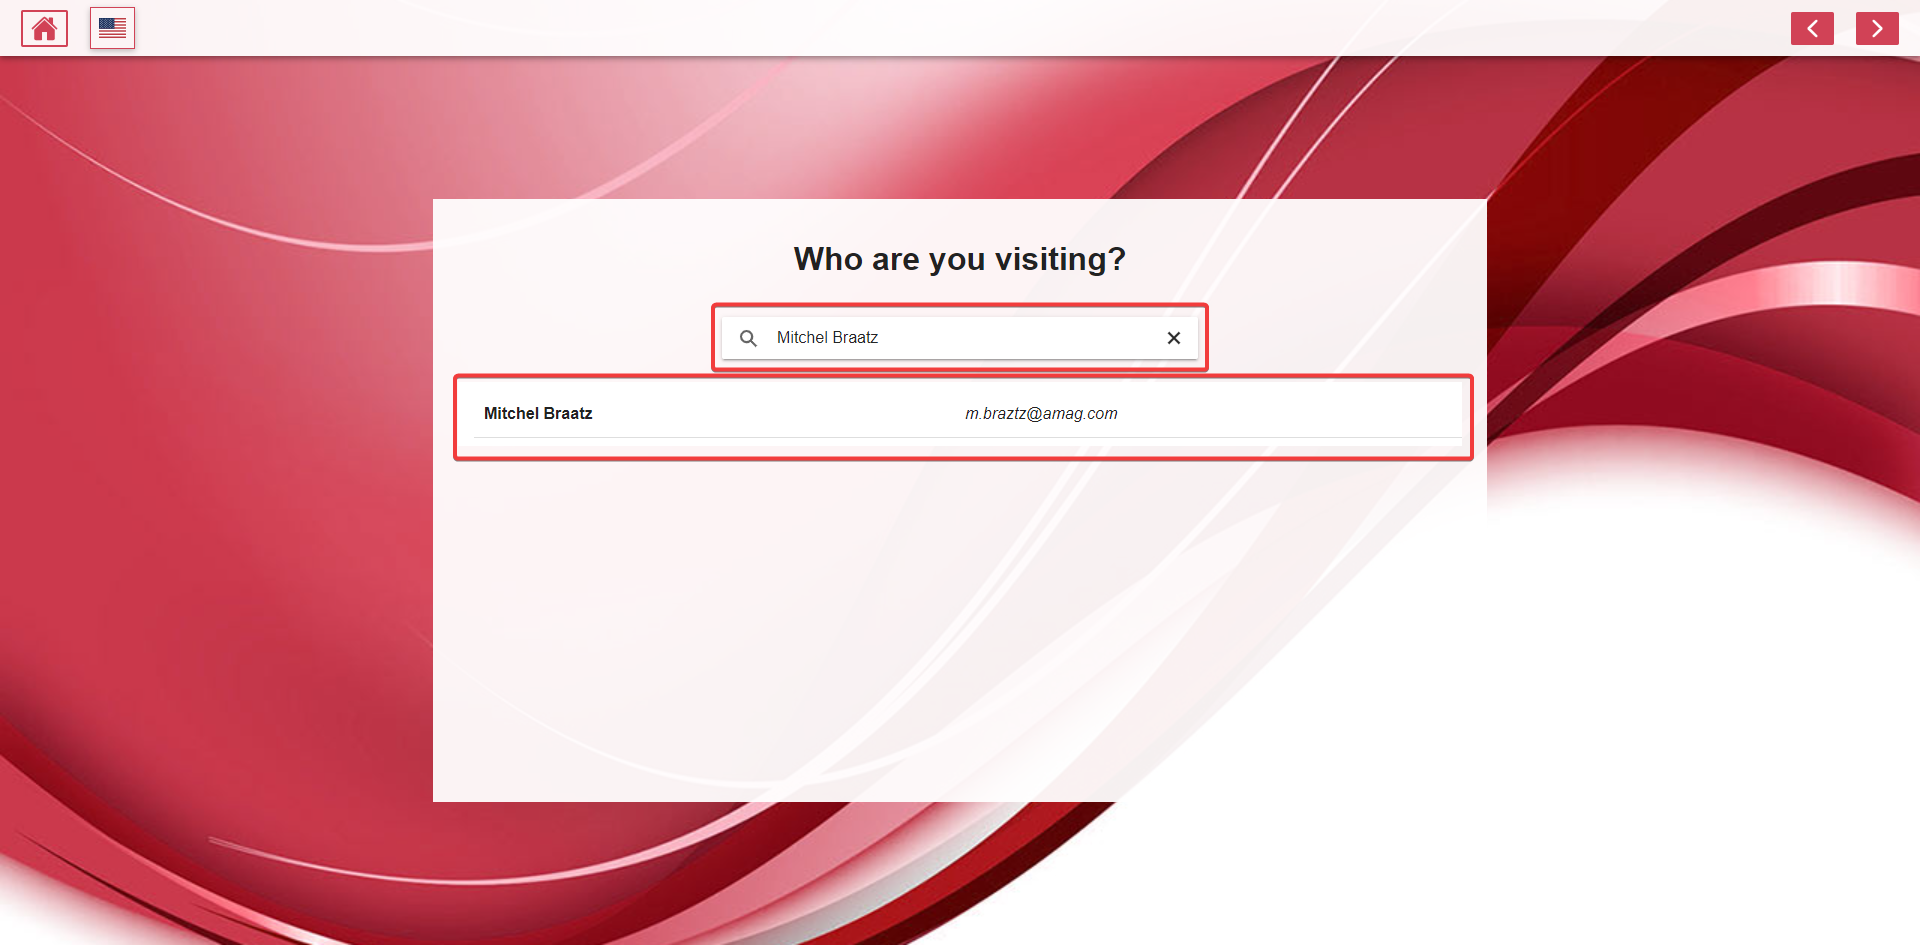
I need to register: Un-registered (walk-in) visitors can register themselves for their visit. The Visitor will need to supply their First Name, Last Name and Company Name. Followed by the name/details of the identity they are visiting. Enter the name in the Who are you visiting type to search field. Select the correct identity from the options below and confirm the identity the user is required to visit. The visitor is then required to Confirm Your Visit by clicking the Confirm (✓) icon button.


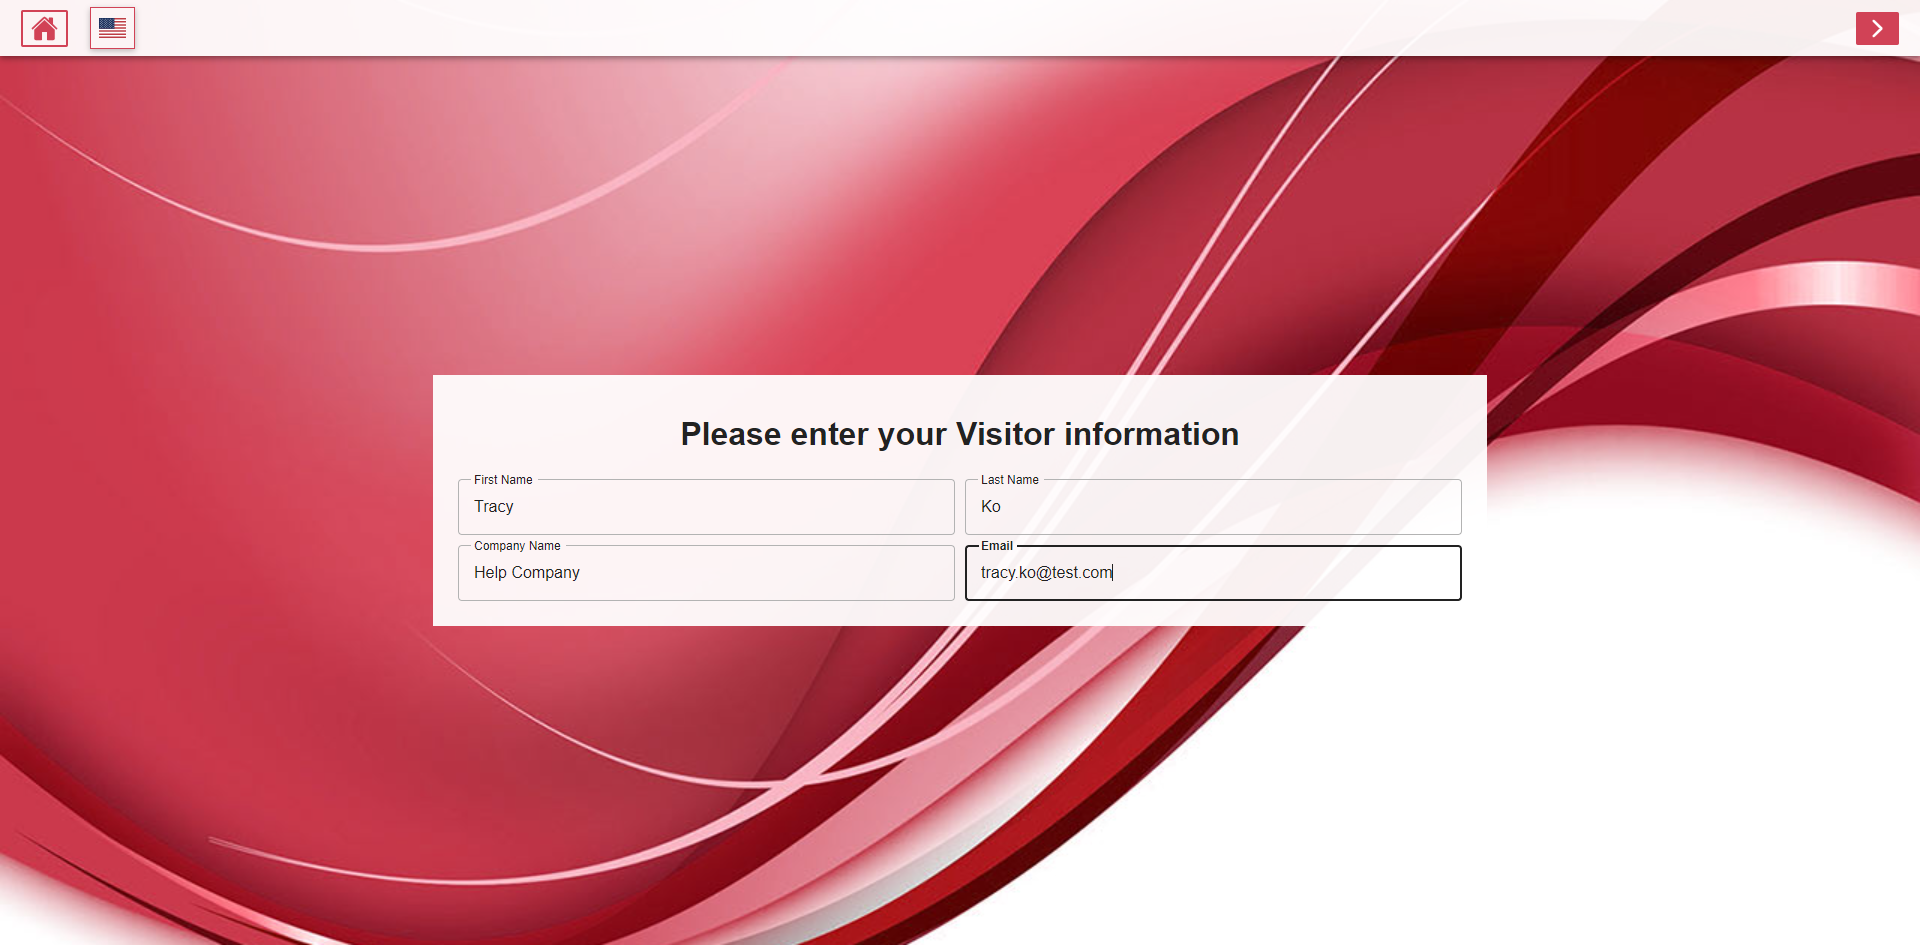
Visitor Sign In: Visitors that are required to sign in with personal details rather than with a code or QR code. For example, the visitor could have just "walked in" and has not been pre-registered, therefore they will need to create a visit with the visitor sign in process.
The Visitor is required to provide their First Name, Last Name, Company Name and Email address, then select the next button icon.
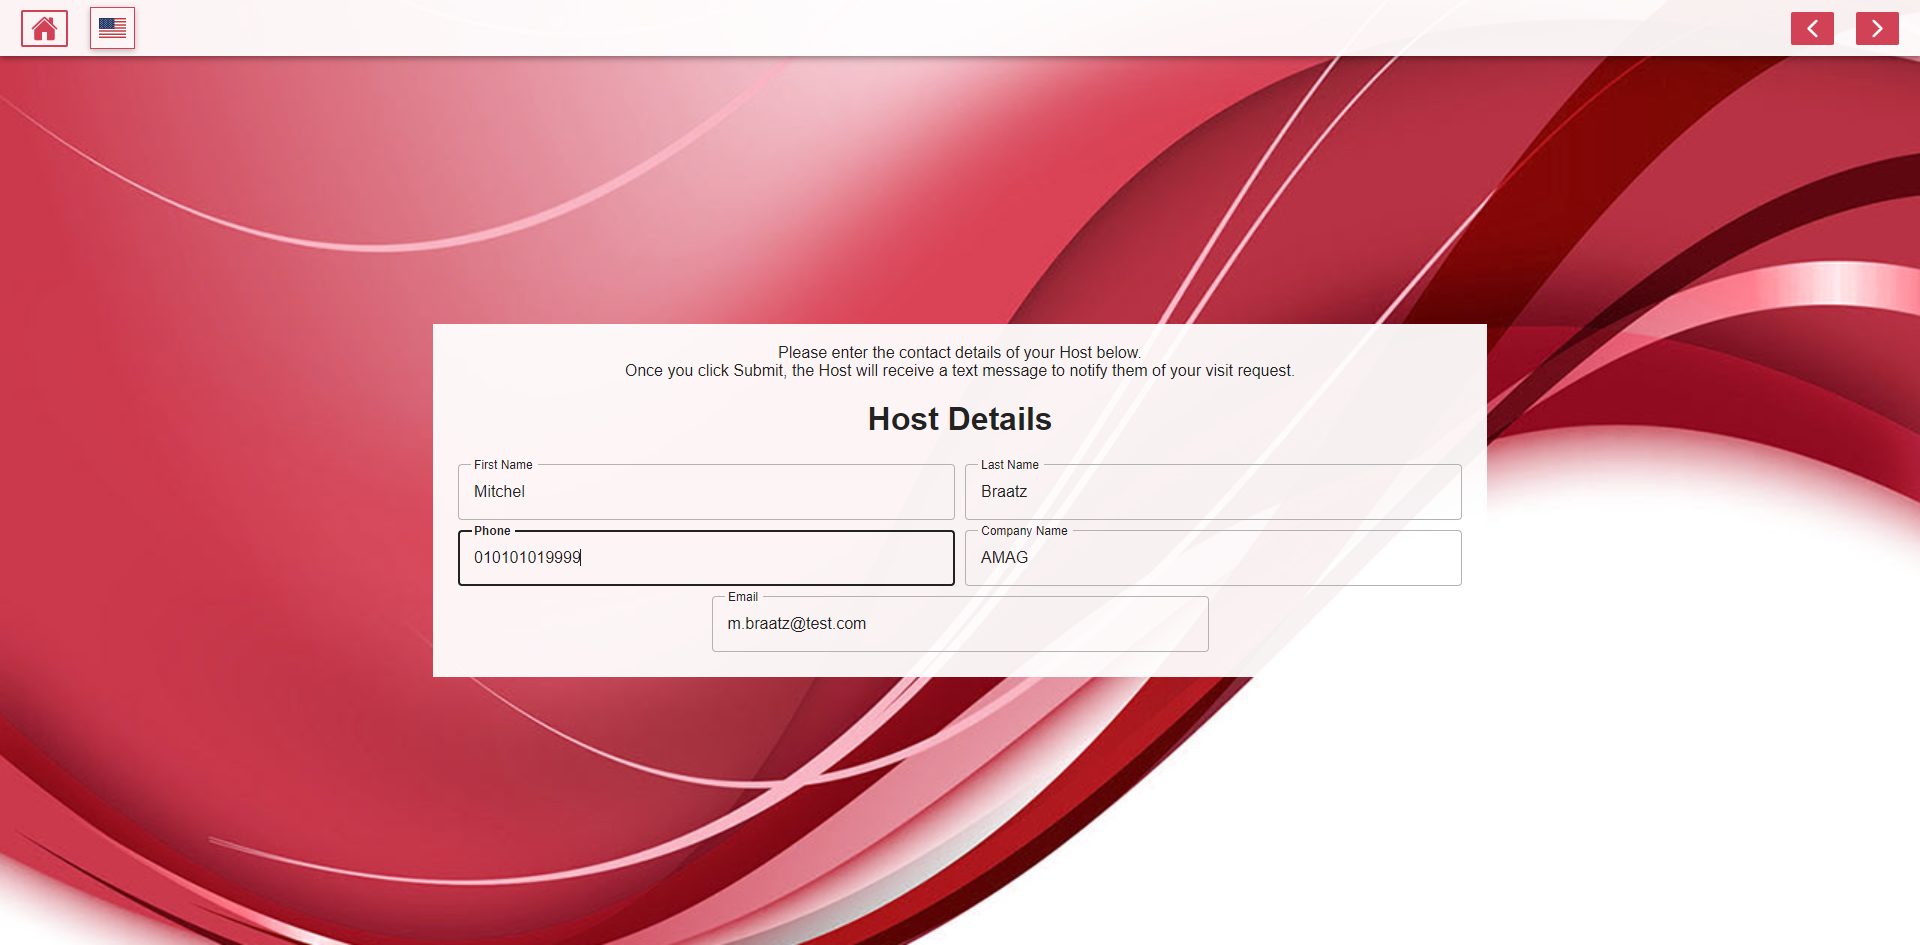
Supply the Host details, including their First Name, Last Name, Company Name, Phone Number and Email address, then select the next button icon.
The visitor is then required to Confirm Your Visit by clicking the Confirm (✓) icon button.
The visitor is informed that the registration was successfully completed.

Host Code: Is an authorization code that the selected host is required to provide to authorize the visitor and the visit. The visitor/host must provide the Host Authorization Code when prompted, then select the next button icon. The visitor is then required to Confirm Your Visit by clicking the Confirm (✓) icon button.

Visitor Check Out Using Self-Registration Kiosk
Depending on configuration, the visitor will have various check out options available, below is an example of some of the options and a description:
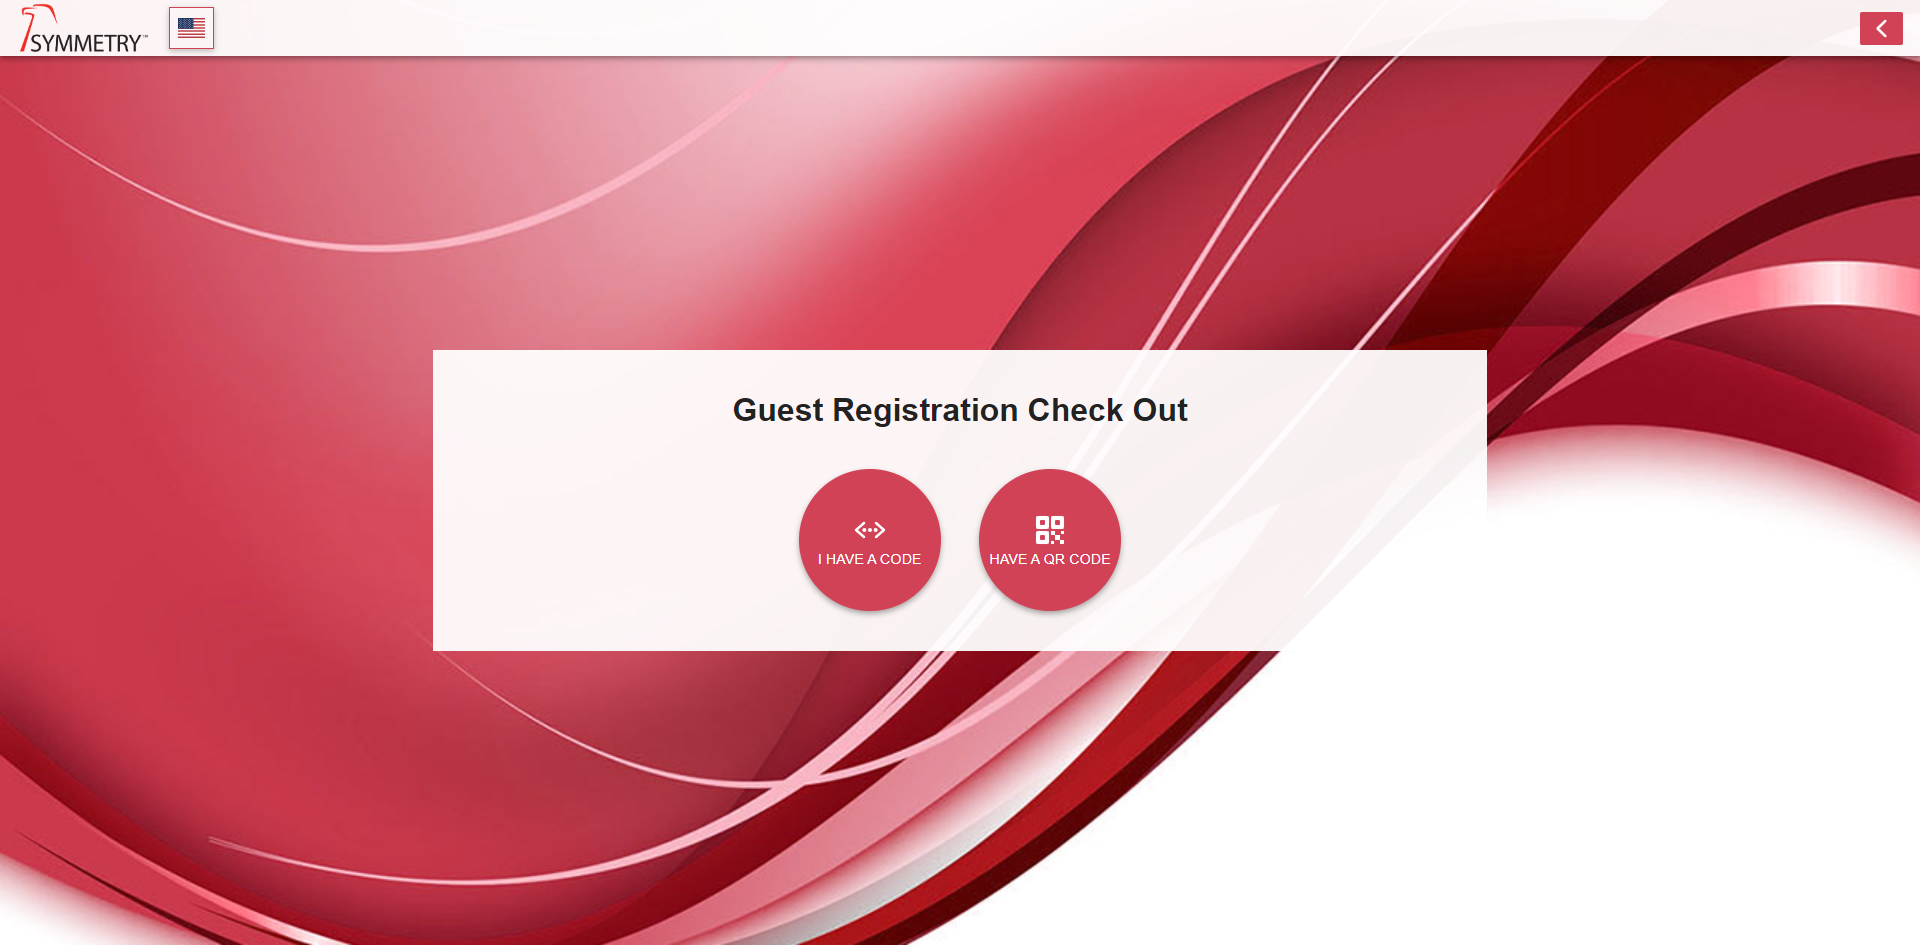
I Have a Code: Pre-registered visitors with a registration Code (contained in the visitor registration email) are able to enter the Registration Code into the device to check out, then select the next button icon. The visitor is then required to confirm their check out by clicking the Confirm (✓) icon button.
Have a QR Code: Pre-registered visitors with a QR Code (contained in the visitor registration email) are able to scan the QR Code at the device to check out, then select the next button icon. The visitor is then required to confirm their check out by clicking the Confirm (✓) icon button.
Visitor Check-In Process:
The self registration kiosk check-in process can be configured in a variety of different ways, however the basic check-in process is as follows:
The first step of any kiosk-based check-in is for the visitor to confirm the details of their visit. This step allows the visitor to ensure that they have selected the correct visit and all relevant visit details are entered correctly.
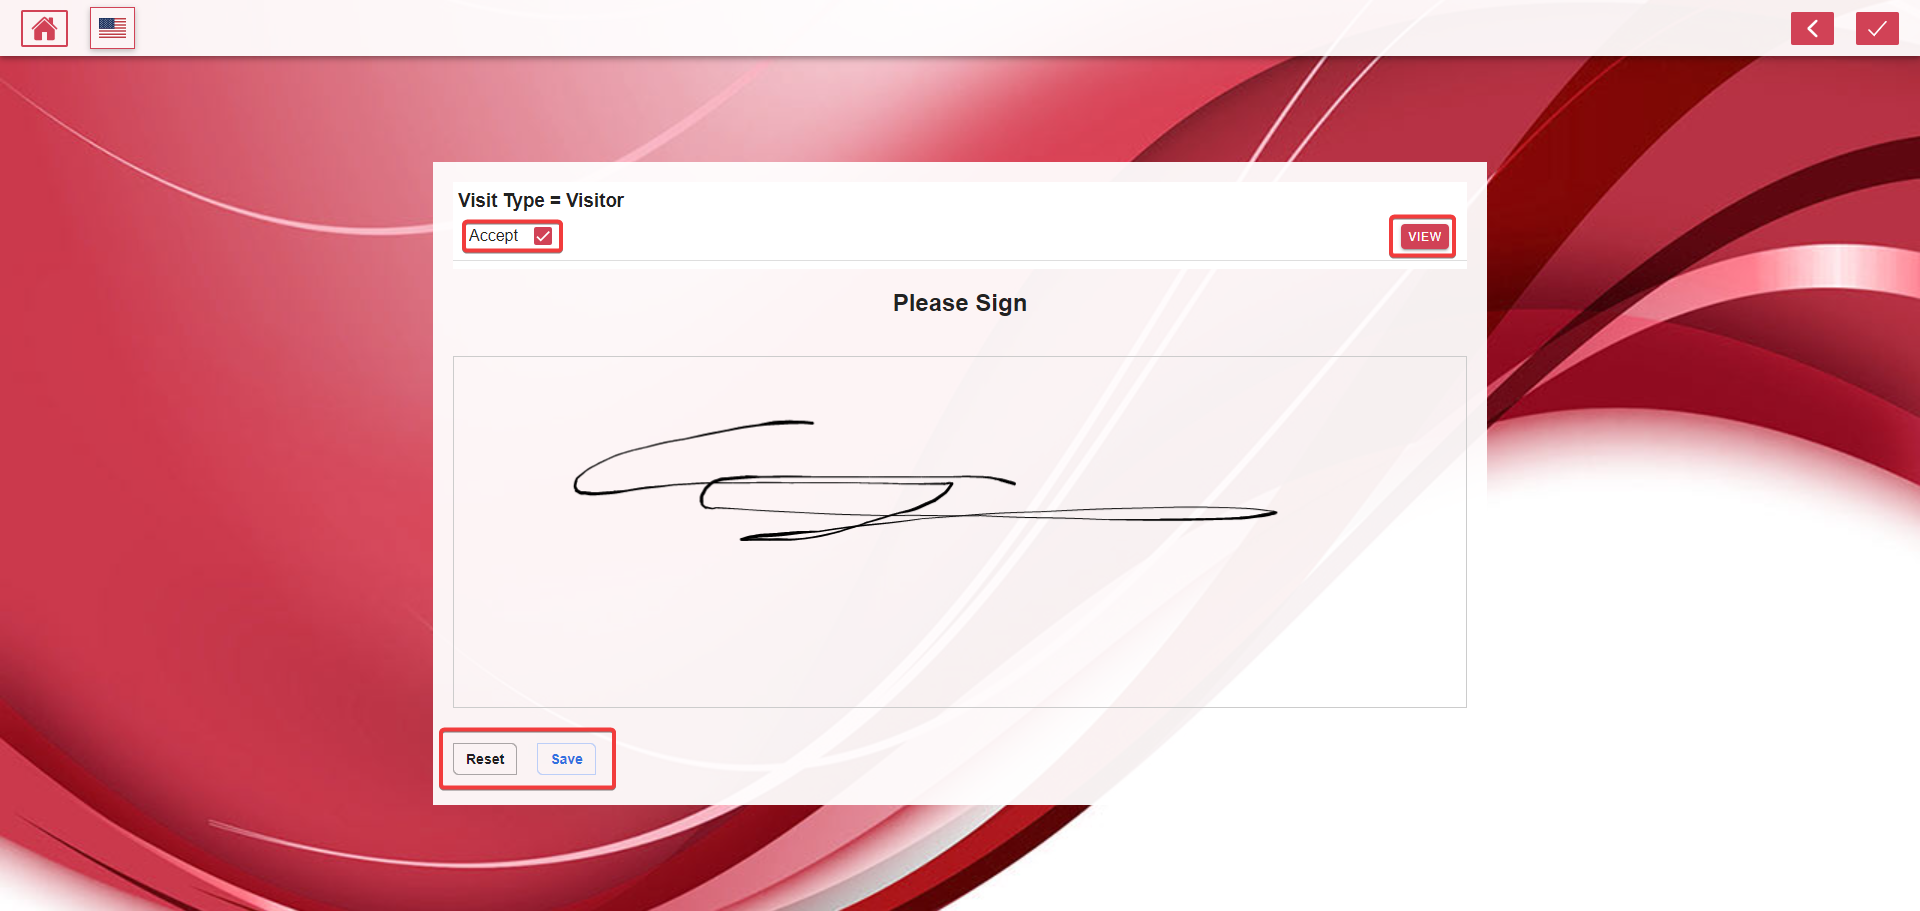
The visitor may be required to acknowledge/sign specific visit policies, such as a NDA (Non-Disclosure Agreement). The visitor can sign/acknowledge and view the policy document as shown on the screen below. Once the policy has been approved and signed, the user must click Save button before confirming their check in by clicking the Confirm (✓) icon button.
The next step is typically to capture a photo of the visitor. The kiosk shows the visitor a live stream of the camera, allowing them to align themselves correctly for the picture. When the visitor clicks Take Photo the kiosk will begin a 3-second countdown, allowing them time to prepare for the picture.
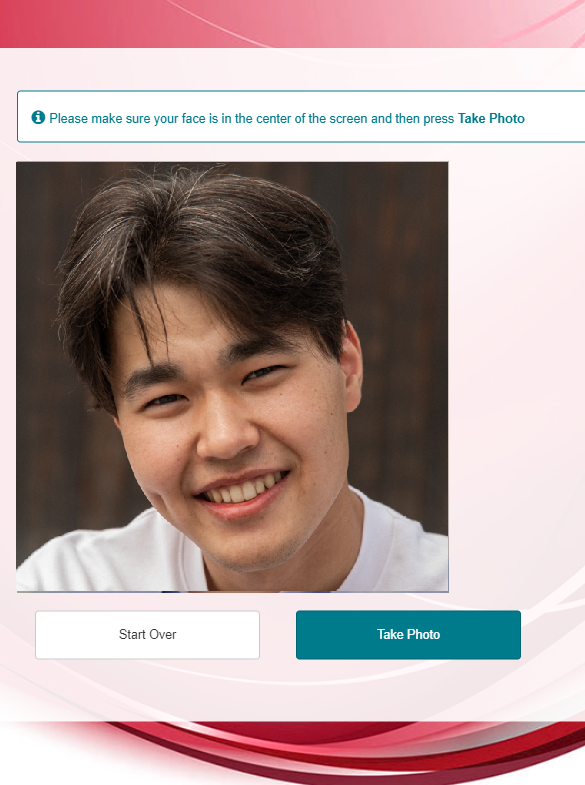

Once a photo has been captured, the visitor is checked-in and a customizable message is displayed.

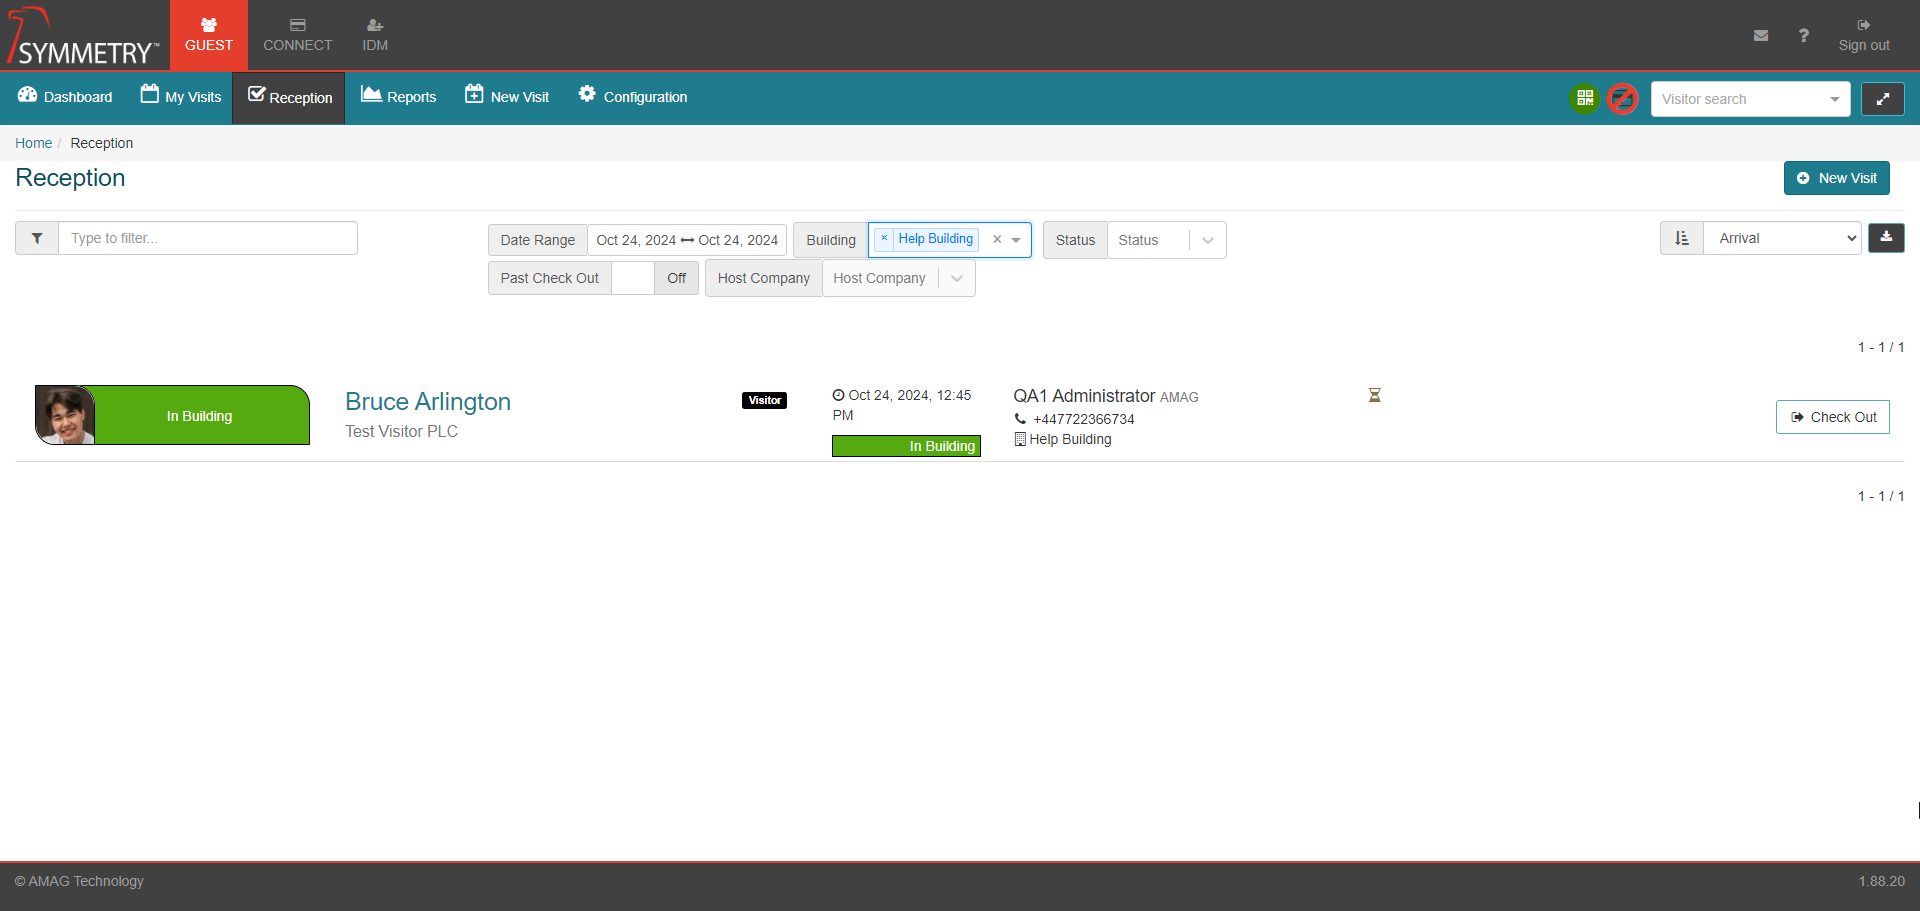
The visitor is shown as checked-in on the Reception tab of the application.
Note
Visitor badges can be printed via a printer connected directly to the kiosk, or via remote printing to a badge printer tied into a separate workstation.