Self-Registration
Note
AMAG Technology recommends the use of Windows tablets, however a variety of tablets and kiosk hardware are supported. For more details please review the recommended peripherals documentation, provided separately.
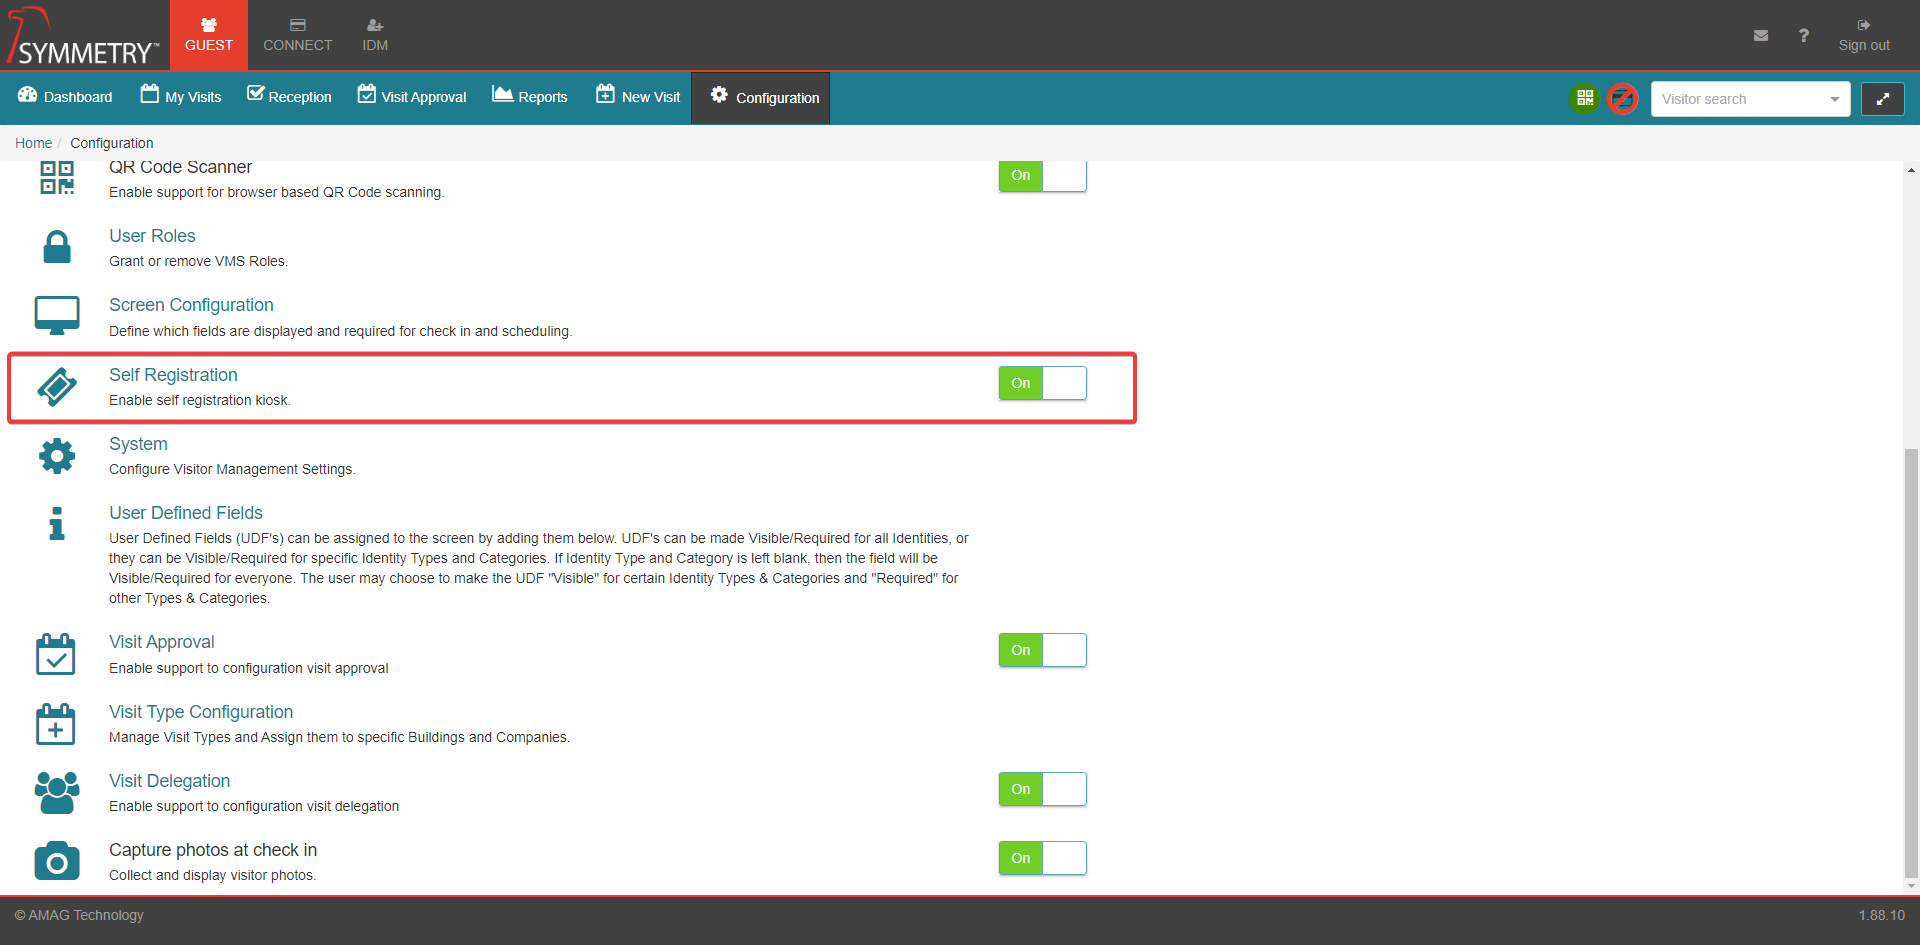
The GUEST Self-Registration Kiosk allows visitors to register and/or check themselves in using a configurable User Interface designed to be used on a touch screen/mobile tablet.
To create a new Self Registration configuration, navigate to GUEST Configuration Self-Registration and click the New button.

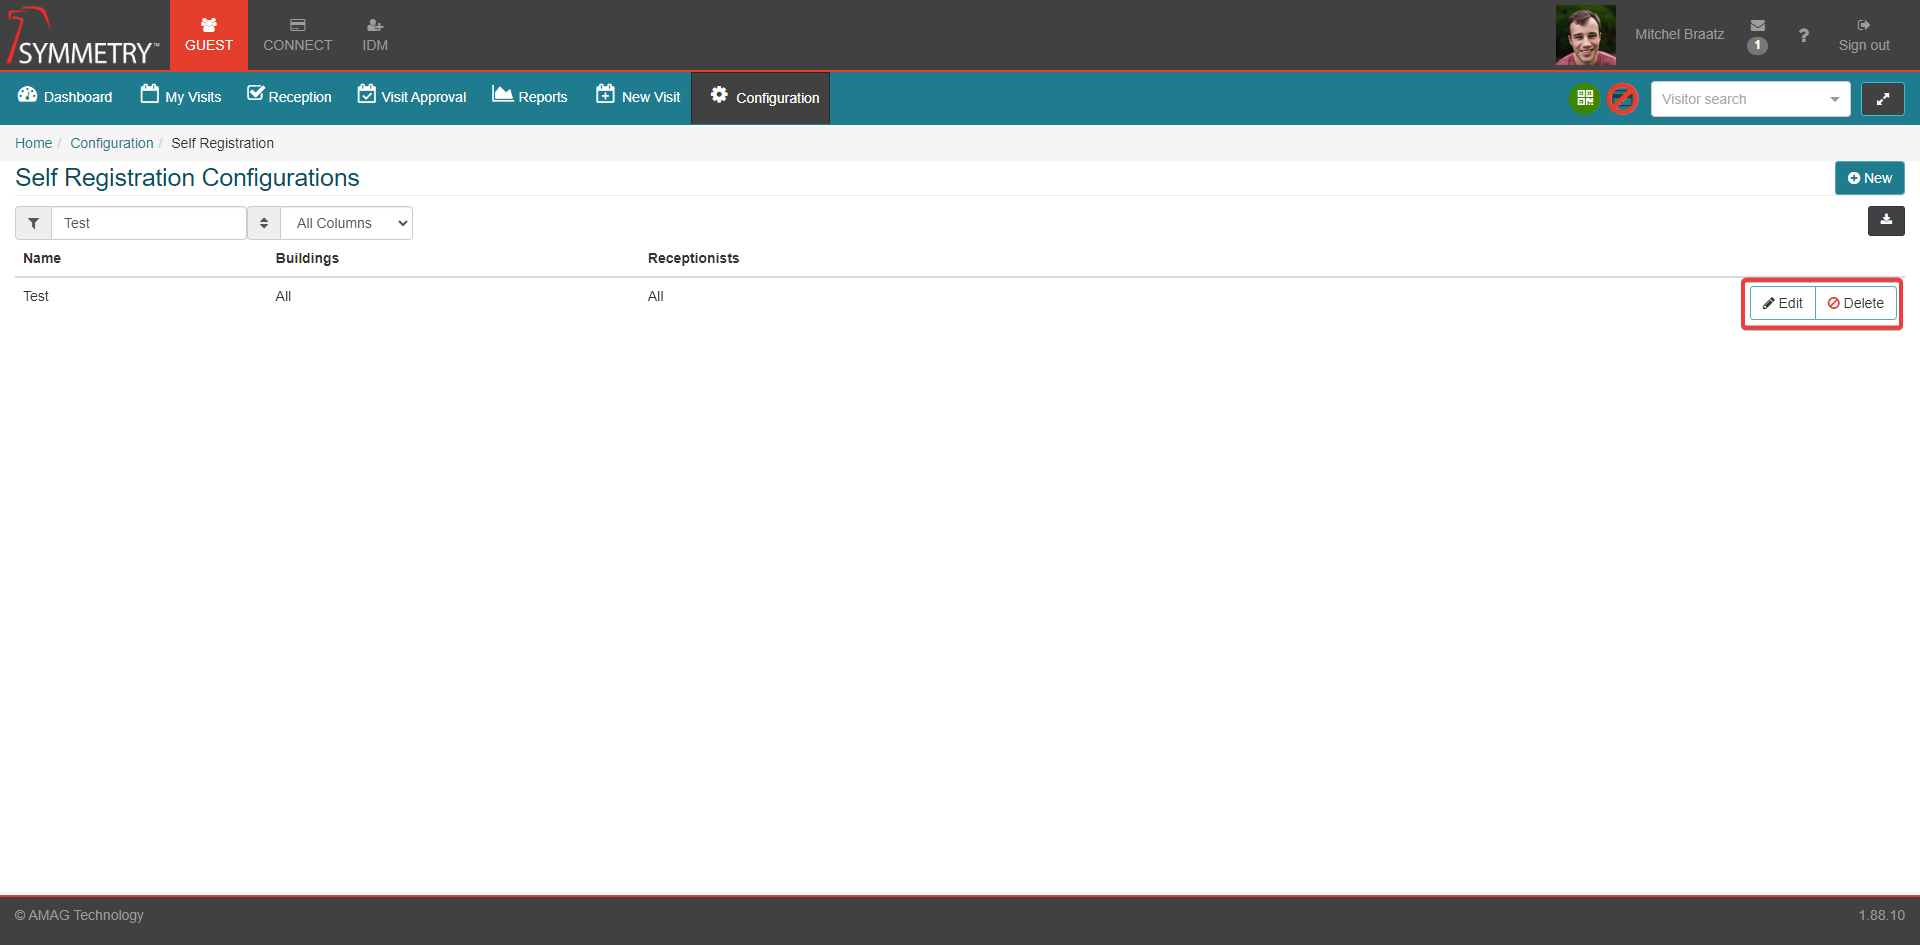
Previously created Self Registration configurations can be edited by clicking the Edit button, which will automatically take the user to the edit Screen Configuration section. These Self Registration configurations can also be deleted by clicking the Delete button.
General Configuration and Shared Settings
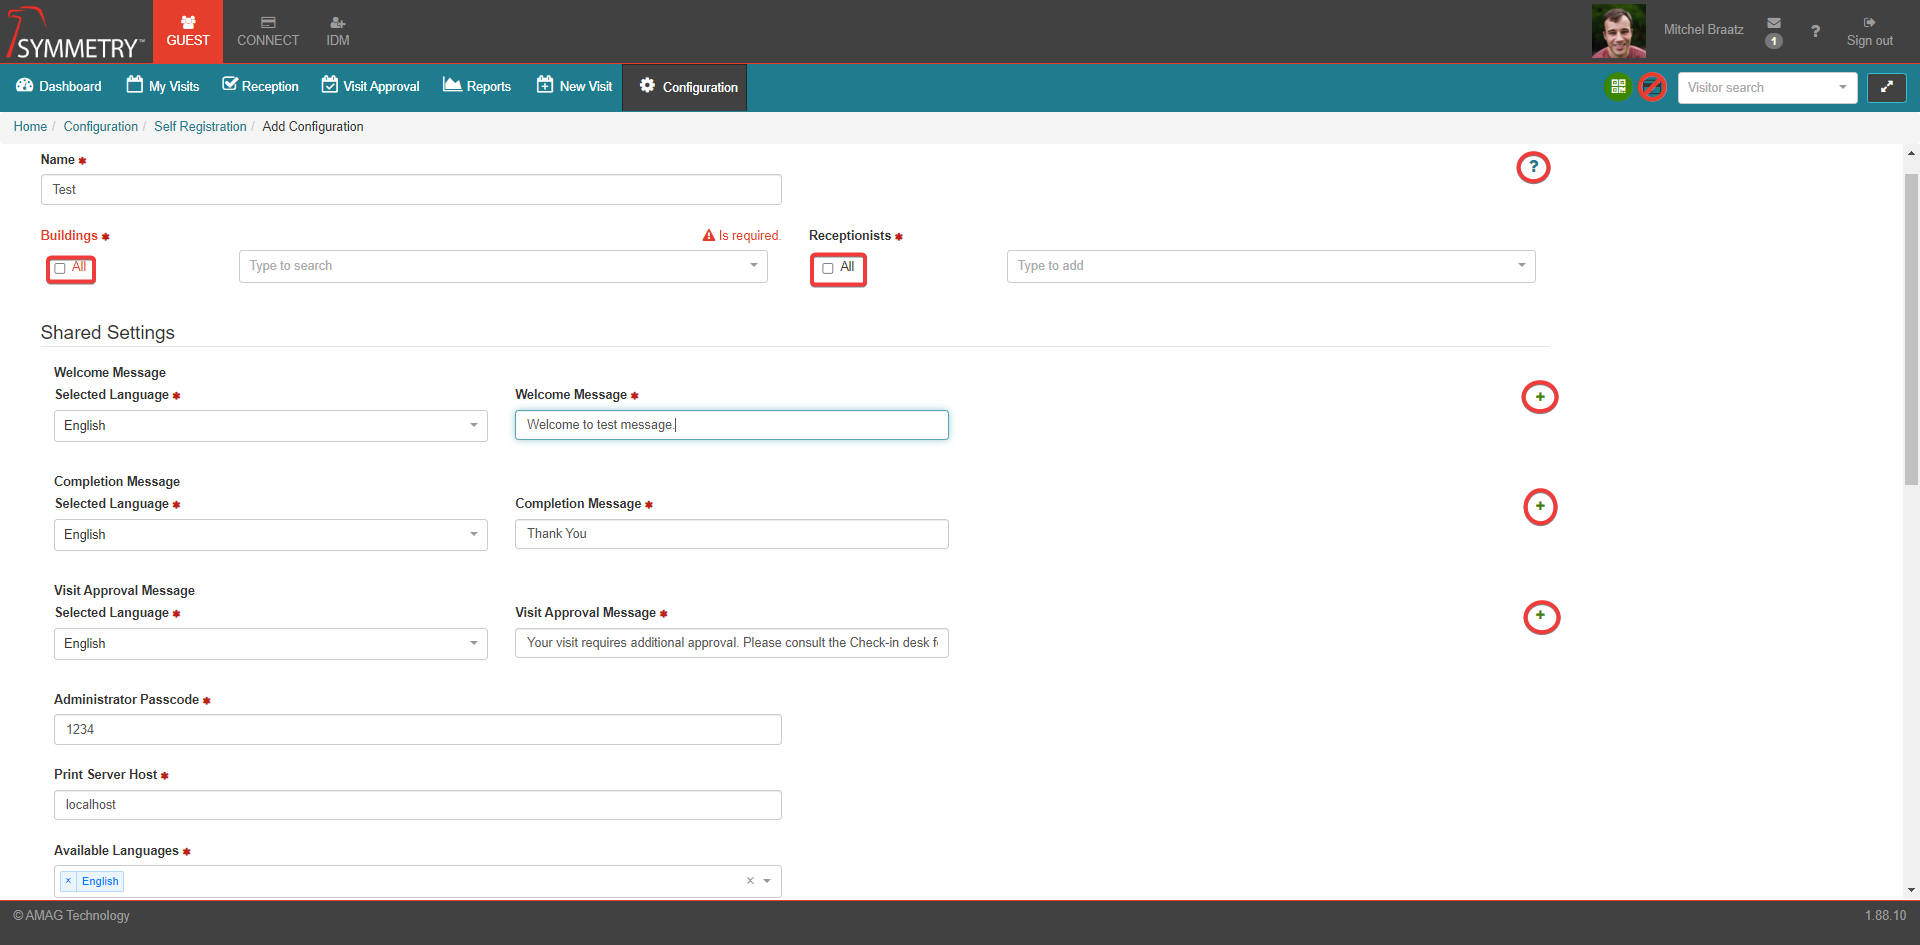
Having clicked the New button, the user must enter a Name for the Self Registration kiosk instance.
Select one or more Buildings and Reception Users the kiosk applies to. The user can also select all the Buildings / Receptionists by selecting the ALL check box.
Note
If a Building has been made Inactive it will not be visible and cannot be selected. Refer to Building Management for further information.
Enter a customized Welcome Message (default is Guest Registration) and a customized Completion Message (default is Thank You). User can select the language the message is to be displayed in (currently English or Spanish) and can click the Addition (+) button to allow message to be displayed in both languages simultaneously.
Enter a customized Visit Approval Message (default is Your visit requires additional approval. Please consult the Check-in desk for assistance.). Again, user can select the language the message is to be displayed in (currently English or Spanish) and can click the Addition (+) button to allow message to be displayed in both languages simultaneously.
Enter the Administrator Passcode (default 1234). Admin users will need to supply this if making administrative changes to the kiosk environment such as altering the default Visit Type for unannounced visits.
Enter the Print Server Host information. This is the Computer name or IP Address of the system running the G4S Print Utility. Default is localhost.
Select the Available Languages from the drop down list which a user can choose from when using self registration. Individual or multiple languages can be selected. Default is English but Spanish is also available for selection.
Clicking the Help (?) icon will provide the user with a useful description of each field.
Visit Configuration
Each kiosk interface can be configured to support Pre-Registered Visits and/or Unannounced Visits. These can be toggled between On or Off via the toggle option next to the option. Further details for each option is detailed in the following sections within this guide.
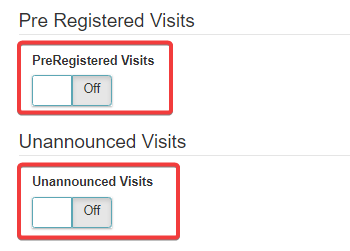
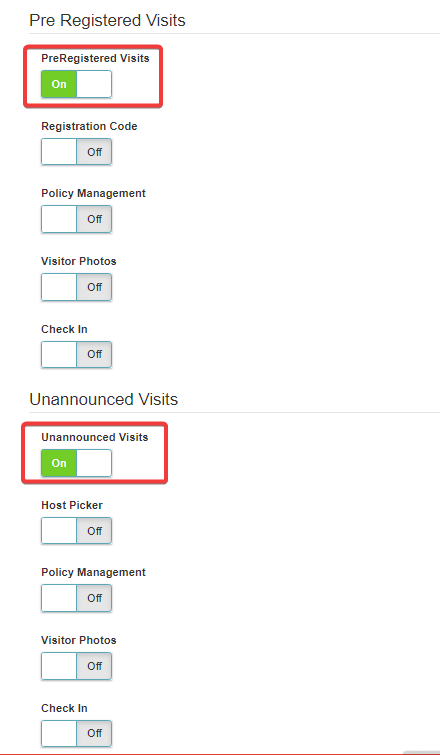
Pre-Registered Visits:
If PreRegistered Visits set to ON, the following options become available:
Registration Code: Toggling this to ON activates the I have a code functionality in the kiosk.
Policy Management: Toggling this to ON allows visitors to sign / acknowledge Policies at the kiosk. Note: Policy Management must first be switched ON in GUEST Configuration.
Visitor Photos: Set this value to On to capture a photo of the visitor during check-in.
Note
Capture photos at check in must first be switched ON in GUEST Configuration.
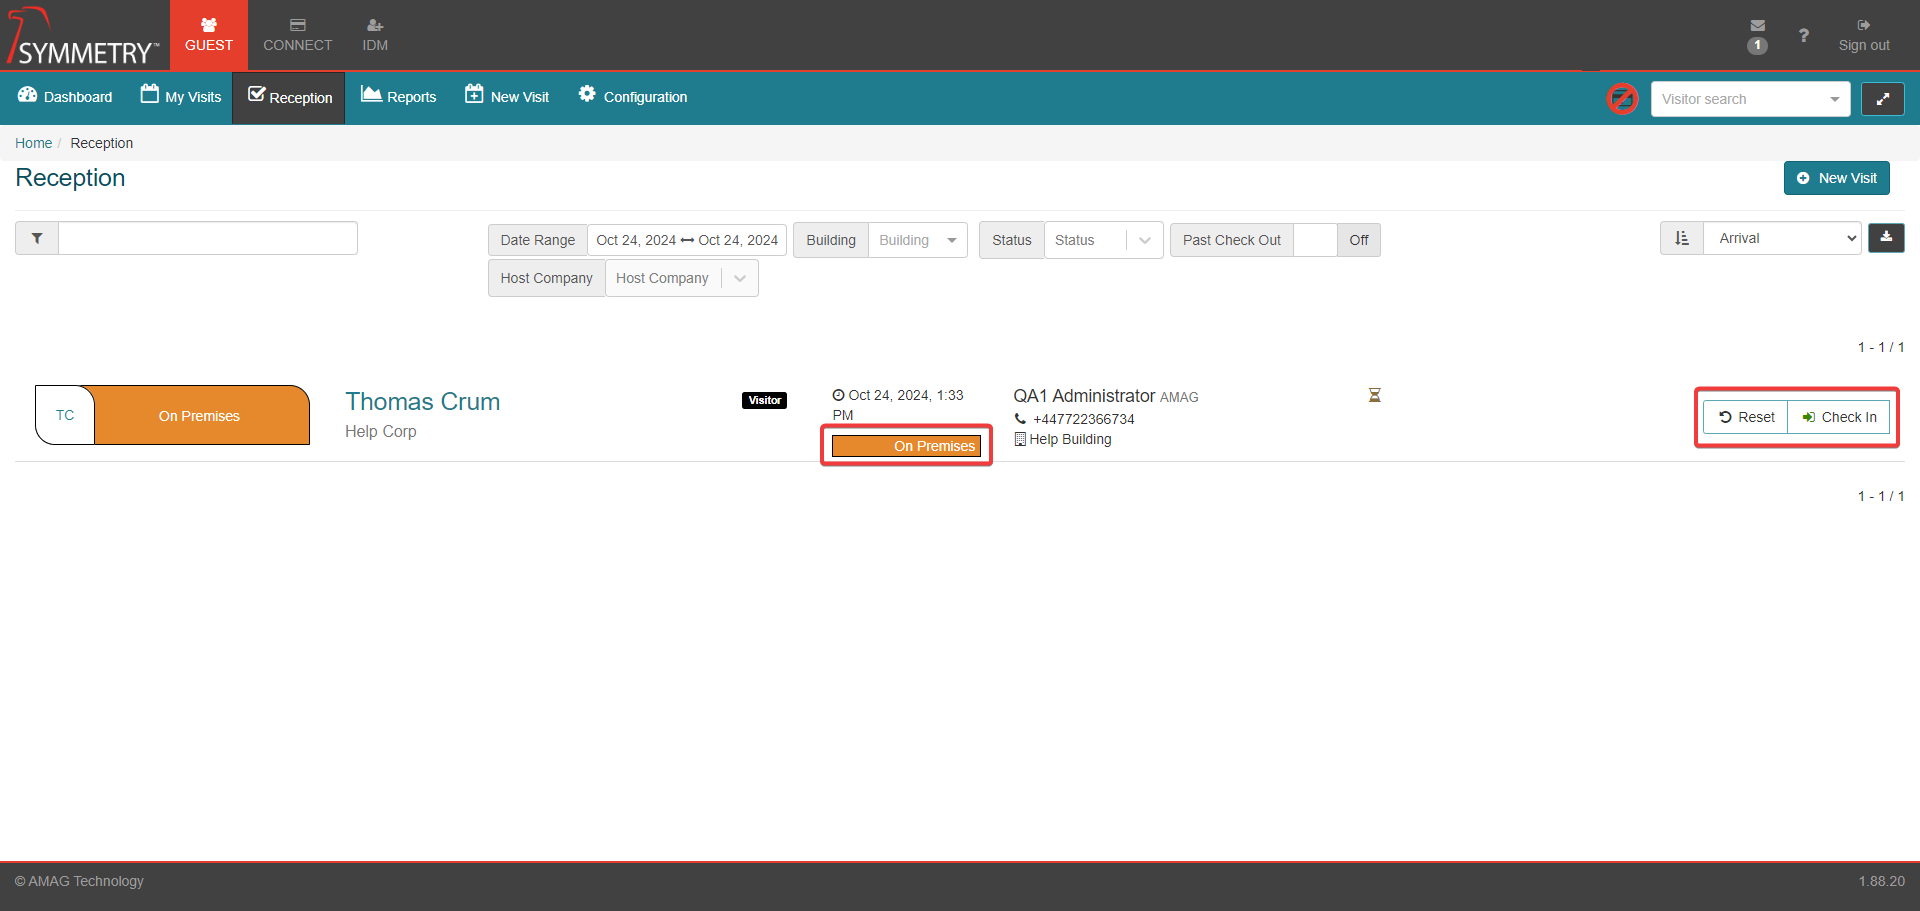
Check in: Set this value to On to check the visitor in at the Self Registration kiosk. If this value is set to the Off position the Self Registration kiosk can be used to sign policy documents and capture a photo but does not allow the visitor to check themselves in. This applies the visitor with the On Premises status within the GUEST Reception tab, and the reception user must confirm and complete the final check in of the visitor.
If Check in is set to On, an additional configuration setting – Badge Templates can be configured provided Badge Configuration has been switched ON in GUEST Configuration. If this value is set to On it allows a visitor badge to be printed from the Self Registration kiosk.

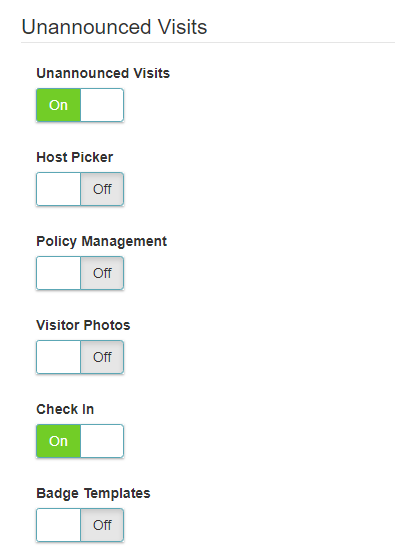
Unannounced Visits:
Set Unannounced Visits to On to activate I need to register functionality in the kiosk. If set to ON, the following options become available:
Host Picker: Toggling this to ON will activate a dropdown list to allow the visitor to select the host user they intend to visit.
Policy Management: Toggling this to ON allows visitors to sign / acknowledge Policies at the kiosk. Note: Policy Management must first be switched ON in GUEST Configuration.
Visitor Photos: Set this value to On to capture a photo of the visitor during check-in.
Note
Capture photos at check in must first be switched ON in GUEST Configuration.
Check in: Set this value to On to check the visitor in at the kiosk. If this value is set to the Off position the Self Registration kiosk can be used to sign policy documents and capture a photo but does not allow the visitor to check themselves in. This applies the visitor with the On Premises status within the GUEST Reception tab, and the reception user must confirm and complete the final check in of the visitor.
If Check in is set to ON, an additional configuration setting > Badge Templates can be configured (provided Badge Configuration has been switched ON in GUEST Configuration).
If this this value is set to On it allows a visitor badge to be printed from the Self Registration kiosk.
Unannounced Visits (Host Approval Required):
Setting Unannounced Visits (Host Approval Required) to ON will activate Visitor Sign-In functionality in the kiosk to allow an unregistered visitor to register and specify a host. This will require the host to enter in a confirmation code to check-in the visitor. An example of this is demonstrated in the following steps:
Visitor clicks the Visitor Sign-In option on the Self Registration kiosk.
Visitor enters their information including: First Name, Last Name, Company Name and Email Address.
Visitor enters the Host Details including: First Name, Last Name, Phone, Company Name and Email Address.
Visitor confirms the visit.
At this point the visit is registered, and the host will receive a text message and email displaying the information provided by the visitor.
The Host can approve or deny the visit, if approved they will receive a registration code.
The Host will then need to go to the Self Registration kiosk to pick up the visitor and select the Host Code option, entering the authorization code provided in the SMS and Email, which will successfully check in the visitor.

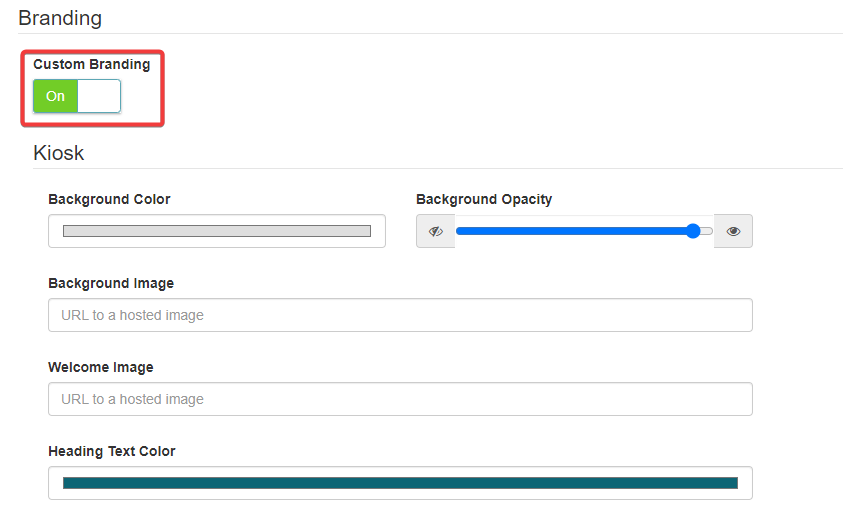
Branding:
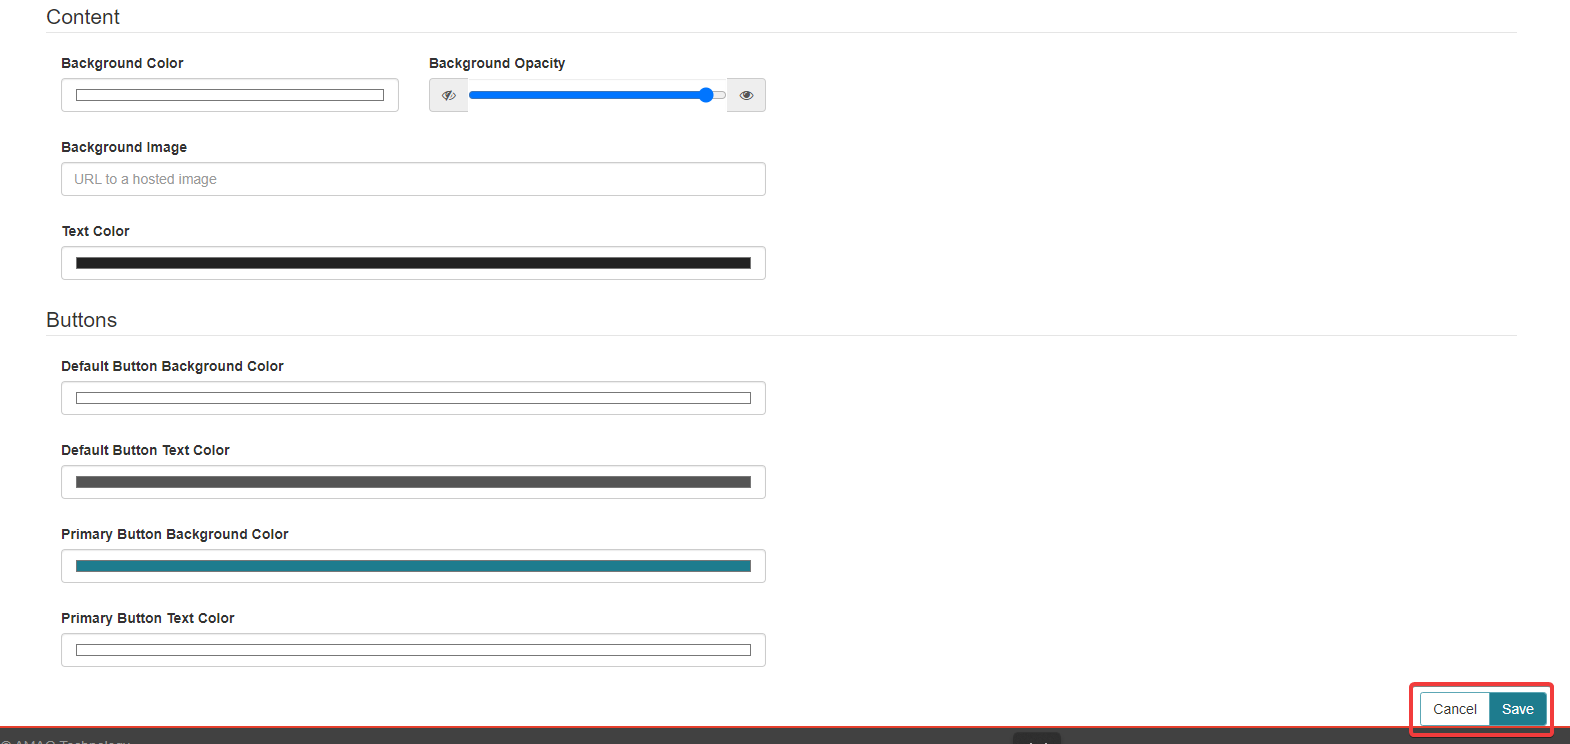
Each Self Registration kiosk interface is intended to be configured with its own specific look and feel. GUEST provides a default setting, however setting Custom Branding to On allows an administrator to modify the look and feel of the Self Registration kiosk.
Branding configuration allows the user to modify the colors used for the background, headings and general text/buttons of the kiosk. Images used for the background and welcome screen can also be added and configured.
Save the configuration once the updates are complete by clicking the Save button. To review the branding updates, open a new instance of the Self Registration kiosk and review the updates.
Launching the Self Registration Kiosk Interface:
Note
The user launching the kiosk must be a Reception User or they will not be able to follow the steps below. For more information please review the User Roles section of this guide.
Once the Self-Registration kiosk has been configured, the user can launch the kiosk interface as follows:
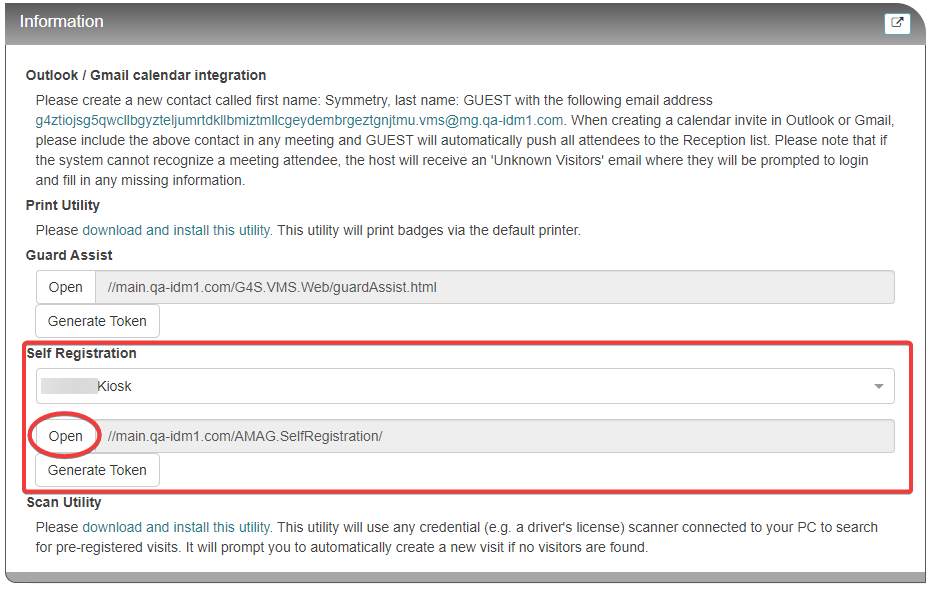
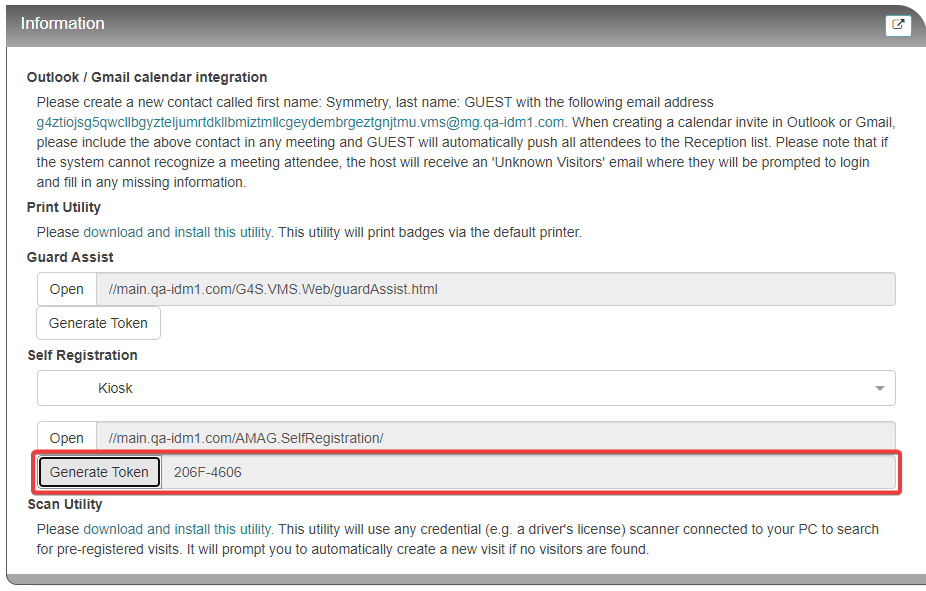
Navigate to the GUEST Dashboard Information sub-tab, and select the desired Self Registration Kiosk from the dropdown list. Click Open to launch the kiosk, or manually enter the URL into the address bar of the web browser on the relevant mobile tablet.
The first time the kiosk opens, it will prompt the user for a token.
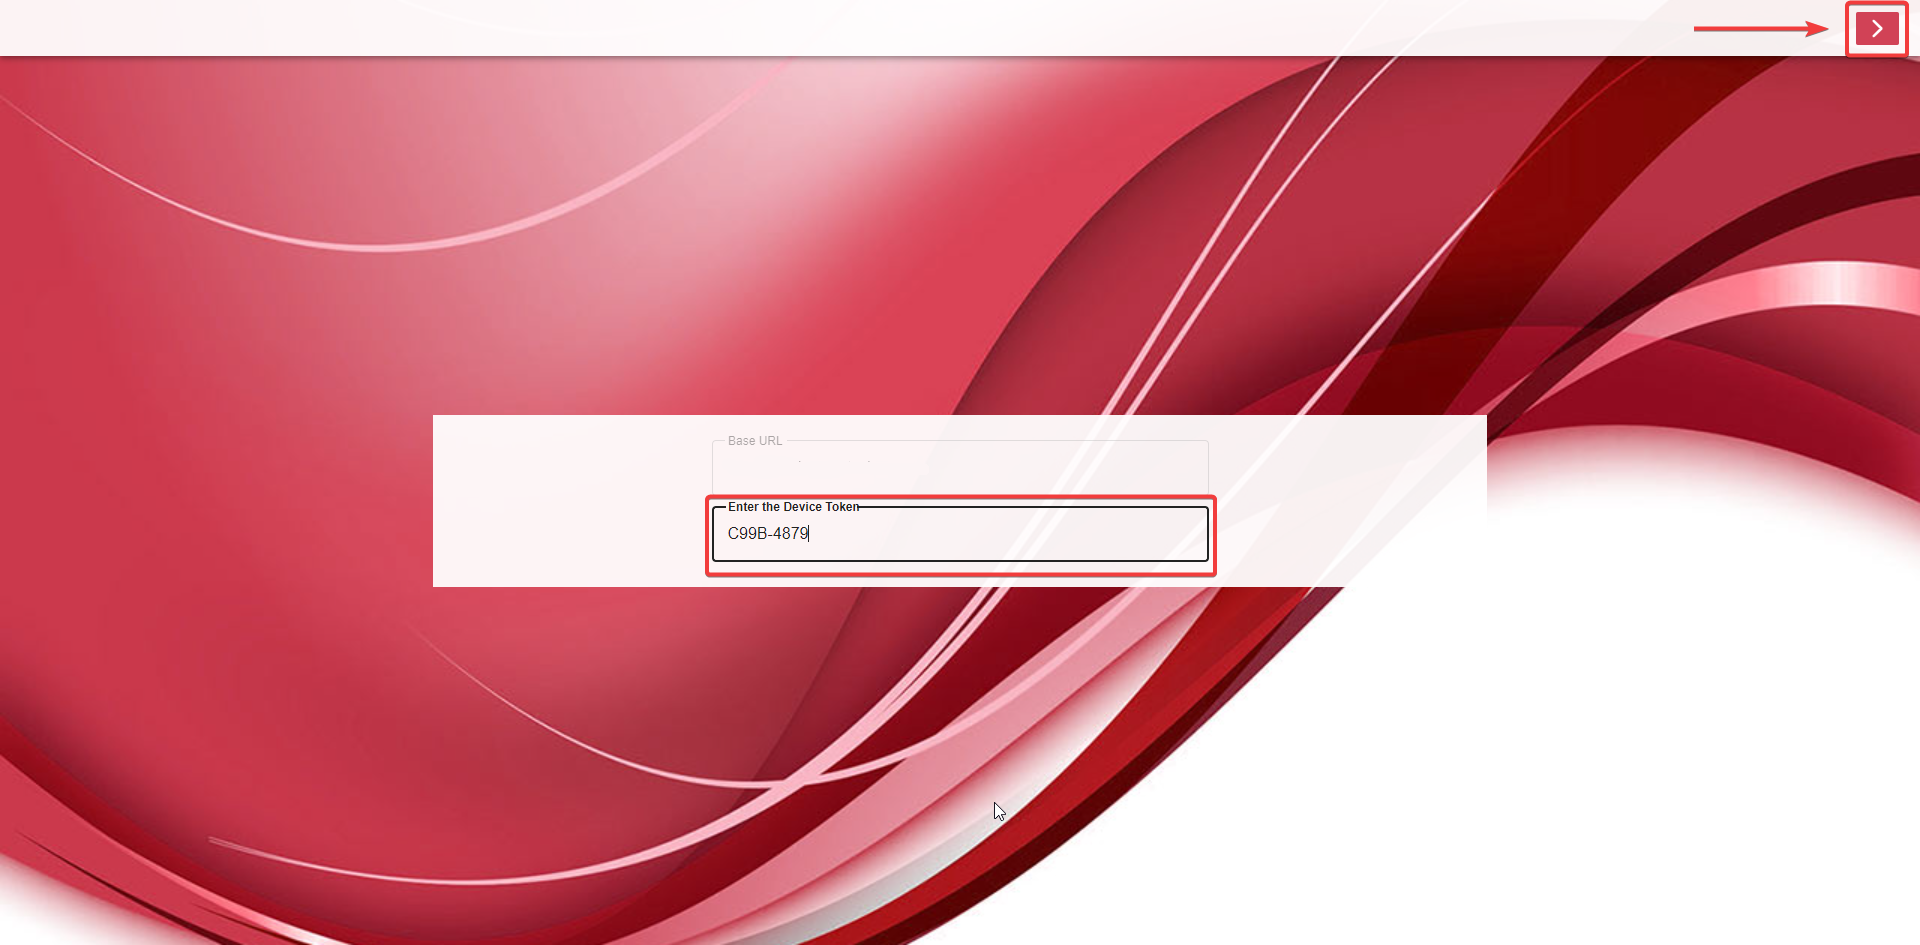
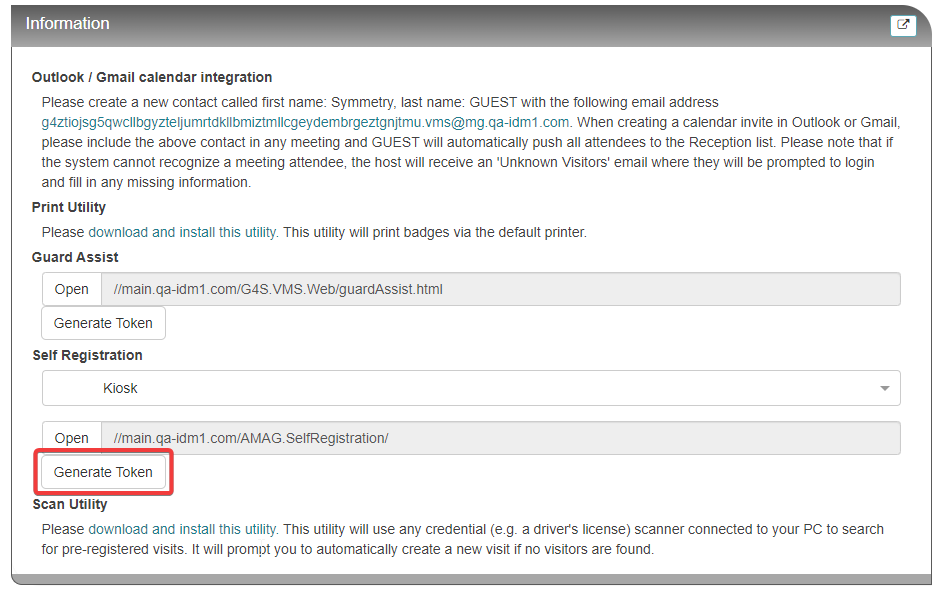
The token for the Self Registration kiosk is available on the Dashboard for Reception Users. Click the Generate Token button. The token will be automatically generated to allow the user to copy and paste the code into the token field when prompted.
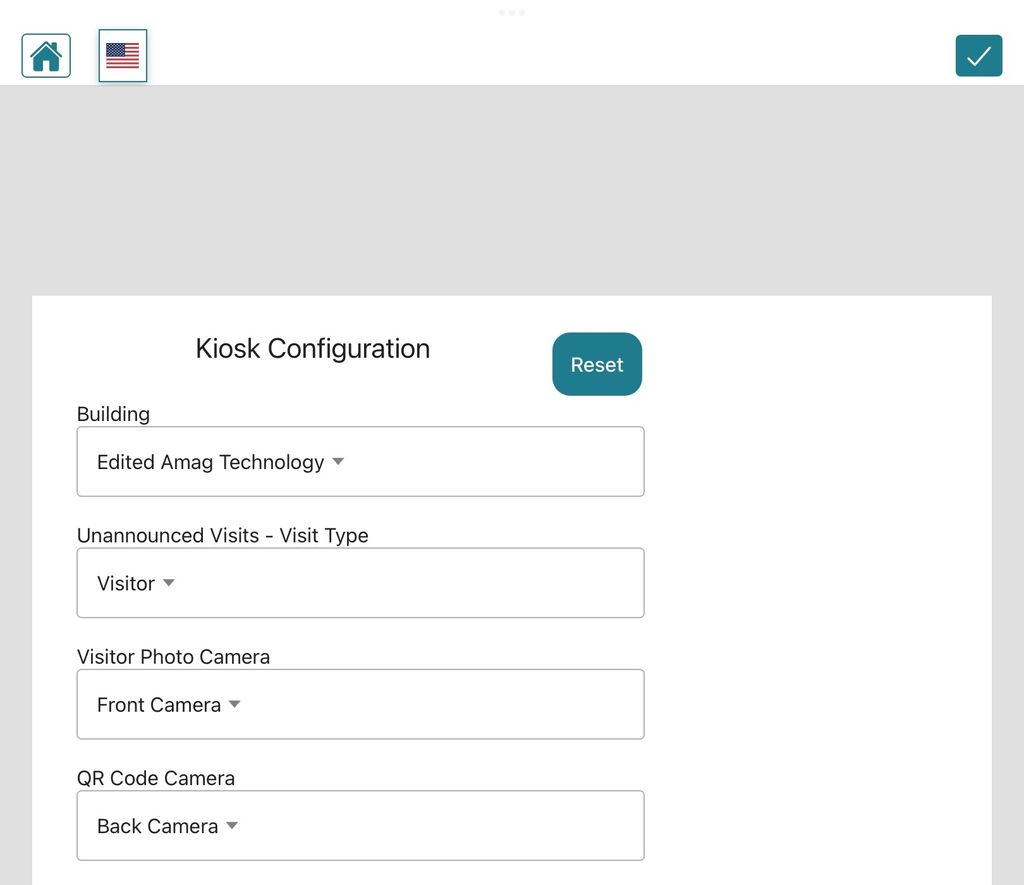
Once the token has been entered, the kiosk will display the welcome screen. This screen displays the Building the kiosk is configured for and the Visit Type that will be used for unannounced visits. The user can also select which camera (front facing camera or rear facing camera if available) to use for capturing both Visitor Identification Photos and Registration QR Code Scanning.
Wireless Printing: The ability for wireless printing (badge printing) for Android and iOS devices. At the point of printing the badge from the Self Registration Kiosk the user will be presented with a Print Modal (Print settings). The user can select any available wireless printer from the provided list.
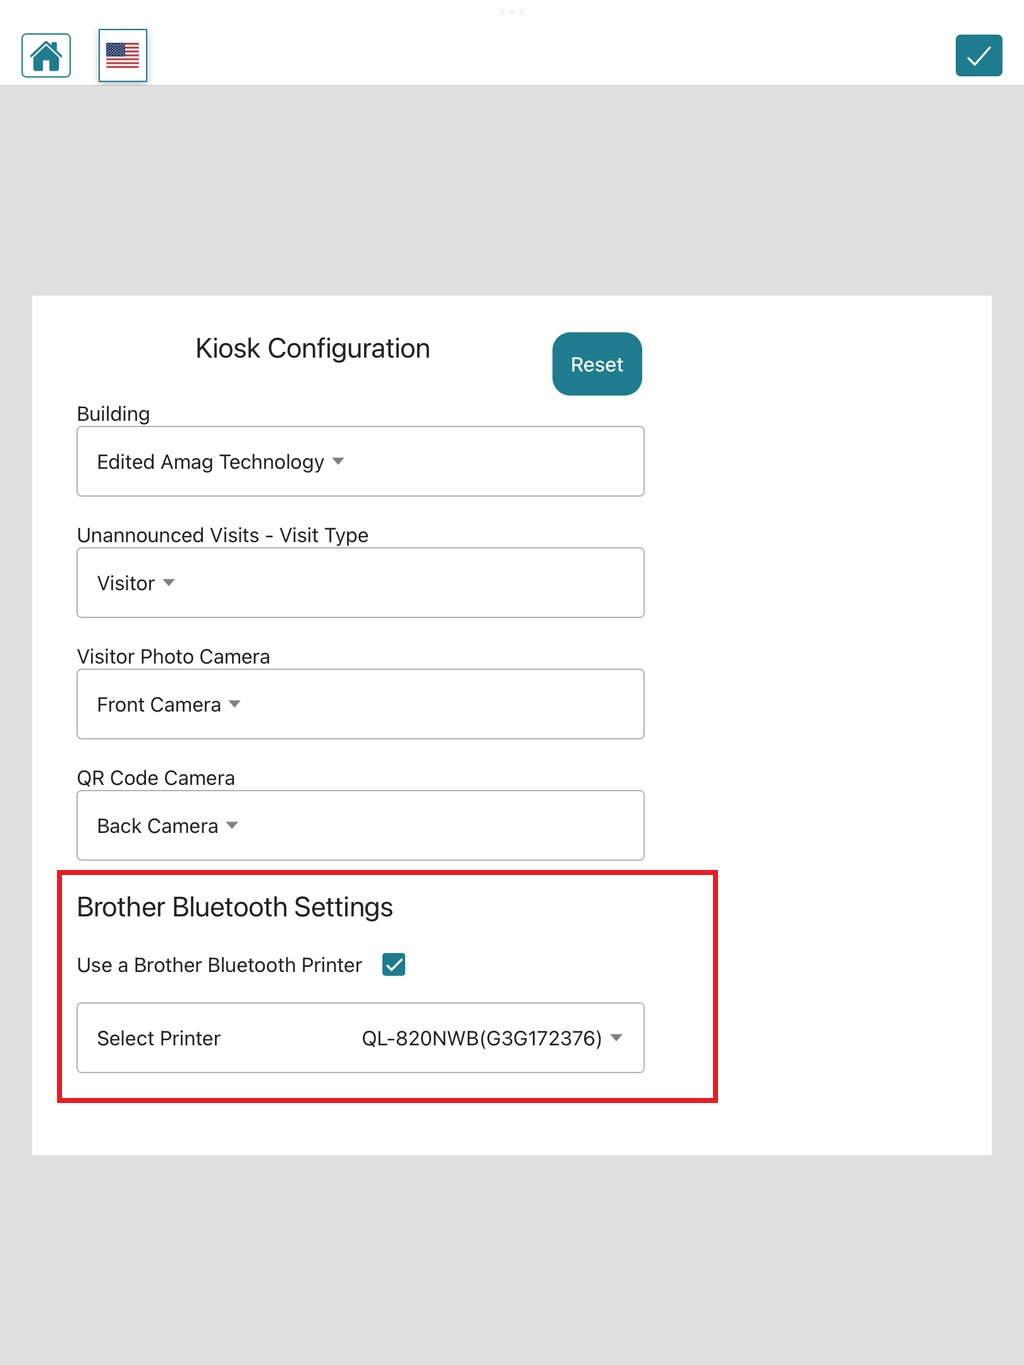
Bluetooth Printing: The ability of Bluetooth Printing is available for iOS only. The user can configure the Bluetooth Printer via the Administrator page of the Self Registration Kiosk application. Select any available Bluetooth printer from the drop down list. Tick the Use a (selected printer name) Bluetooth Printer box to confirm the use of the Bluetooth printer.
The Default Building will be the one at the top of the list alphabetically of the Buildings the kiosk is configured for. Default Visit Type will be the one at the top of the list of Visit Types the specific Building has been configured to use. (See GUEST > Configuration > Visit Type Configuration for more details.)
Kiosk Troubleshooting Tips:
Remember that the user launching the Self Registration kiosk must have the Reception user role.
Use the correct Generate Token button on the Dashboard Information. The Guard Assist Portal also has a Generate Token button, which is not compatible with the Self registration kiosk.
Unannounced visitors will be registered as the default visitor type for the system. To configure the Visitor Type please review the Changing the Default Building and Visit Type for the Kiosk (below) section of this guide.
Once configured, the Self Registration kiosk will store the token on the local workstation/tablet. Each time the Self Registration kiosk opens in future, it will open the instance specified by the local token. To specify a new instance, the local token must be removed. This is achieved by clearing the browser cache. To clear the browser cache for Google Chrome, please follow these instructions: Google Chrome: Clear cache and cookies.
Please follow the instructions to clear the cache for the specific web-browser being used. Google Chrome is the recommended web-browser for Symmetry GUEST.
Changing the Default Building and Visit Type for the Kiosk
Default Building and Visit Type can be changed when Receptionist first enters the Kiosk. They are presented with the Kiosk Configuration and can select a different Building and / or Visit Type by choosing from the dropdown list, clicking OK and clicking the tick icon in the top right hand corner.
Receptionist can also return the Default Building and Visit Type to their default settings by clicking the Reset button when presented with the Kiosk Configuration. They will receive the popup message Are you sure you want to do this ? This will require you to re-enter url and token. Clicking Yes returns Receptionist to the initial screen where they will be prompted to enter a newly generated token.