Print Utility
Installation Steps:
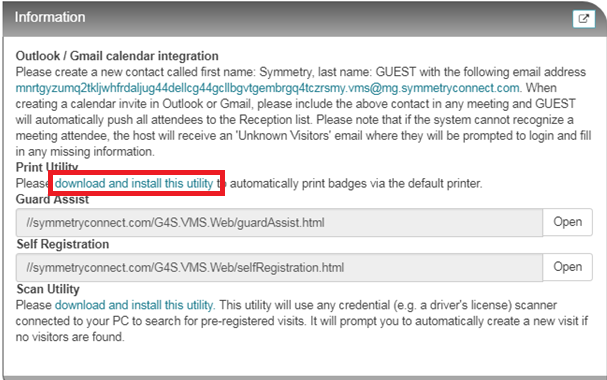
The AMAG.PrintUtility can be downloaded from the Symmetry GUEST Dashboard tab. Scroll to the bottom of the page where the download link can be found. Please note that only specific users, such as admins will have access to the Dashboard tab in Guest.
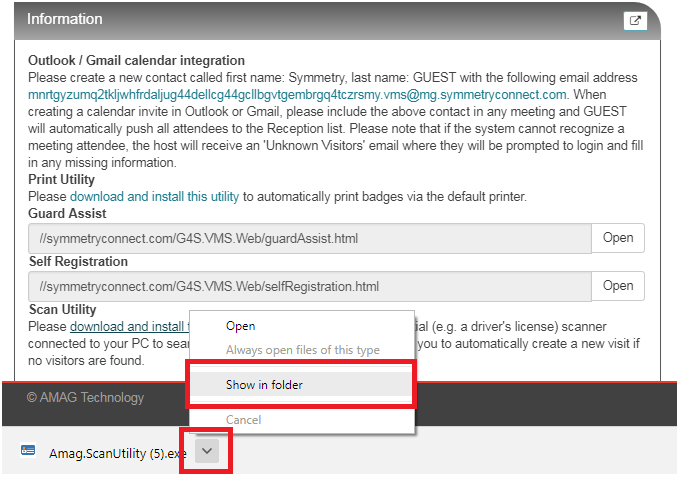
Once downloaded, navigate to the Downloads folder to find the newly downloaded exe. Click on the down arrow and then select Show in Folder.
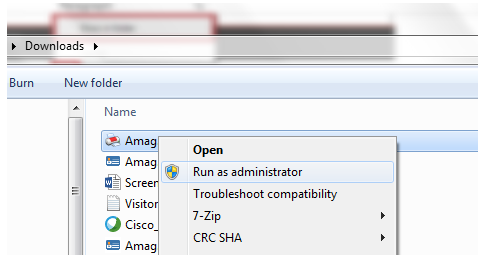
Select the file, right-click and select Run as administrator. The installation will begin.
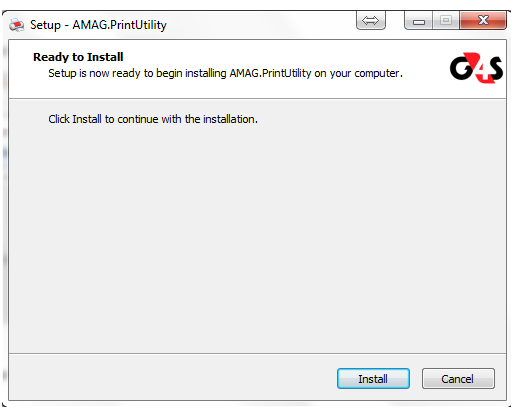
Click on the Install button to start the install.
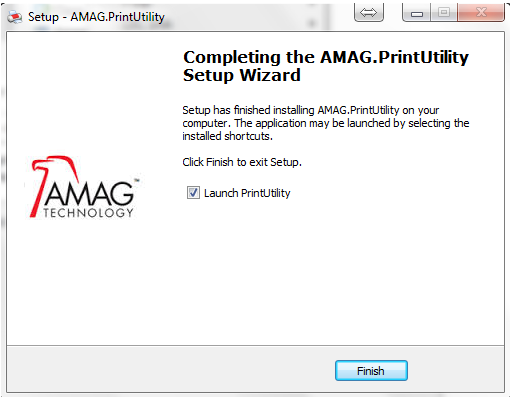
Click on Finish when the install is complete.
Note
The default installation location for the utility is: C:\ProgramData\AMAG\AMAG.PrintUtility\X.X.X.X.
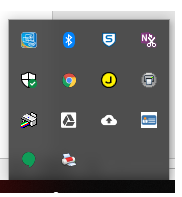
The AMAG.PrintUtility icon should appear in the system tray.
Configuration Steps
Right-clicking the Print Utility icon gives you configuration options.
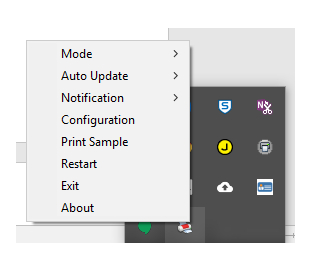
Mode:
Default: Used when the printer is connected to the machine where the Print Utility is installed
Tablet Assist: Used when the printer is connected to another machine on the network and the connection details of that machine has been configured in GUEST
Notification:
ON: This setting will display a pop-up message on the bottom right corner that notifies the operator that a badge template is being retrieved and being printed
OFF: This setting simply disables the notification
Configuration:
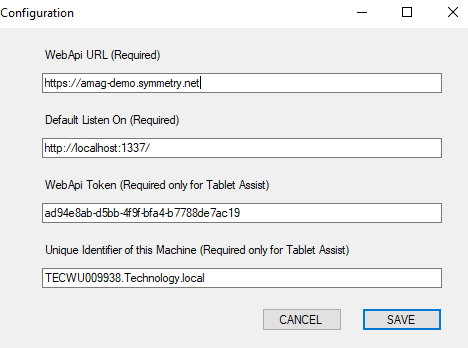
WebApi URL: Enter the URL of the Symmetry Guest system. For example https://[*sub-domain].*symmetry.net.
Default Listen On: Typically this is left as default (localhost:1337). This is the default port that the utility will use.
WebApi Token: If Self Registration Kiosks will print to this location, then the WebApi Token must be configured. To retrieve the token:
A Guest administrator must navigate to Guest Configuration. If Access Control is set to “Off”, it must be set to “On”
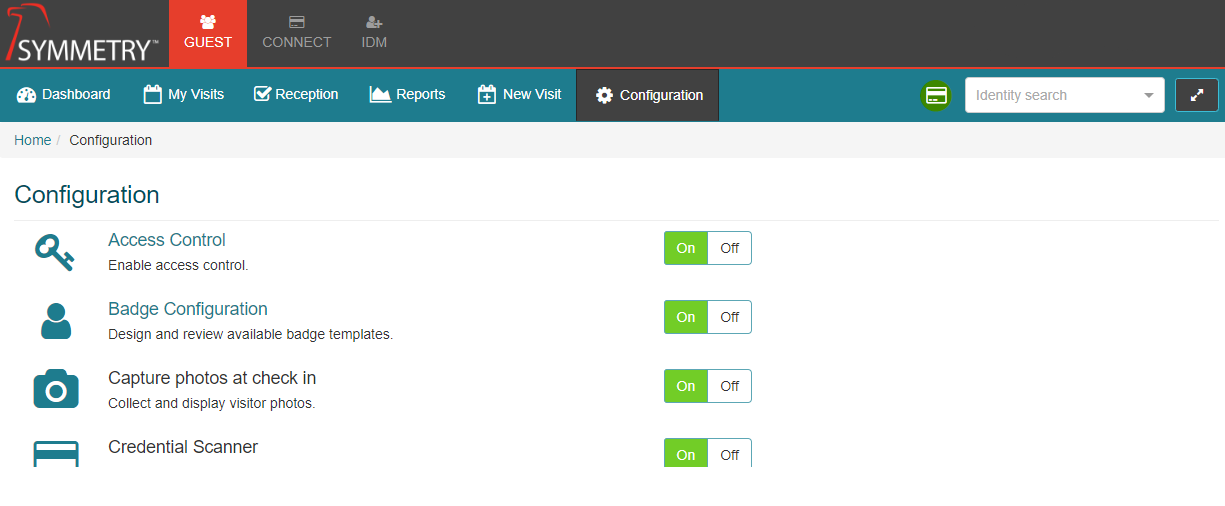
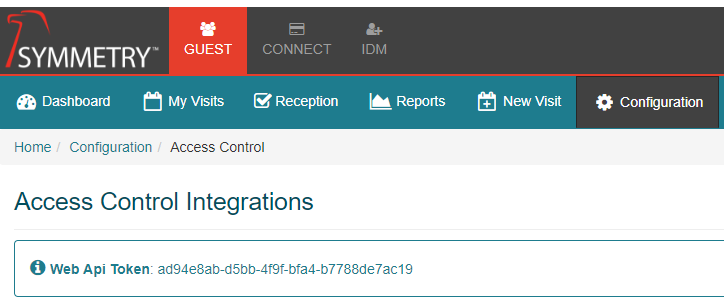
Select the Access Control Link (see image above)
Copy the WebApi Token
Paste the Web Api Token into the Print Utility
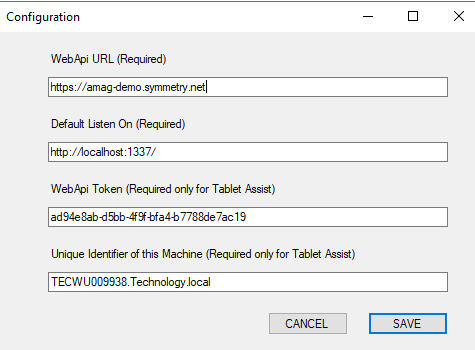
Unique Identifier of This Machine: This is usually the domain name of the workstation on the network and should not need to be changed in a typical scenario. This is required for Self Registration Kiosks to print to this workstation.
Click Save to save the settings.
Appendix A: Self Registration Kiosk Print Setup
To print to a specific workstation from a Self-Registration Kiosk, perform the following steps:
A Guest Administrator must navigate to Guest Configuration Self Registration.
Click Edit to edit the settings for the specific kiosk.

Enter the domain name of the workstation that will be used for printing for this kiosk into “Print Server Host”. This should match the value in the Print Utility.
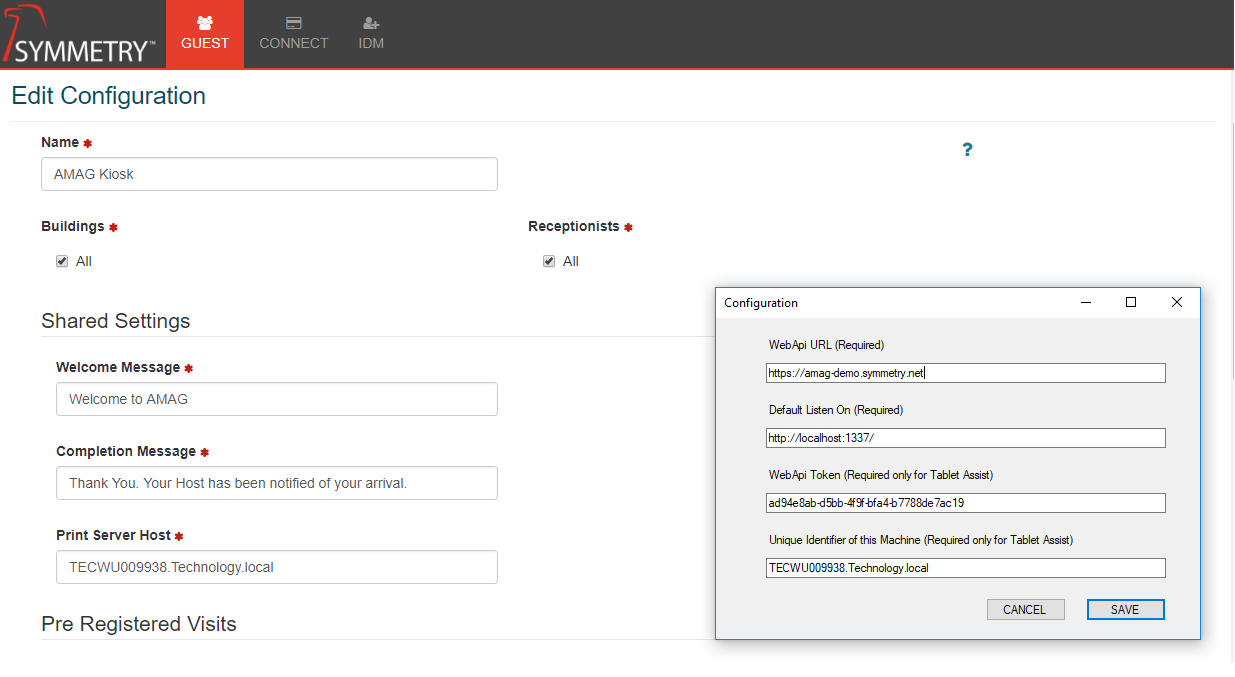
Click Save at the bottom to save the kiosk settings. The kiosk will now print to the specified workstation.