Visitors
Note
Required fields are indicated with a red Asterisk.
This section covers how to add visitors to the IDM application.
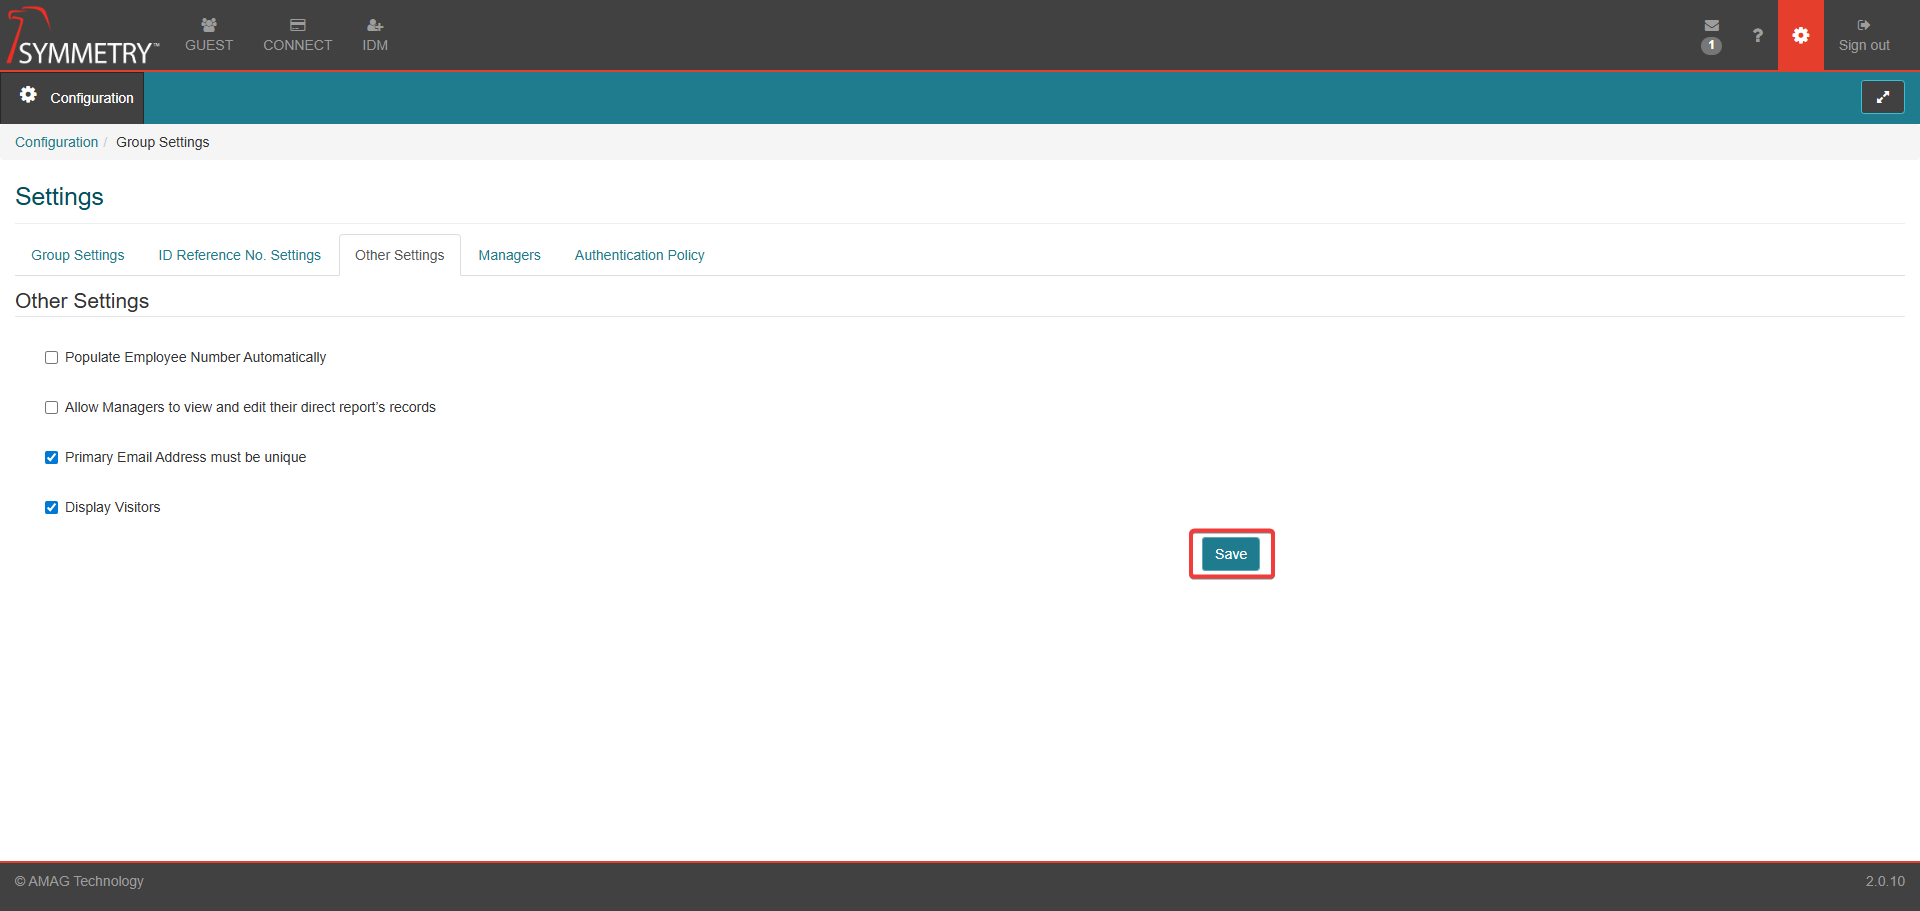
If Display Visitors is checked in Configuration > System Settings > Settings > Other Settings, then the user is able to add visitors to IDM. Note that this will also allow Visitors created in GUEST to appear in IDM.
Screen Configuration
Once Display Visitors is ticked in Other Settings, the Visitors tab will be displayed in Configuration > IDM Settings > Screen Configuration.
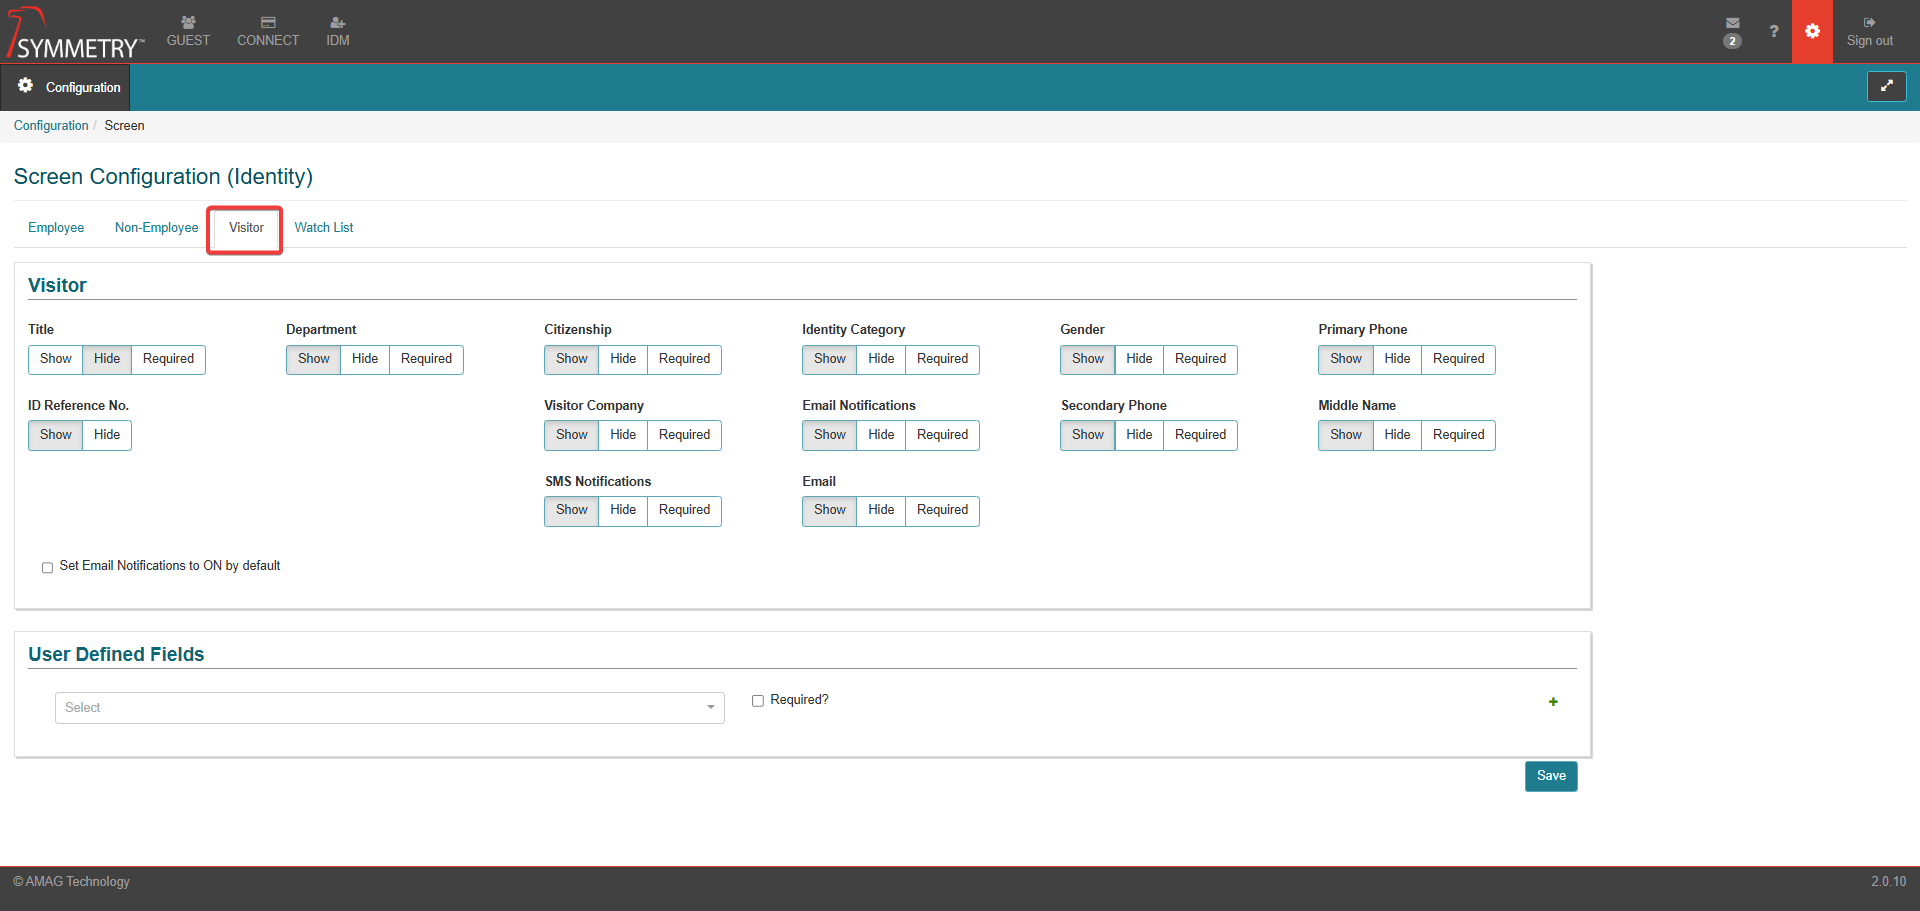
The user can set the following fields to show, hide or required:
Title: Professional title of the visitor.
Department: Visitor's department.
ID Reference No.: Automatically created by the system, cannot be set to required.
Citizenship: The visitor's citizenship (selected from a dropdown list of countries).
Identity Category : The visitor's identity category.
Visitor Company: The visitor's company.
Notifications: Whether email notifications for the visitor are to be switched ON or OFF.
Email: The visitor's email address (required if Notifications ON).
Gender: The visitor's gender.
Primary Phone: The visitor's primary phone.
Secondary Phone: The visitor's secondary phone.
Middle Name: The visitor's middle name.
The user can also add multiple User Defined Fields and set them to 'required' as desired. If configured, these are displayed under Additional Information.
Adding Visitors (Manually)
In addition to the fields enabled in Screen Configuration, several fields are enabled by default:
First Name: First name of the visitor (required).
Last Name: Last name of the visitor (required).
Affiliated Companies: Defaults to the company assigned to the user creating the record, but can be amended if desired.
To add an Identity directly within the user interface, navigate to the IDM > Identities tab and click the New button.

Select Identity Type as Visitor, and the system will directly open the Create Visitor page.
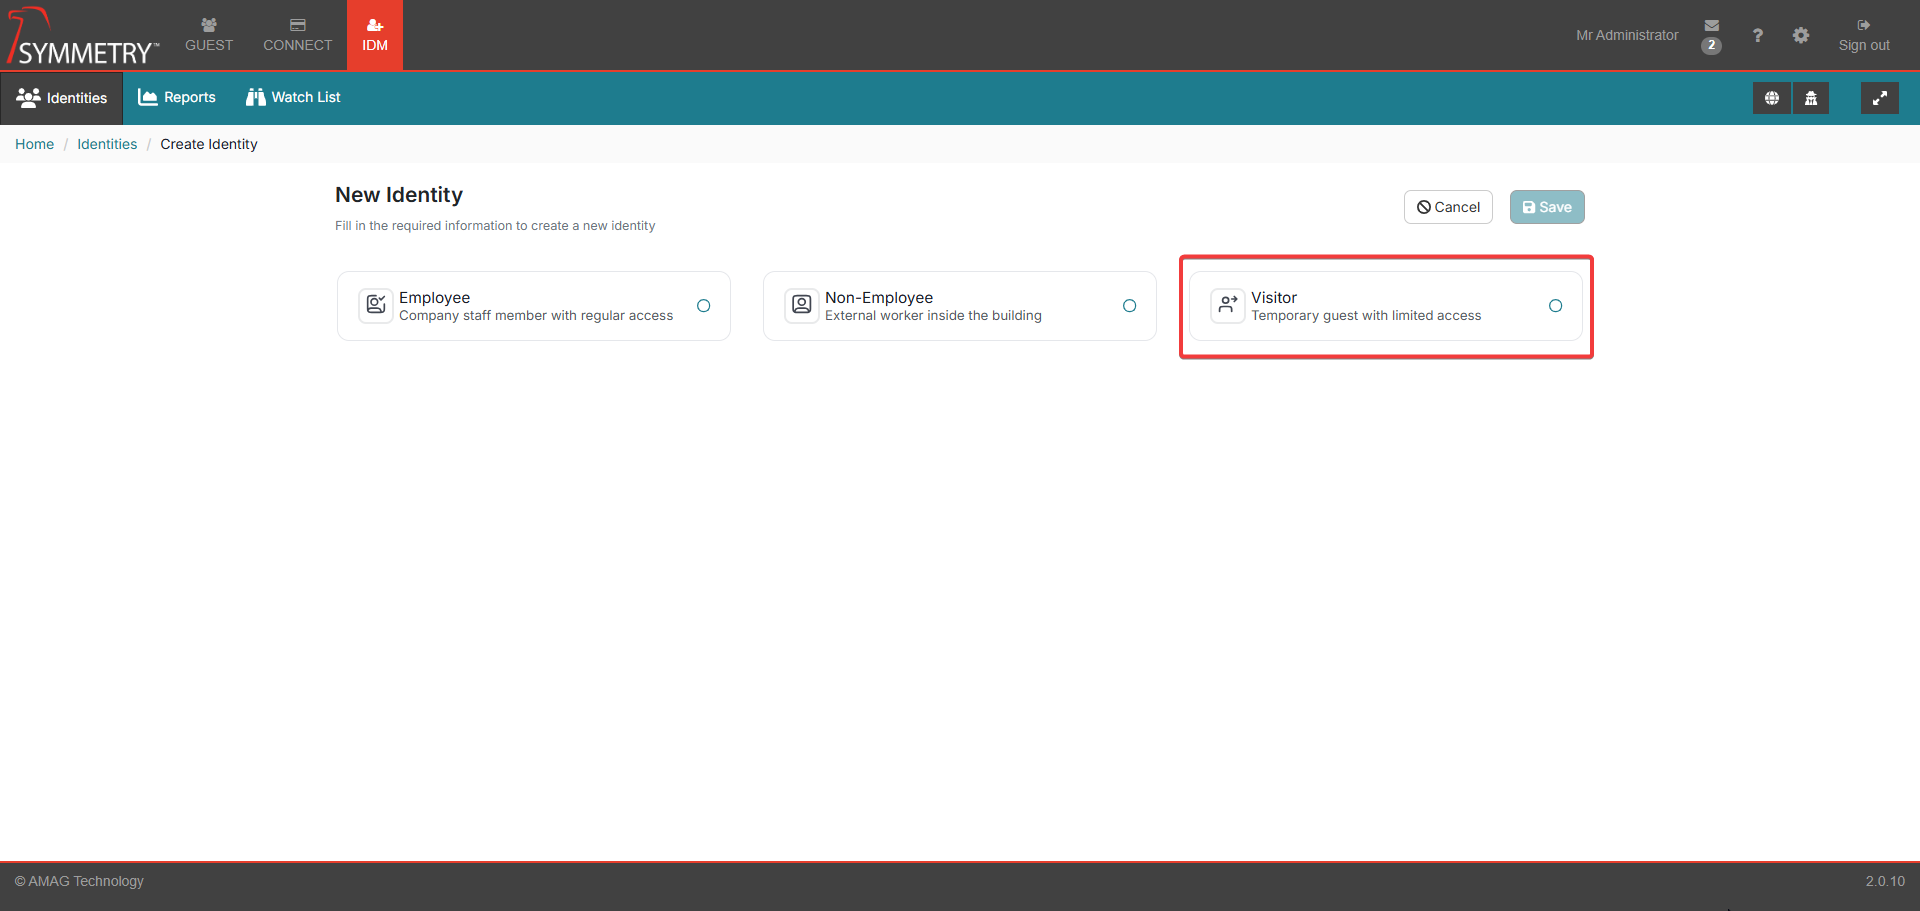
Provide the information as required, then click the Save button to create the visitor profile.
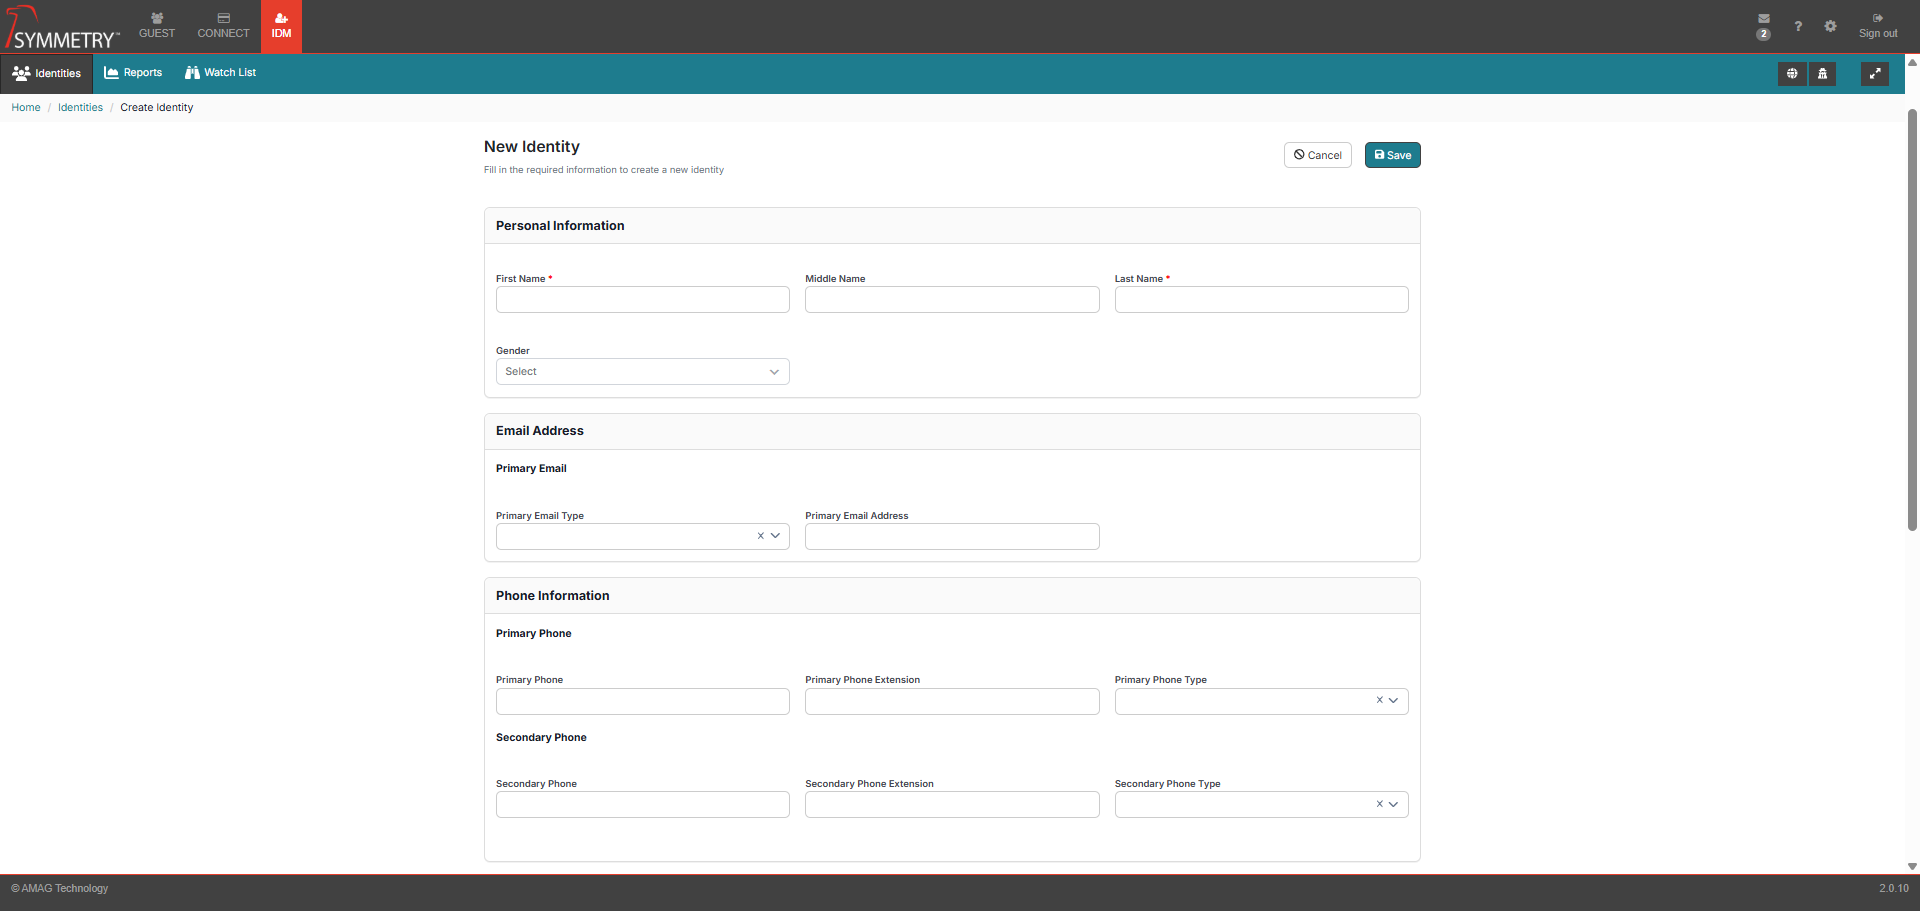
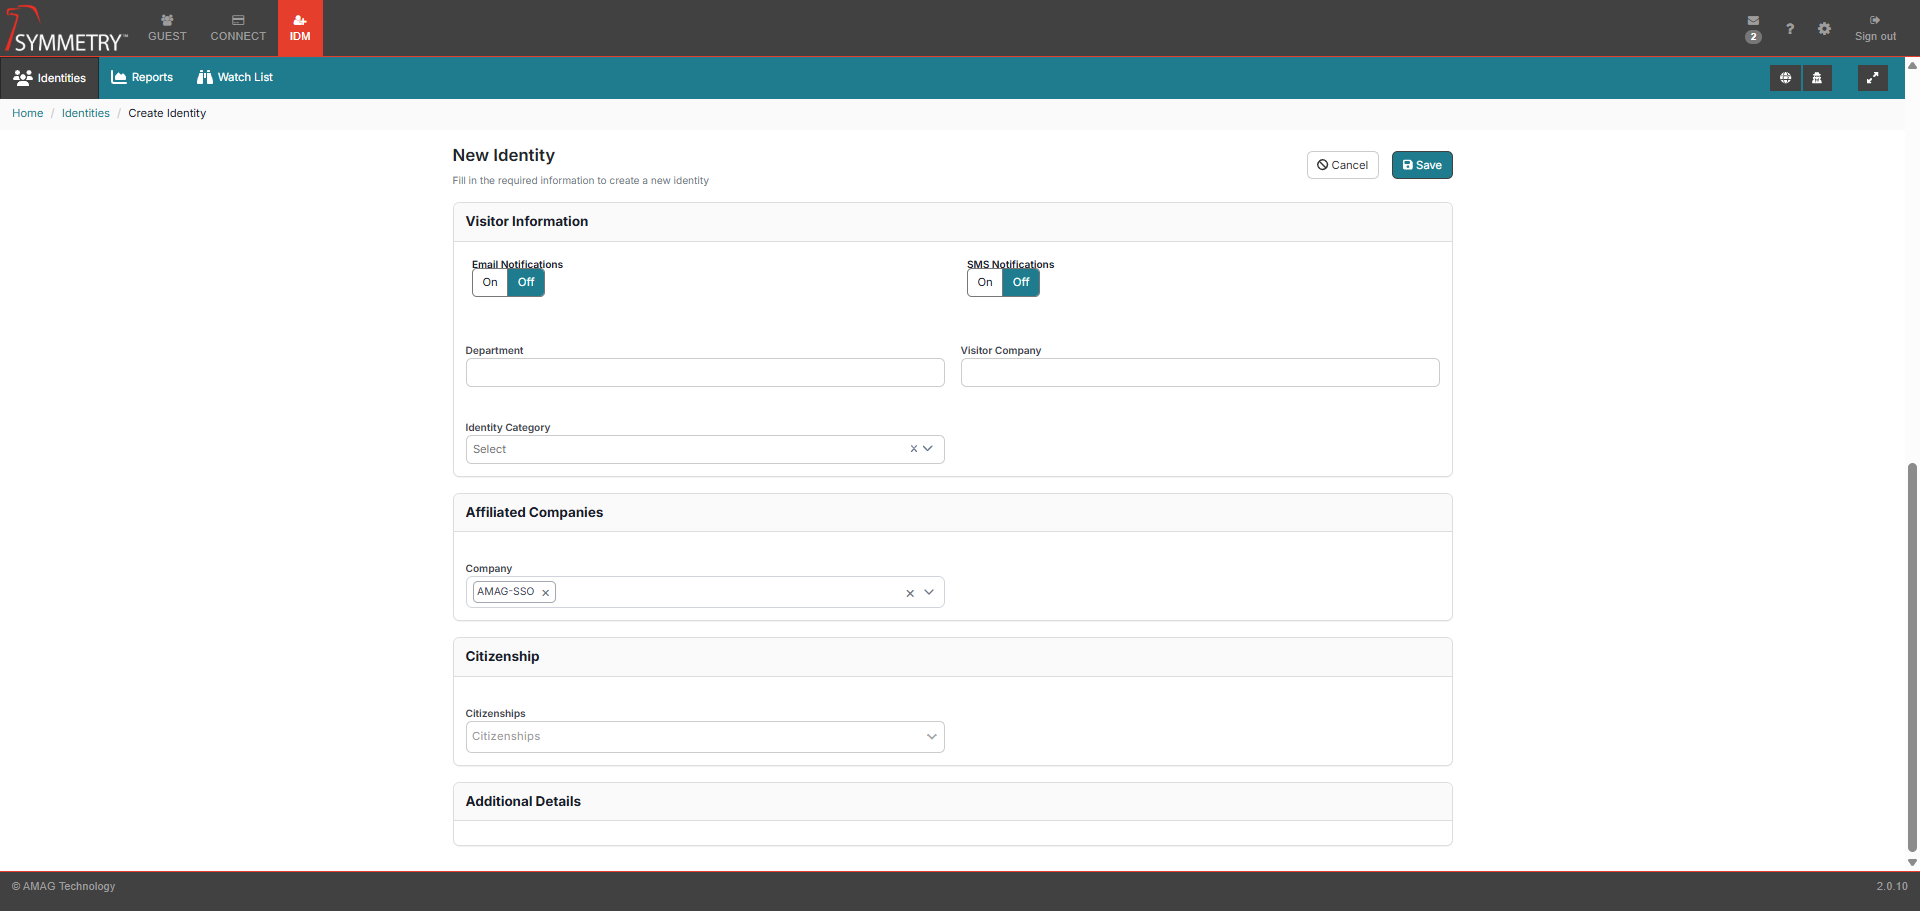
Note
The options available on this screen can be configured to a number of different options. See the section above (Screen Configuration) for further information.
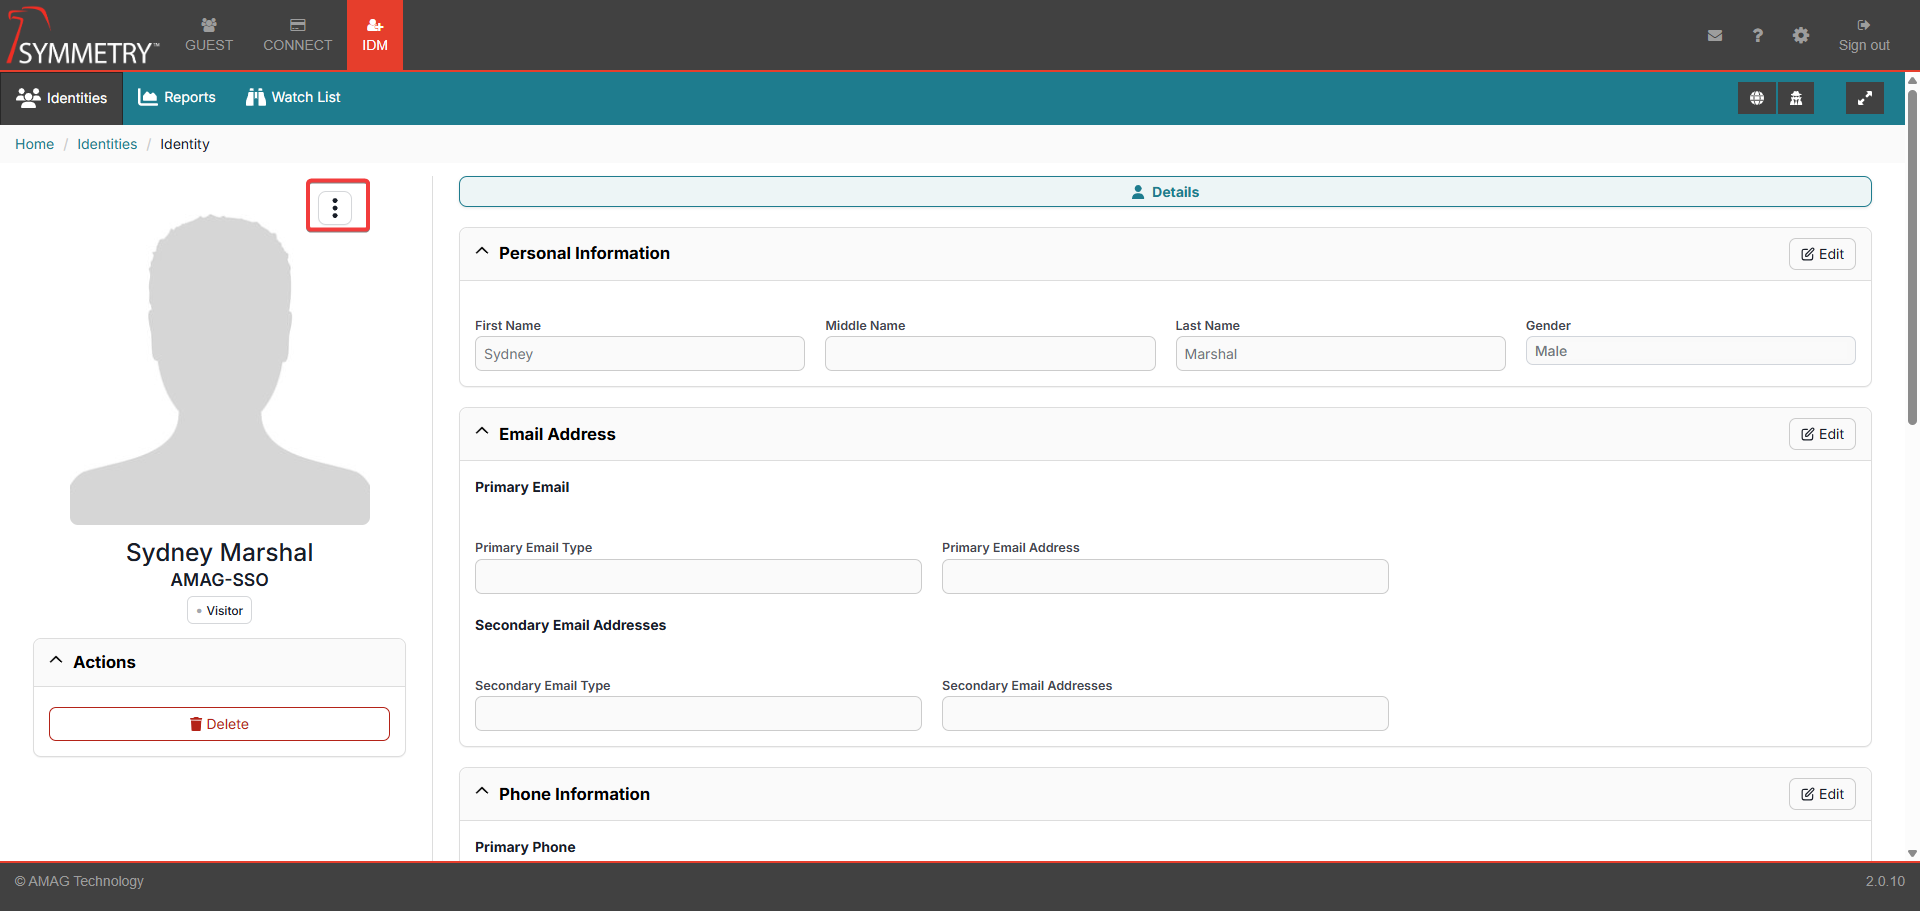
Within the Visitor Details page, the user can edit the visitor details and also add a photo:
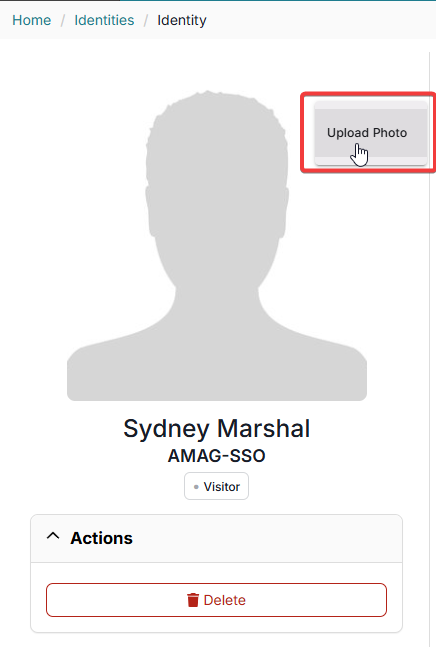
Click on the Edit Photos button.
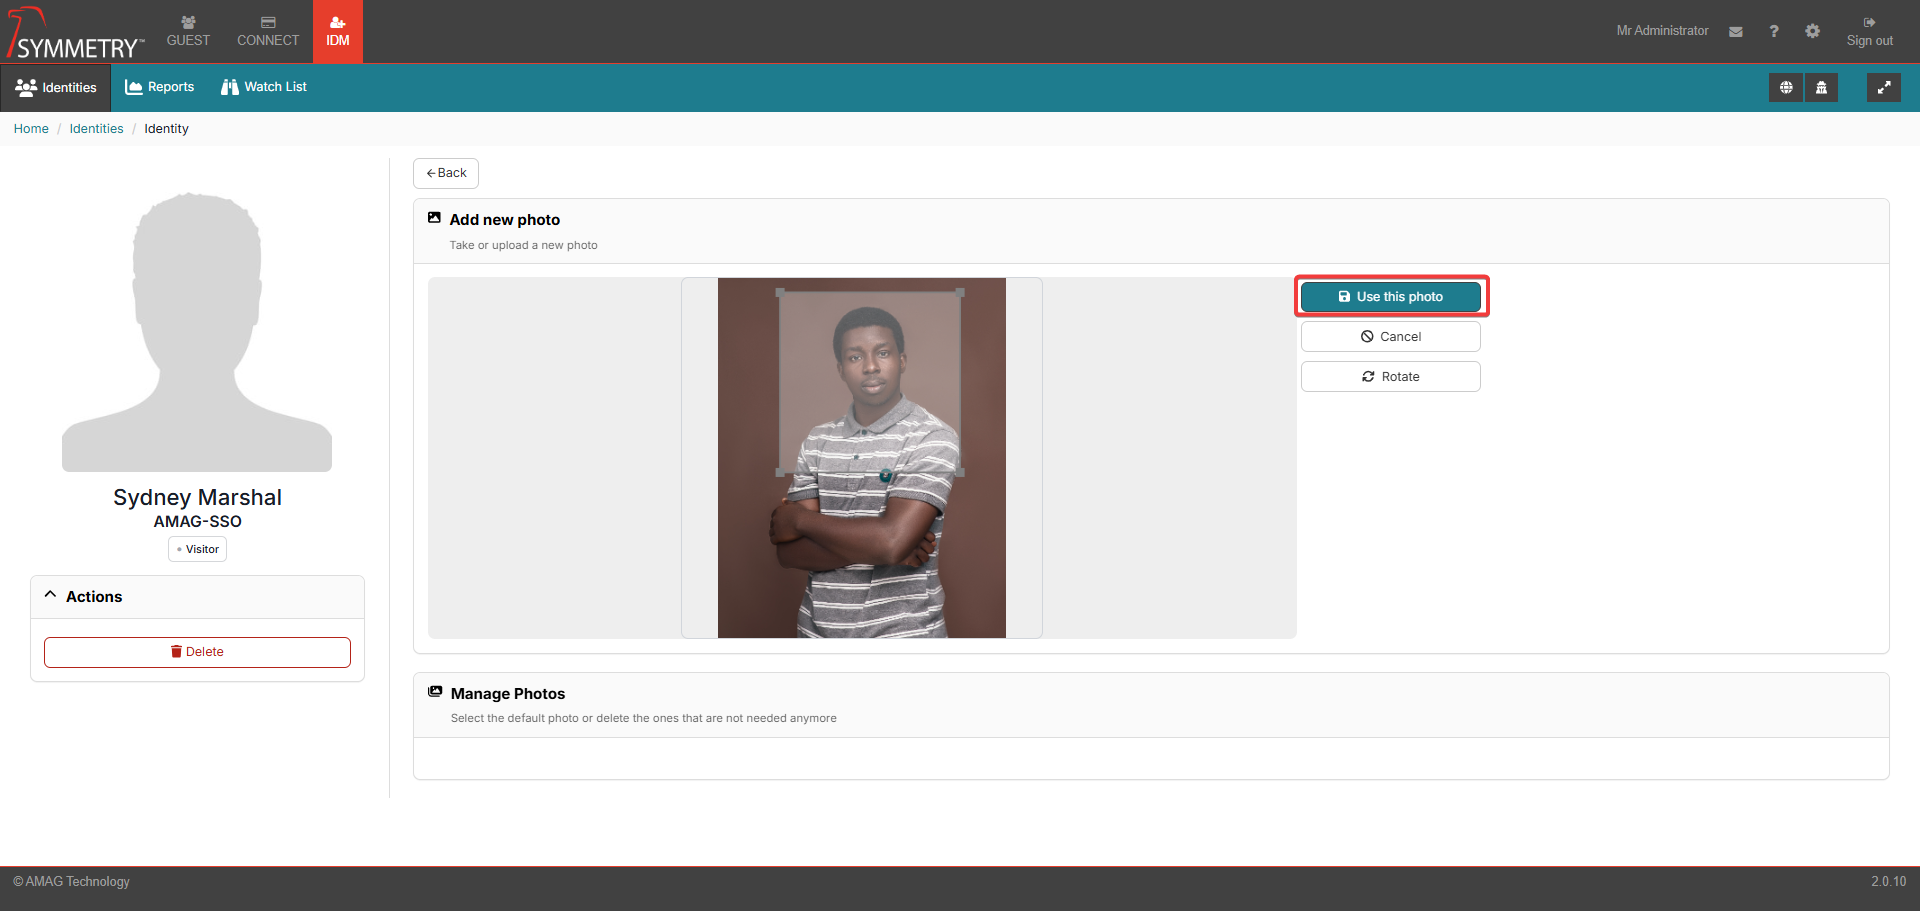
The Picture tab allows the administrator to take a photo (if connected to a web camera) or upload a photo for the new Identity.
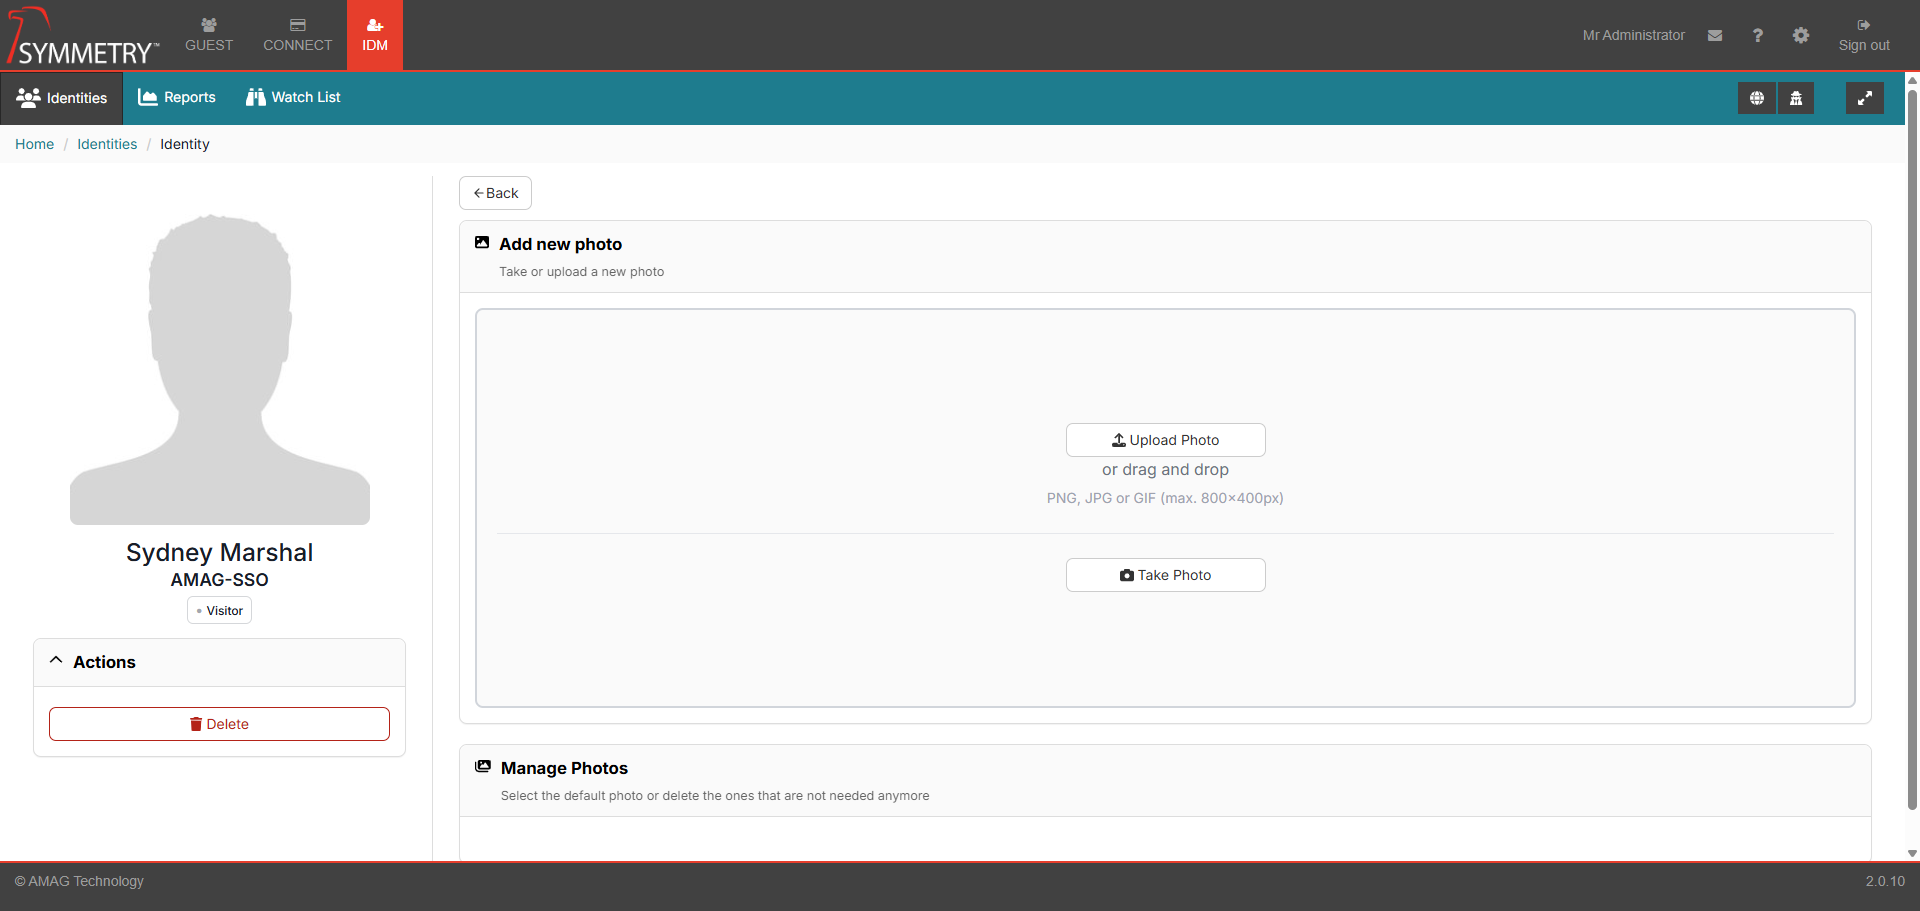
Once a suitable picture has been uploaded or taken via web camera, click the Use Photo button to confirm the photo.
Click on the Back button to return to the Identity details section.

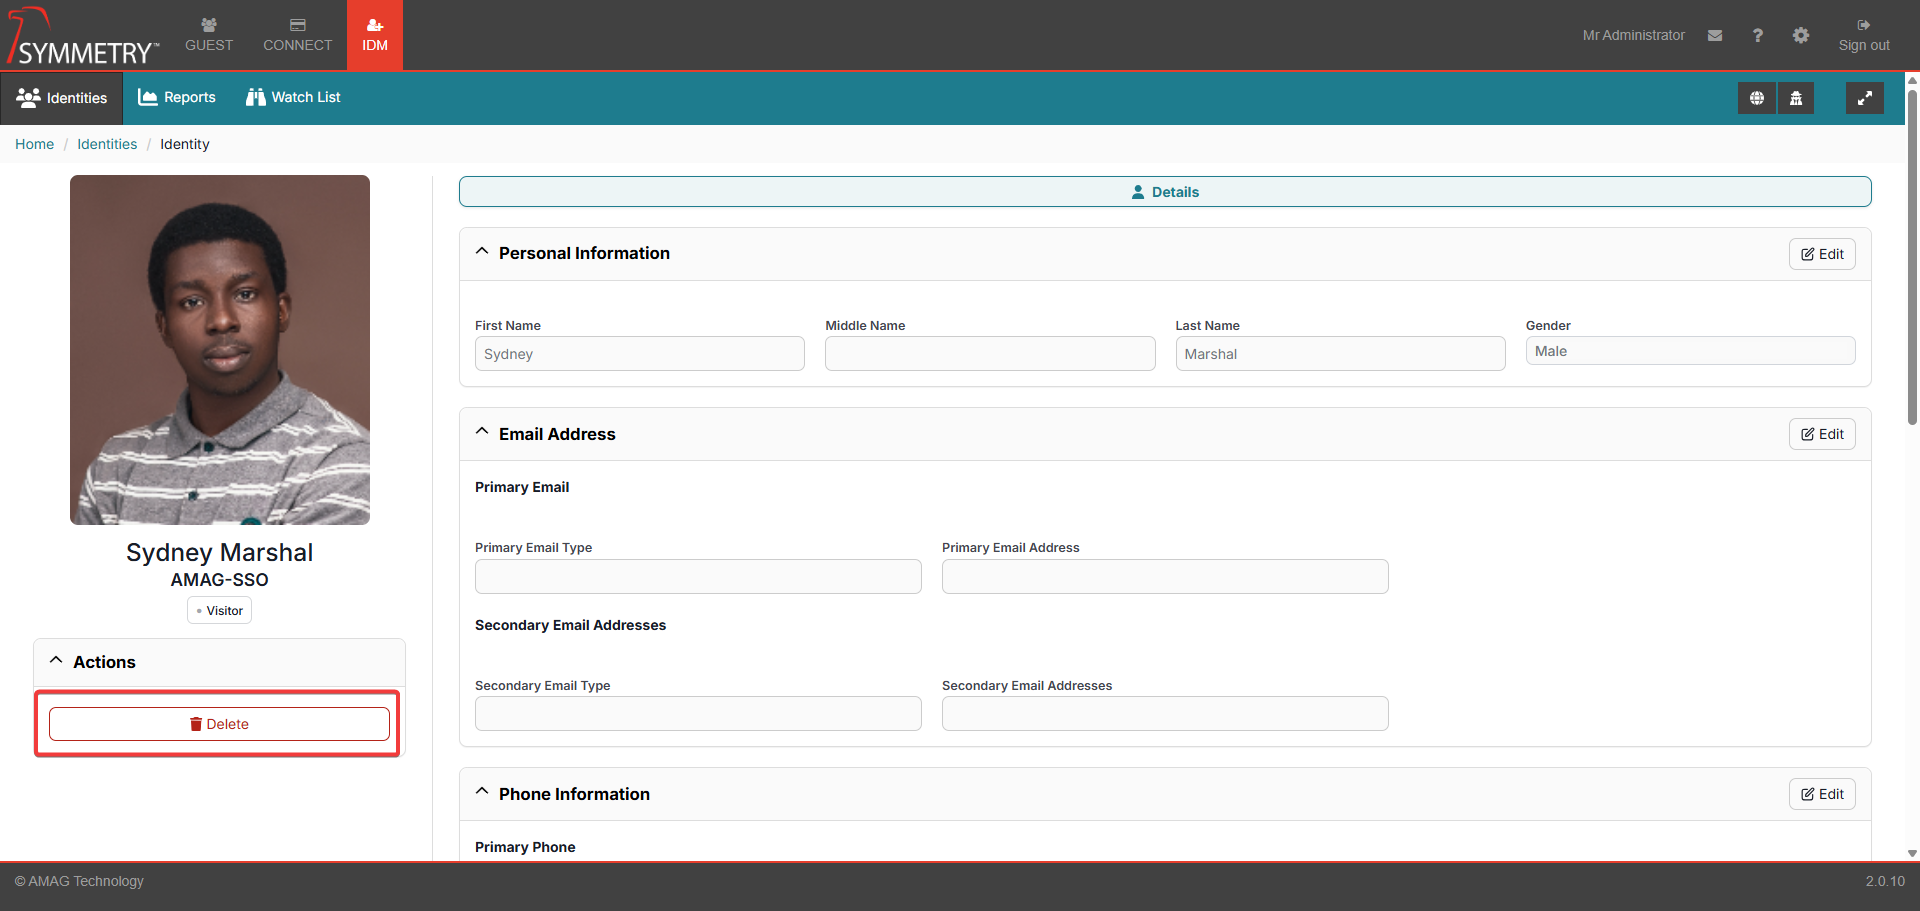
At this stage, edits can also be made to any other existing details associated with the visitor profile. Or more details can be added.
The visitor profile can also be deleted. Click on the Delete Identity button. The user then must confirm to Delete Identity or Cancel by clicking on either one of the options.
Uploading Visitors
The process of uploading visitors is similar to the process of uploading identities.
To upload users via a spreadsheet, select the IDM Uploads button.

Click the New button to configure a new upload. Select the Visitor tab.
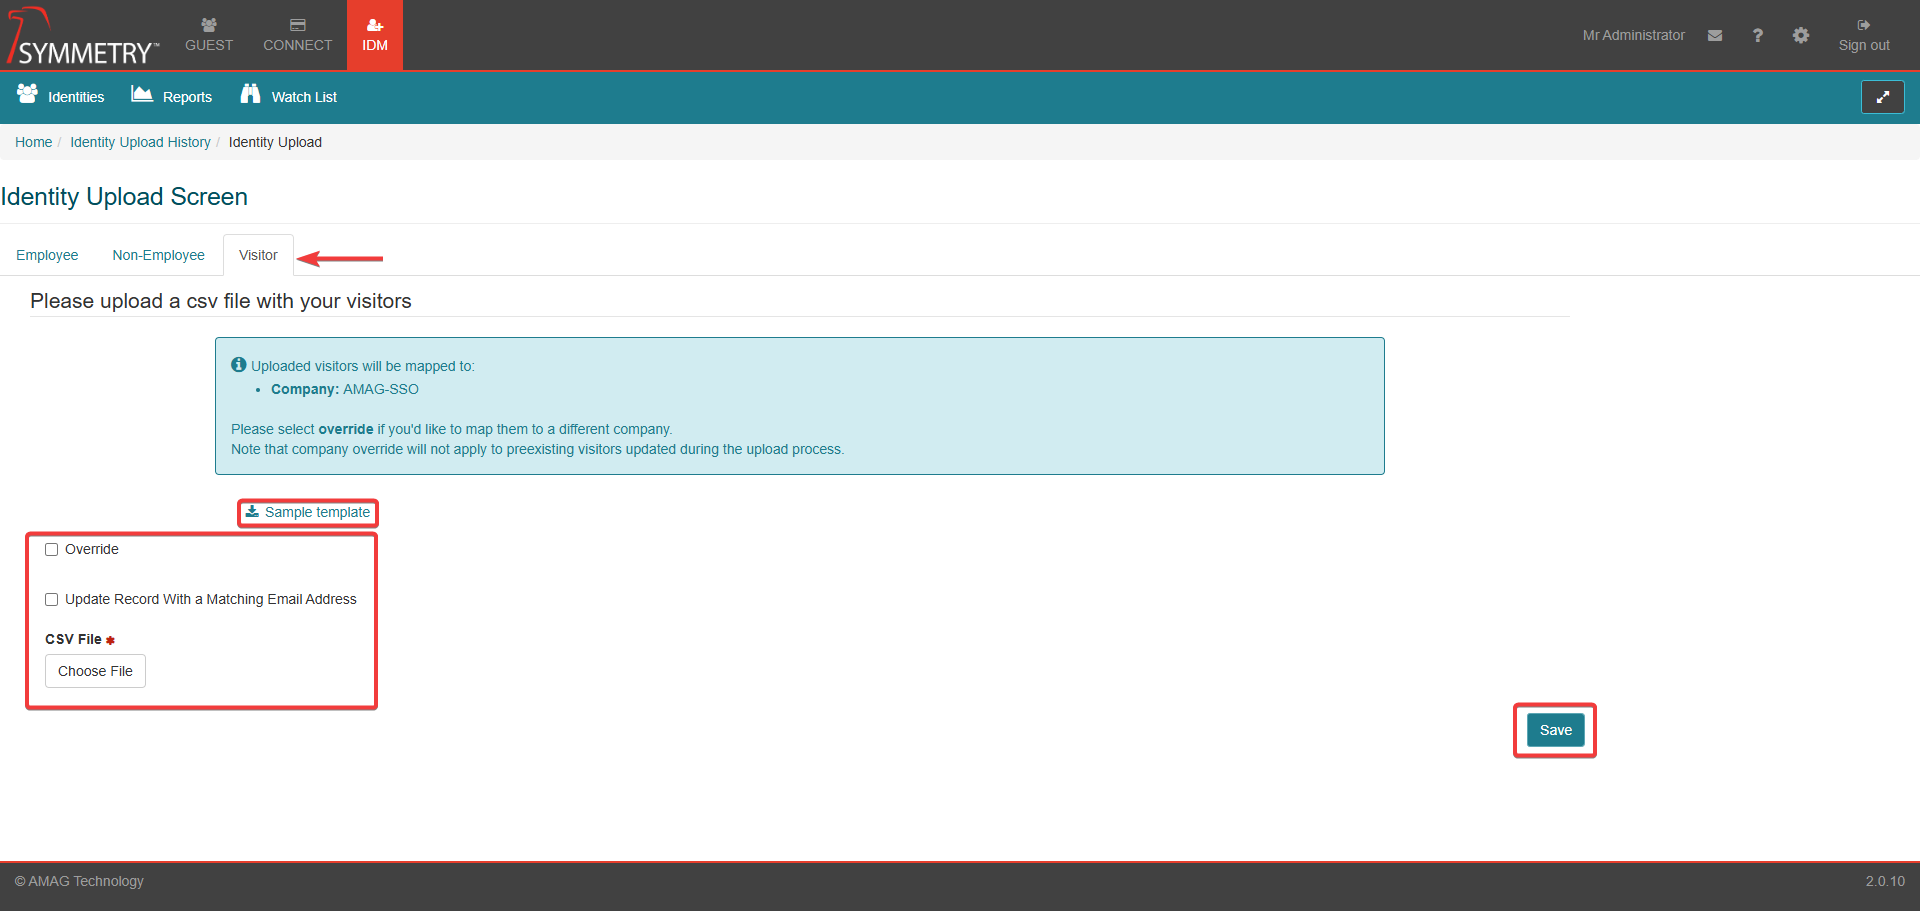
Click the Sample template link, which will download a csv file suitable for uploading visitors. It will contain the default Visitor fields and all other fields that have been set in Visitor Screen Configuration to either Show or Required , including any User Defined Fields.
Once the upload file has been created, the user can select Override if they want to map the Visitors to a company different to the Affiliated Company. They can also select Update Record With a Matching Email Address if they want to update existing identities with a matching email address via the file.
The user then clicks the Choose File button, selects the file they want to upload and clicks the Save button to start the upload process. They can follow the progress of the upload via the Identity Upload History screen and, if any of the records fail to load, they can open the error file, which will display a relevant message to confirm the reason for the failed upload.
Viewing Visitors
When viewing visitors on the Identity view pages, there are several differences compared to viewing other Identity Types, including:
The Building is not the building assigned to the Identity. It is the building in which the visit will take place.
The Company is not the identity's company. It is the Affiliated Company (often the one that the creator of the record is assigned to).
It is not possible to filter by Status , as the only status that applies to visitors is Active.
It is not possible to sort by Expiration Date, Floor, Location or Start Date as those fields do not apply to visitors.
It is not possible to edit a visitor from Identity View. The user has to select the name of the desired visitor in order to open up Edit Details.
It is not possible to delete a visitor from Identity View.
The default view is the List View. This displays the following:

Visitor's photo (or visitor's initials if photo has not been captured)
Visitor's Name
Affiliated Companies
Status (only Active status is available for Visitor identities)
Identity Type
Employee Number (Not applicable for Visitor identities)
Building
Credentials (Not applicable for Visitor identities)
The list of Identities can be filtered or sorted by the following options:
Note
Click on the More Filters button to expand the filter/sort options.
Search in the table - Type to search function.
Identity Type - Employee, Non-Employee or Visitor
Company
Status
Buildings