Visitor Information
Note
Required fields are indicated with a red Asterisk.
Note
The screenshots in this section are for a GUEST Admin who also has the Reception and Host / Host Delegate roles.
The Visitor Information screen is where the user is able to, if configured, view and edit a Visitor and Visit in GUEST. This will appear in 'My Visits' for Host / Host Delegate users and in Reception for Reception users.
The following information is displayed for each visit:
Visitor / Identity Information
Visit Information
Visit History
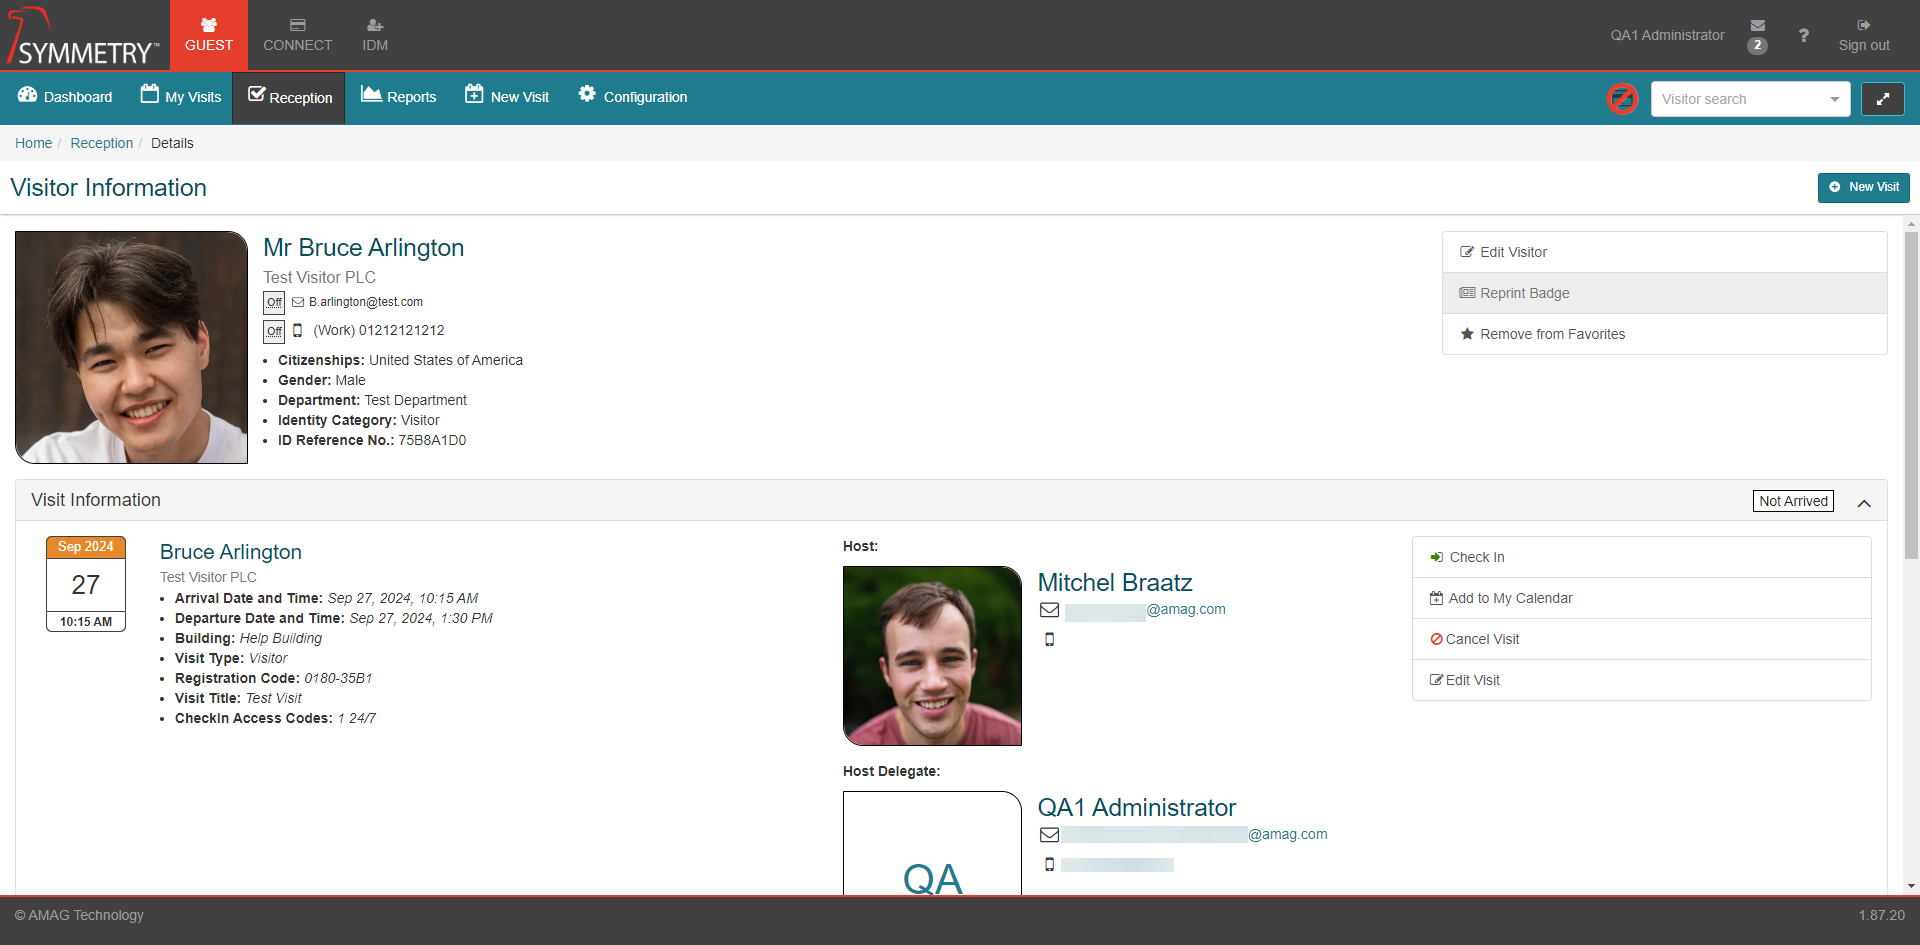
Visitor Information

The Visitor Information section displays the general information available about the visitor including:
First and Last Name
Company
Notification Preference
Email
Phone Number
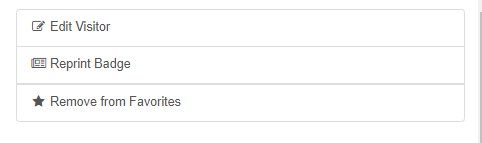
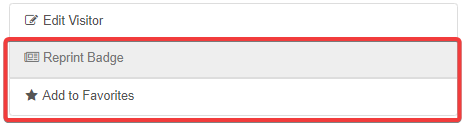
In addition users are able to:
Edit Visitor information
Reprint badges (if they hold the Reception role)
Add visitor to favorites (refer to the Favorite Visitors section in the My Visits section in this guide)
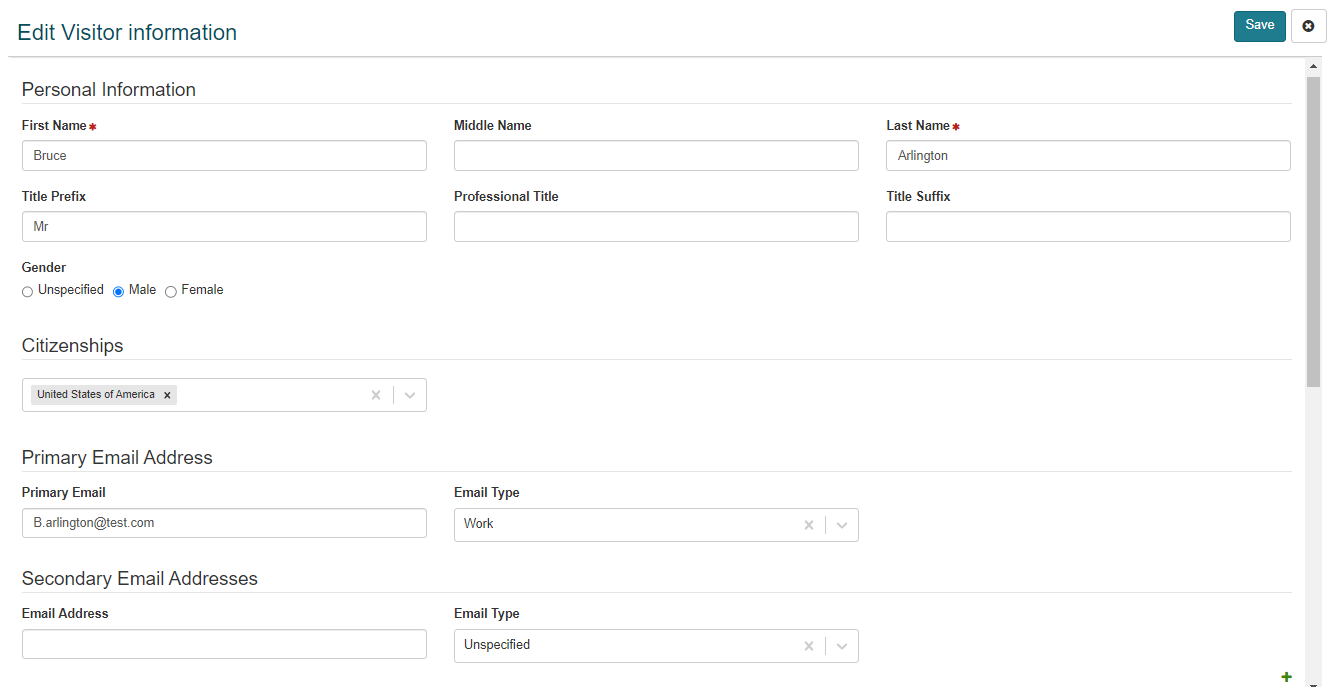
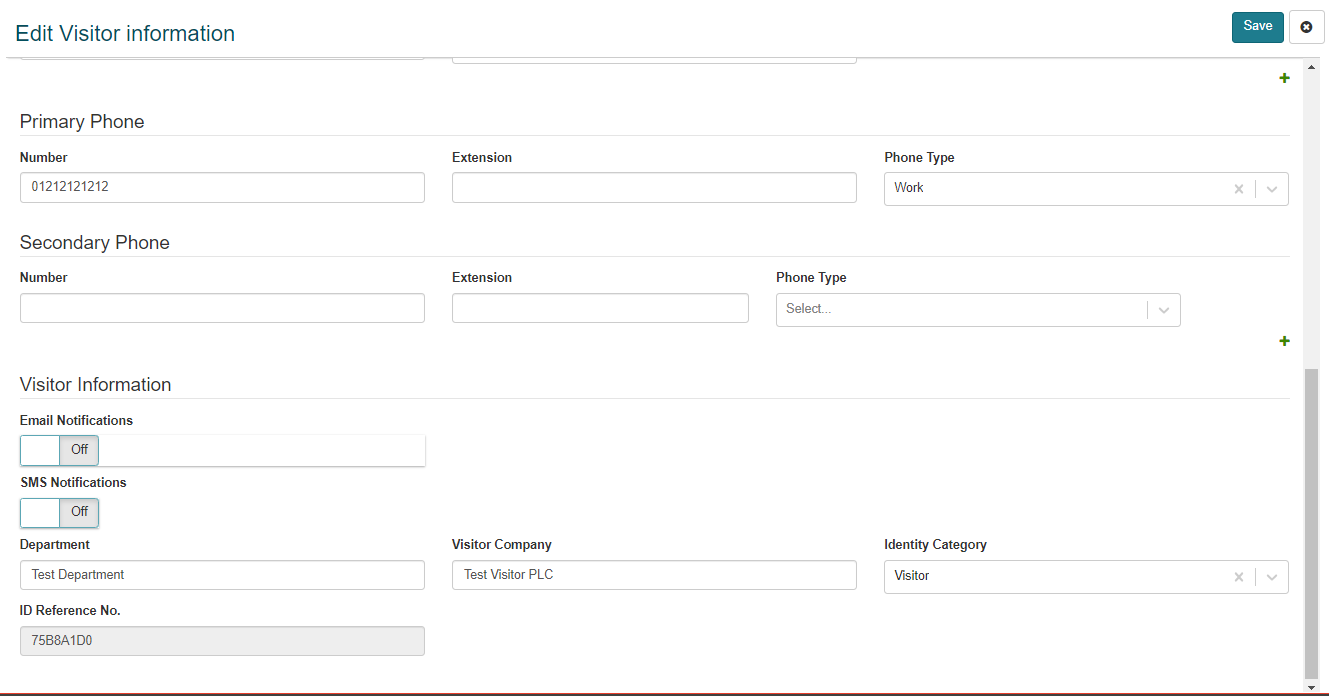
Edit the Visitor
When the Edit Visitor button is selected the Edit Visitor Information section is automatically opened. The user can then make edits to the visitor information. Once the edits have been made, click the Save button to save and confirm the changes. Or click the Cancel icon button to close and cancel the edit section. The image below shows an example of the Edit Visitor Information section. The editable fields can be configured to allow different fields to be available.
Reporting Badge
When a receptionist clicks the Reprint Badge button the visitor badge will be sent to the badge printer. This functionality is only available for current visits that have been checked-in. For past or future visits this button will still be displayed, but grayed out and unable to be selected.
Identity Information

When the visitor is an IDM Identity the Visitor Information section is replaced with the Identity Information section. This section displays the following information about the identity:
First and Last Name
Company
Office/Building
Primary Email
Primary phone
Web Credential (Yes or No)
Employee type
User Defined Fields
Visit Information
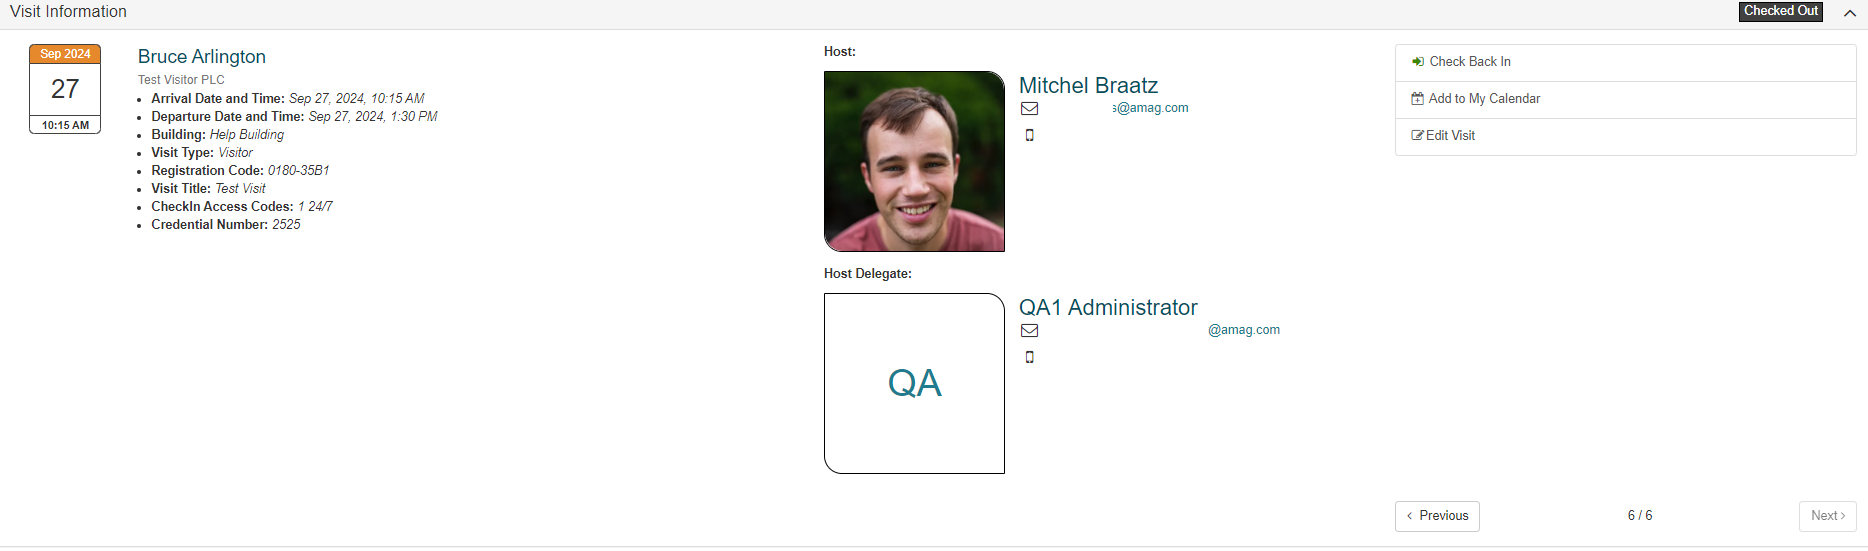
The Visit Information section displays all the captured information about the visit. The image below shows an example of the Visit Information, the fields displayed here are configurable. This example includes:
Visit Status
Date of Visit
Arrival and Departure Date and Time
Building
Visit Type
Registration Code
Visit Title
CheckIn Access Code
Credential Number
Host Identity (if applicable)
Host Delegate (if applicable)
Note
Fields displayed are based on the Screen Configuration settings.
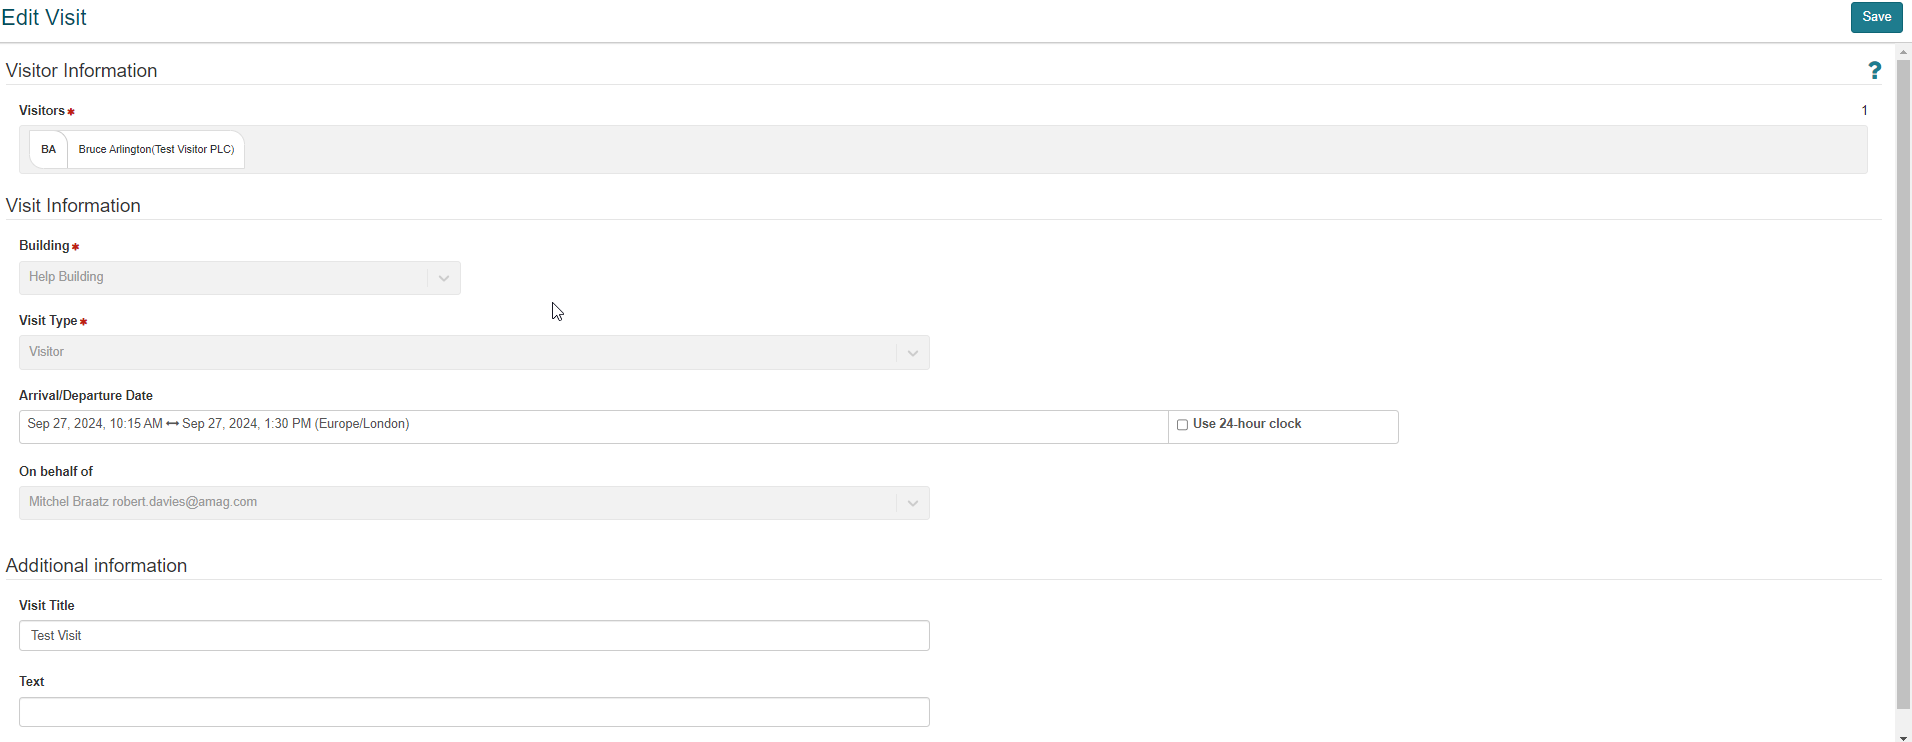
The Visit Information can be edited (for current visits only) by clicking the Edit Visit button. This will automatically open the Edit Visit section. the user can edit the information displayed. Click the Save button to confirm and save the edits made. Please note that, once the visit is checked-in, Building and Visit Type cannot be amended.
Visit History
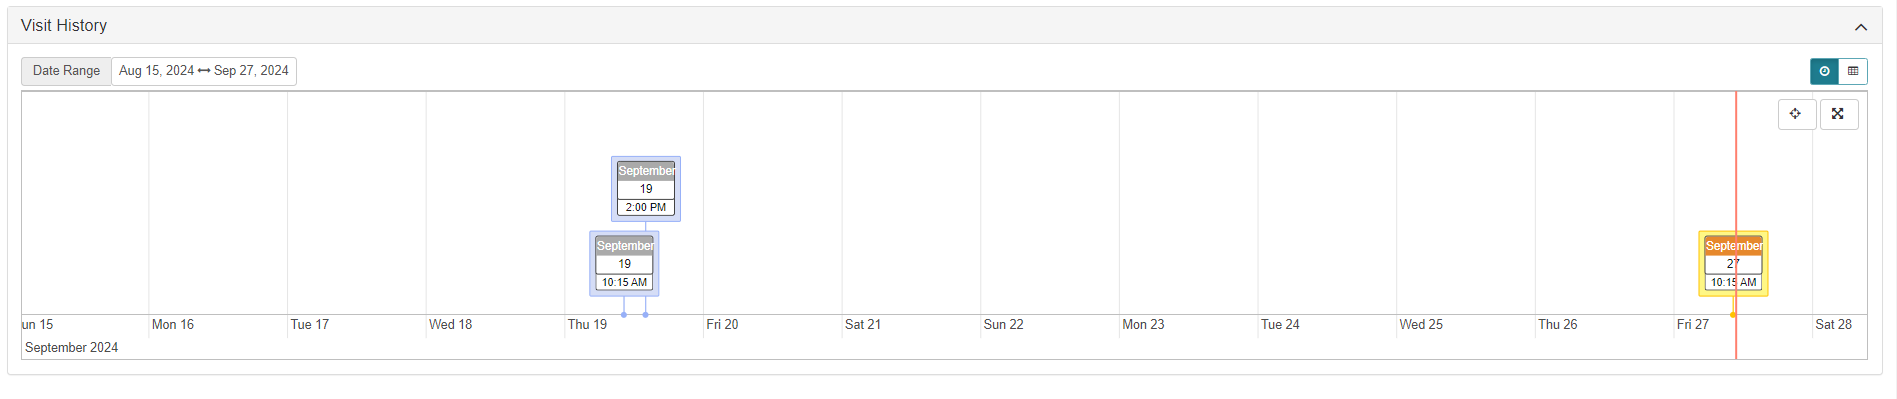
The Visit History section displays the visitor's history in a visual timeline. Users are able to zoom in and out on the timeline and see all visits within a particular timeframe for a visitor. Selecting a visit on the timeline will display the visit information section with the information from that visit. User can also click Previous and Next buttons at the foot of Visit Information to scroll through all the 'Visit Information' records for that Visitor.
Add to My Calendar
When a user clicks the Add to My Calendar button a calendar.ics file will be downloaded. This file can be opened with any calendar application to directly add the visit to their calendar.
New Visit
When a Host or Receptionist clicks the New Visit button, they can schedule a new visit for that same Visitor. Note that the Visitor Name will display a pencil icon to its right. Clicking on the Visitor Name will open up Edit Visitor information.
Cancel Visit
When a Host or Receptionist clicks the Cancel Visit button the currently selected visit will be canceled. This button will only be displayed for future visits.
Check Out
When a Host or Receptionist clicks the Check Out button the currently selected visit will be Checked Out. This button will only be displayed if the visit is current and has been checked in. This button is also available to Hosts provided the Visit Type being used has been configured to allow checkout by Host / Host Delegate.