SwiftConnect
Overview
The SwiftConnect integration provides a centralised, identity-driven integration that allows Symmetry CONNECT/IDM to manage access across multiple, potentially different Physical Access Control Systems (PACS) through a single integration point.
Settings
Note
The AMAG Professional Services team will typically complete the onboarding to SwiftConnect process.
Note
SwiftConnect must be involved during the onboarding integration process. They (SwiftConnect) are required to manually set their system to allow the onboarding process.
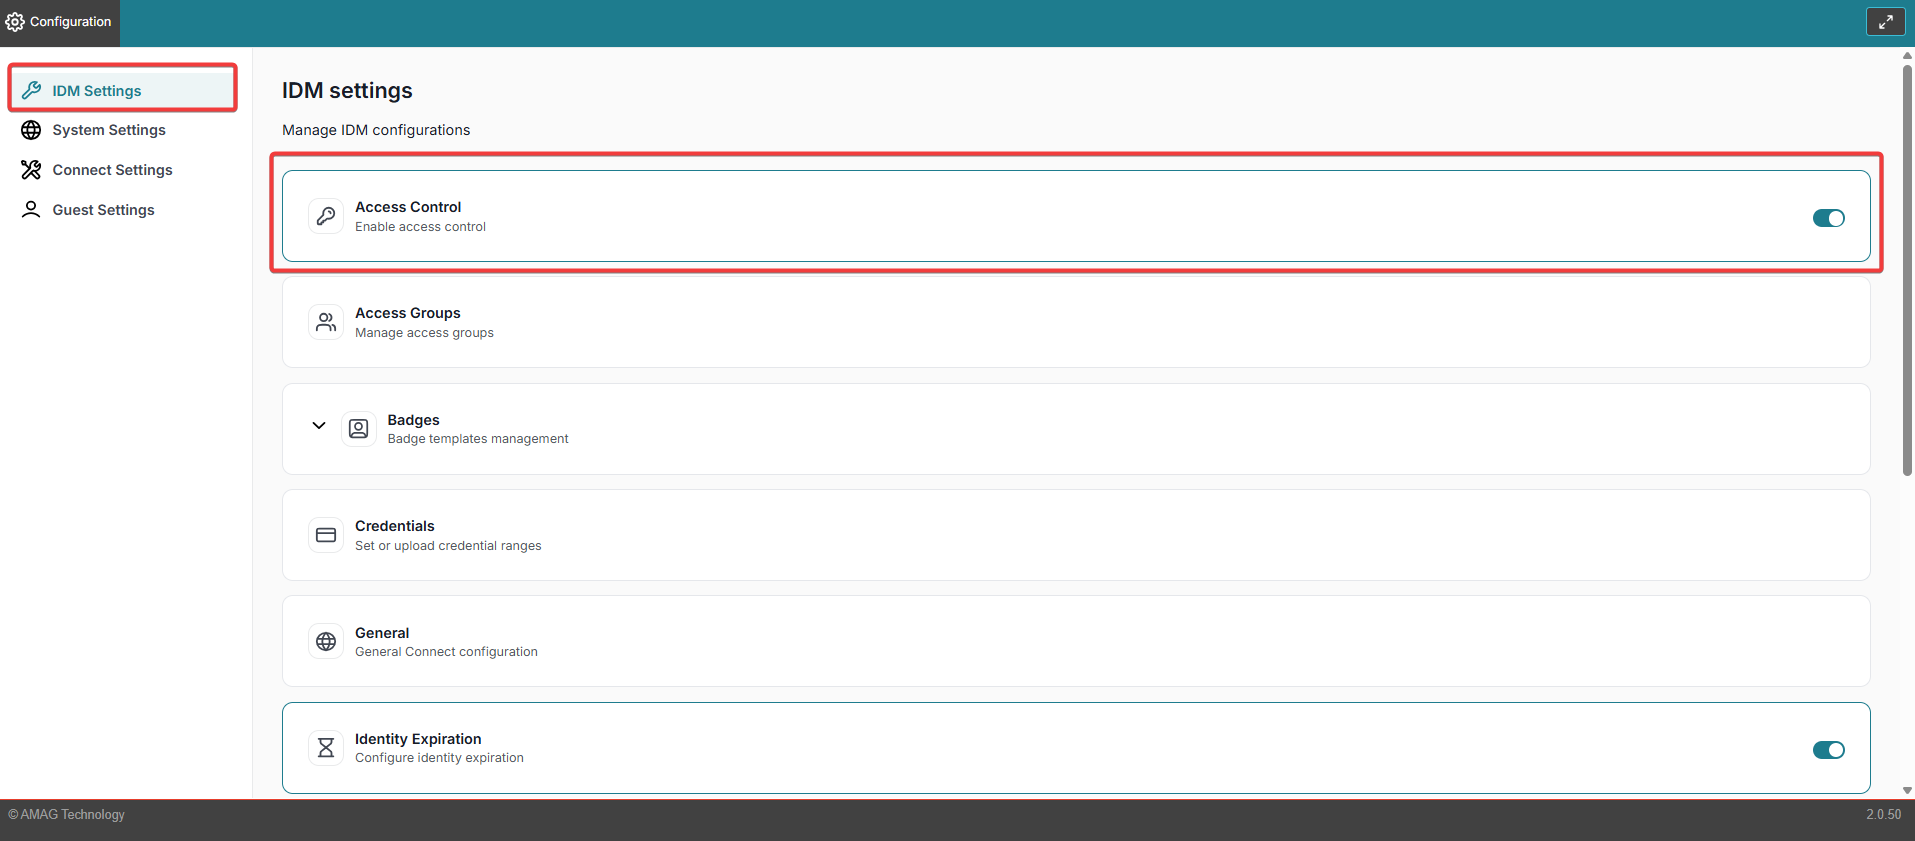
Navigate to Configuration > IDM Settings > Access Control (refer to Access Control section for further information).
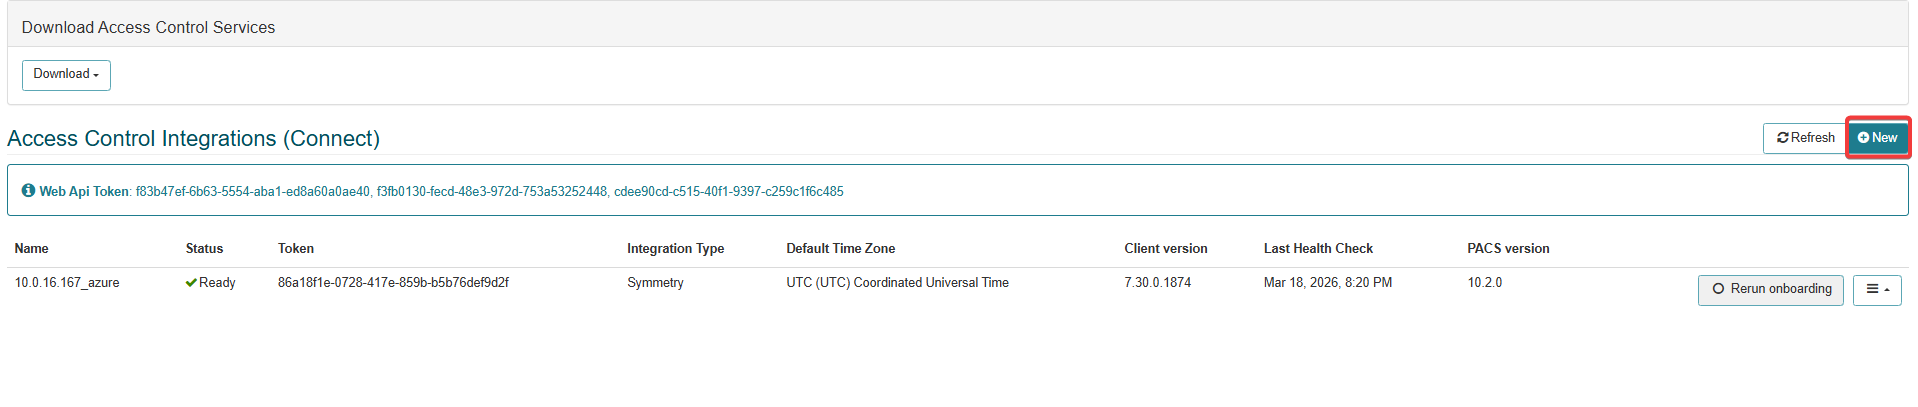
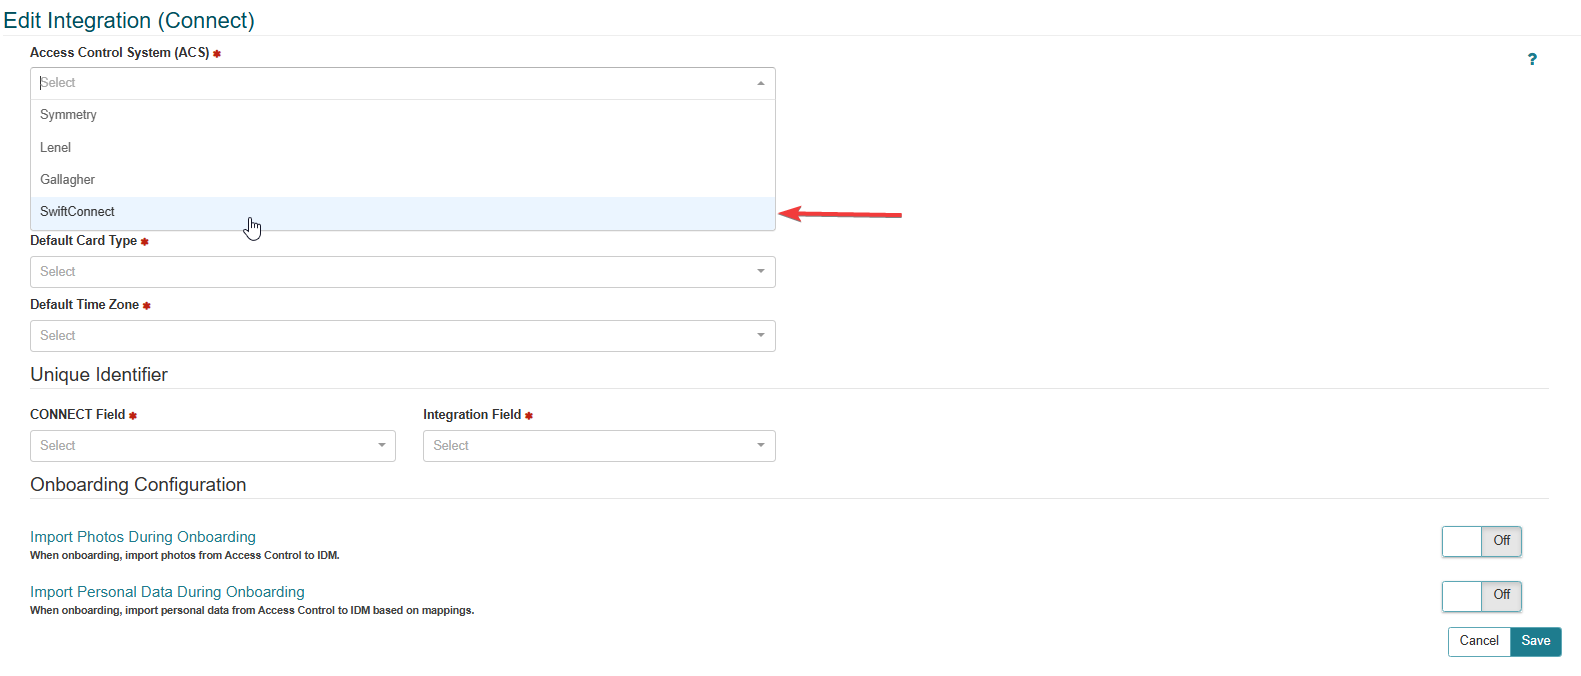
Click on the New button to enter the Access Control Integrations configuration screen.
Select SwiftConnect from the drop down menu in the Access Control System (ACS) field.
Note
Required fields are indicated with a red Asterisk.
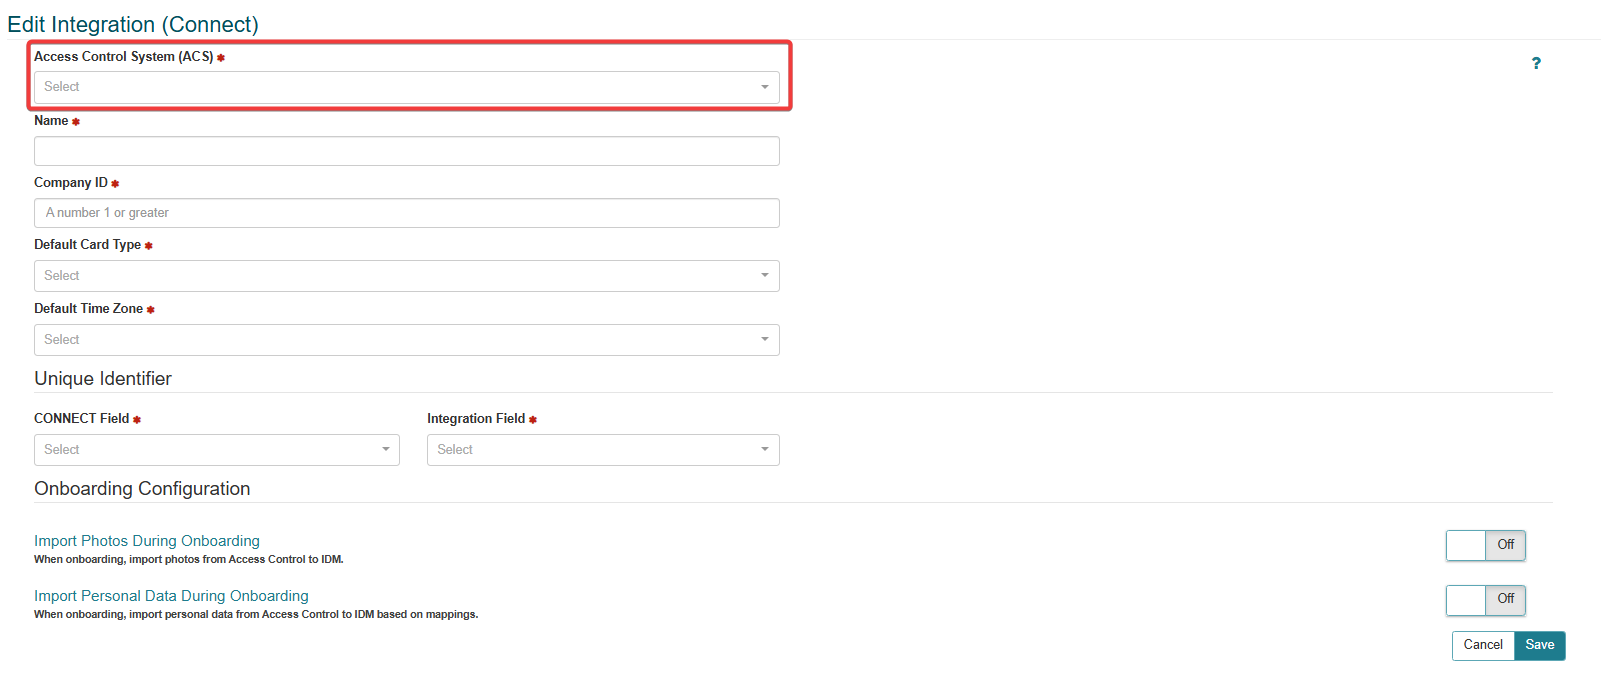
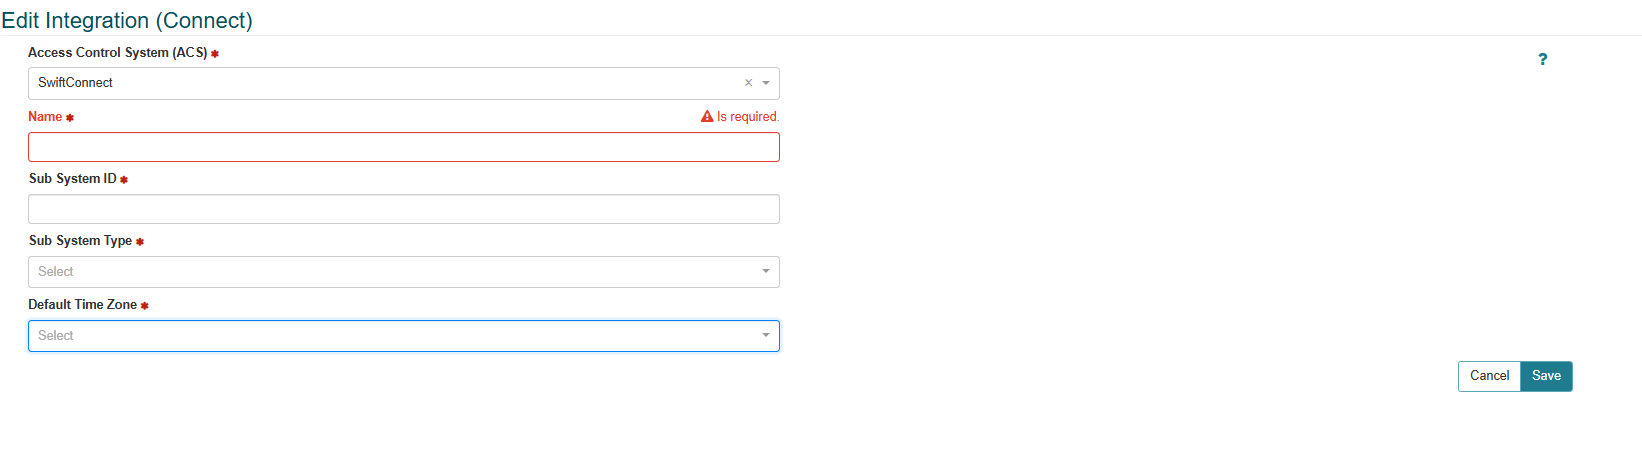
A new screen will be available once SwiftConnect has been selected.
Name: Apply a suitable name to the SwiftConnect integration.
Sub Supply ID: Apply the Sub System ID.
Note
The Sub System ID is provided by SwiftConnect during the onboarding process.
Sub System Type: Select the required Sub System type from the drop-down menu.
Default Time Zone: Select the required Time Zone from the drop down menu.
Click the Save button to save and apply the integration settings.
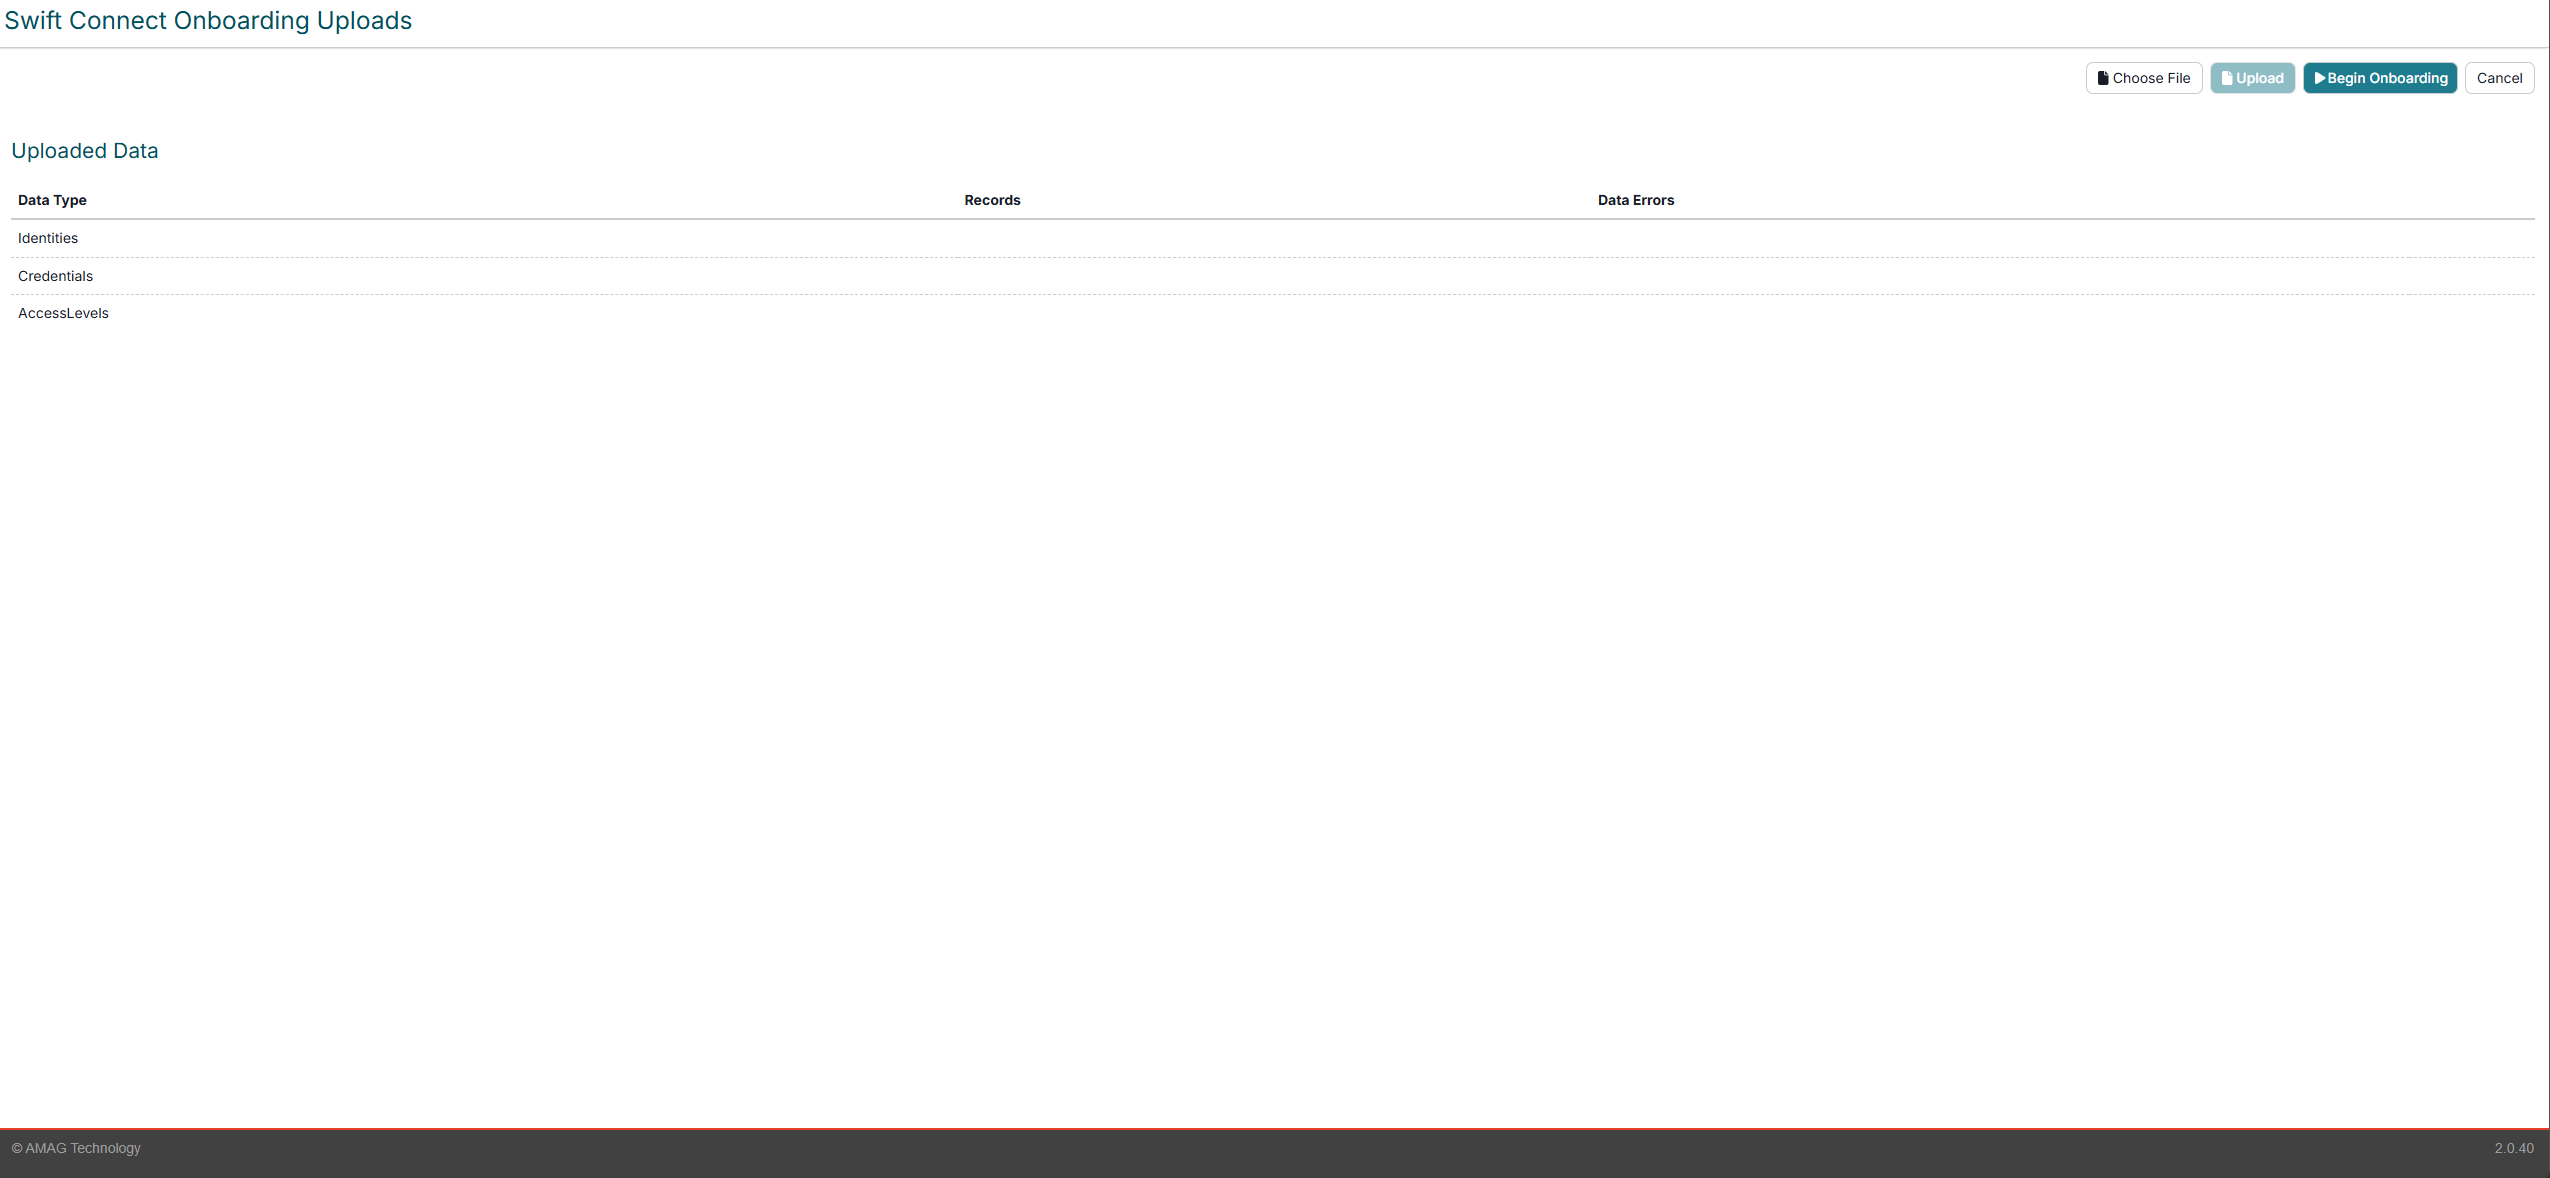
Select the SwiftConnect integration from the Access Control Integrations screen.
Click the Upload button and upload the 3 CSV files provided by SwiftConnect.
Rectify any issues that are displayed in the Data Errors section. Click on the Eye icon to display details regarding any issues found during the upload.
Click Begin Onboarding to start the onboarding process.