Access Groups
Connect > Configuration > Access Groups:
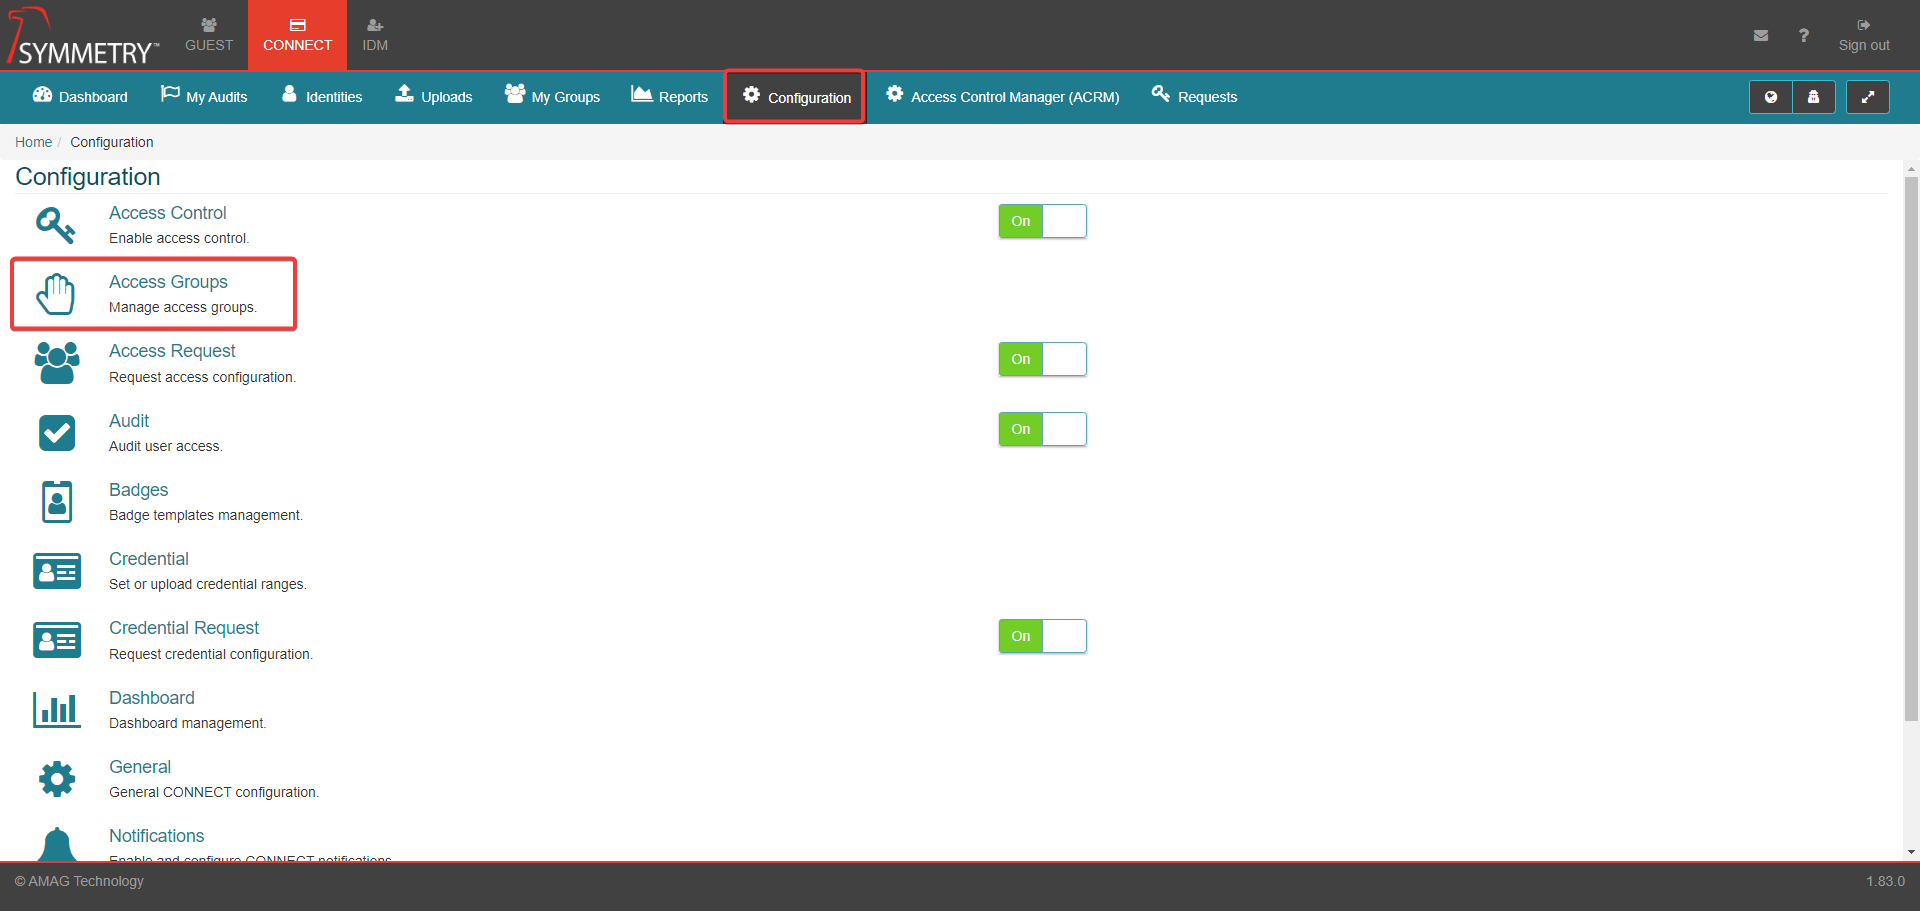
Access Group configuration allows an administrator to manage Access Groups. They can:
Provide a succinct Description for the Access group.
Assign an Access Group to one or more Buildings.
Assign an Access Group to one or more Companies.
Set the Audit Schedule for the Access Group.
Configure the Visibility of the Access Group (whether the Access Group can be selectable when a user is requesting access).
Add Tags to the Access Group (for searching/filtering).
Assign a Time Zone to the Access Group.
Assign the Access Group to a specific Access Request Workflow.
Note
Access Groups can only be added, named / renamed, deleted in the PACS system.
The Image below displays the Access Groups page with a list of Access Groups displayed. Clicking Access Groups option on the Configuration page takes the User to the Access Groups list.
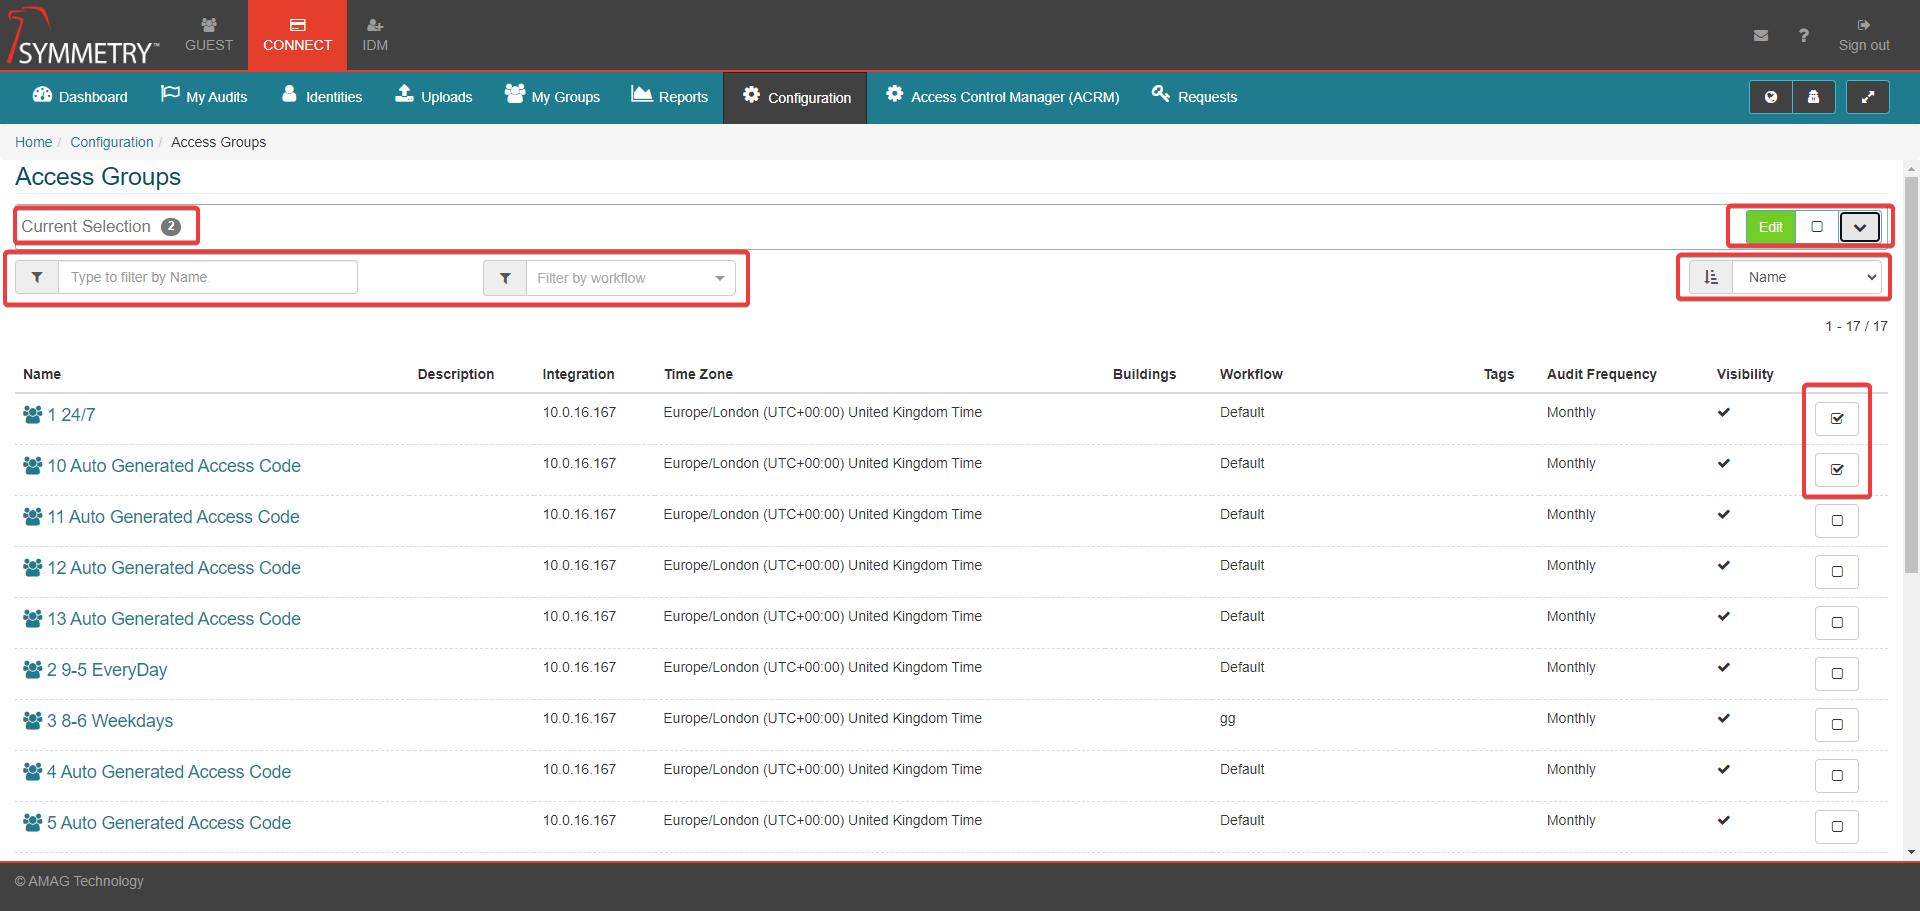
The user is able to filter the Access Groups by:
Name
Workflow (using the 'Filter by Workflow' box)
The user can also sort the Access Groups (descending or ascending order) against the following fields:
Name
Description
Integration
Time Zone
Buildings
Companies
Workflow
Tags
Audit Frequency
Visibility
To edit an individual Access Group, click on the Access Group Name, this will then open the edit screen. The user is also able to select and edit multiple groups/all groups if required. Click the selection box on the right of the screen for each Access group that the user wants to edit. These will then be displayed in the Current Selection tab (user may first have to click the Show Contents icon). Click the Edit button to open the edit screen.
Editing an Access Group
Click on the name of an Access Group to edit or select multiple/all Access Groups.
Enter a Description of the Access Group (optional). This can be used to provide more information about the access provided by the group, or it can be used as a replacement for the Access Group Name in CONNECT. In some instances the name of the Access Code in Symmetry Access Control can be specific to the installer/facilities department and may not make sense to the general user group, therefore an administrator can enter a more understandable name and select the Hide name (use description) check box.
Tags: One or more tags can be assigned to the Access Group to assist with grouping, searching. For example, Access Groups could be tagged as “low_risk”, or “critical” etc. Create a tag by typing the desired tag name in the Tags field, then confirm by clicking Create option to save the tag.
Note
Tags must be one word only.
Buildings: An Access Group can be assigned to a specific Building. This helps users to locate the Access Group they are searching for, as the list of Access Groups can be filtered by Building when making an Access Request.
Time Zone: The time zone the building is in. This will be used to define when access activation and expiration should take place.
Hide name (use description): When selected the description will be displayed instead of the name.
Is auditable: when selected will allow the Access Group to be included in any regular audits.
Audit Frequency: Select the desired Audit Frequency from the drop down box.
Note
The default Audit Frequency is configured on the CONNECT Configuration Audit page.
Workflow: Workflow allows the user to configure which Access Request workflow they want to apply to the Access Group. See Access Request Workflows in the next section.
Hide from request access: Selecting this box removes the Access Group from the available list when users are requesting access. This is recommended for Access Groups that are assigned via other means and do not need to be in the list. It can also be useful to hide Access Groups for areas that may not be fully implemented/available yet.
Click the Save button to confirm the edits made. Click the Cancel button to disregard and cancel the edits made.
