IDM Importer - Installation
Preparation of Symmetry Connect/Guest
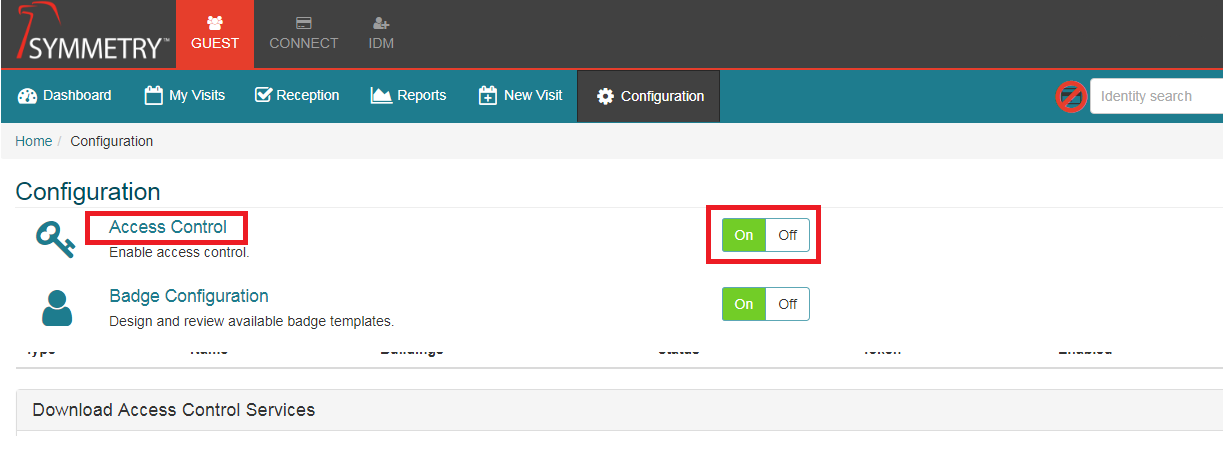
Log into Symmetry Connect/Guest and navigate to the Configuration Access Control sub-menu. If not already enabled, turn on the Access Control Integration by selecting the ON control next to Access Control, then click on the Access Control link.
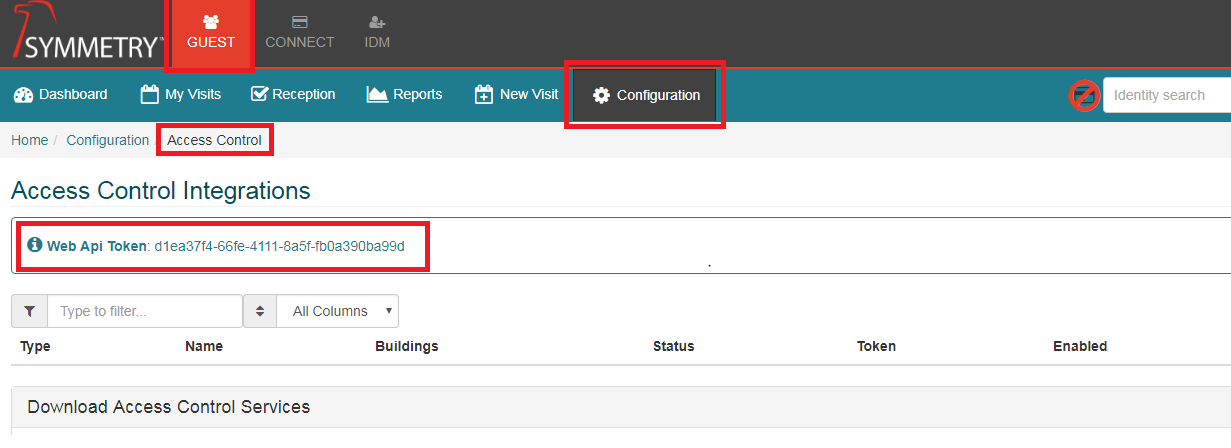
Find the Web Api Token that represents the users system. This will be required later when setting up the settings.yaml file.
Installation of the IDM Importer
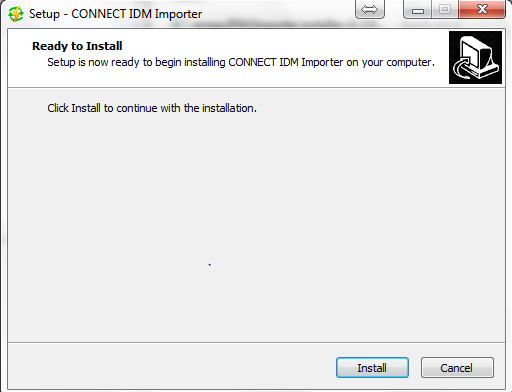
Double-click on the AMAG.IDM.Importer install to start the process.
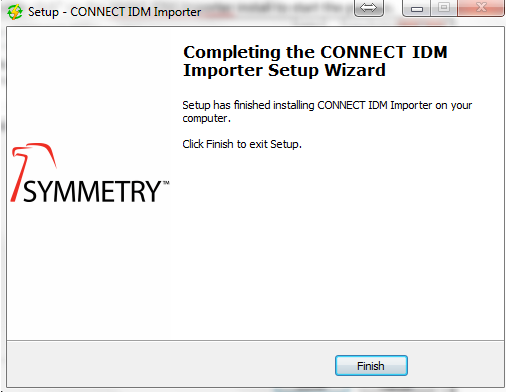
Click on Finish when the install is complete.
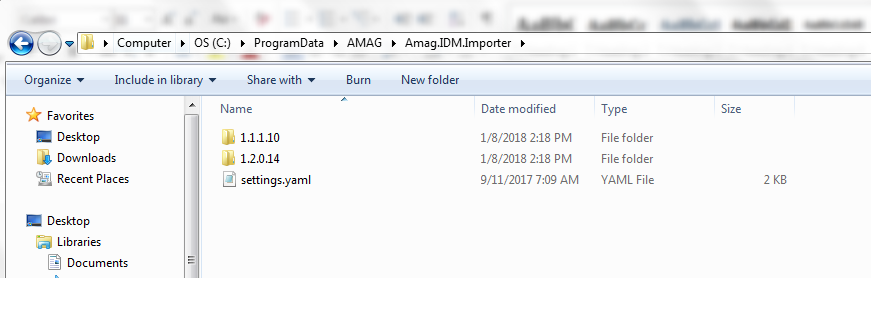
The service is installed in C:\\ProgramData\AMAG\Amag.IDM.Importer\X.X.X.X. In the root directory, you will find a settings.yaml file (open/edit using notepad).
Configuration of the IDM Importer
The setting.yaml file is the configuration file that we are going to modify to specify the sources and destinations of the IDM / Identities. Here is a simplified version of the yaml file that explains the different parts:
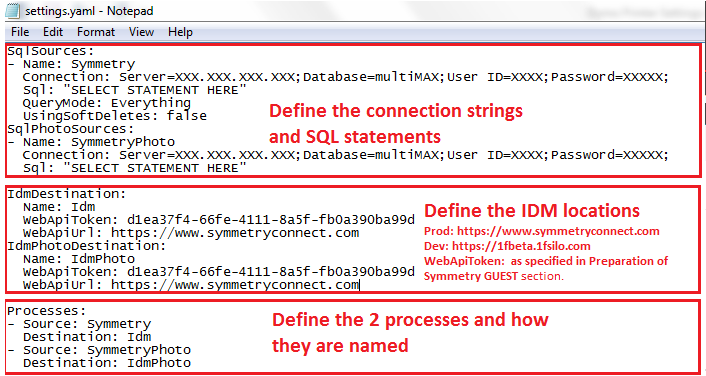
In the first section of the yaml file, there are 2 locations where we have SELECT STATEMENT HERE. This can be simple queries or very complex ones. It all depends what you wish to have pulled into IDM from the source being used.
Here is an example of what the query can look like when pulling from multimax database (Symmetry):
select PDF.[PersonalData8] as EmployeeNumber
, FirstName
, Case
When InitLet IS NOT NULL then InitLet
Else ''
End as MiddleName
, LastName
,Case PDF.[PersonalData13]
When 'M' Then 1
When 'F' Then 2
When NULL Then 0
ELSE 0
End as Gender
, Case
When PDF.[PersonalData12] IS NOT NULL then PDF.[PersonalData12]
Else ''
End as PrimaryEmail
, Case
When PDF.[PersonalData3] IS NOT NULL then PDF.[PersonalData3]
Else ''
End as PrimaryPhone
, Case
When PDF.[PersonalData5] IS NOT NULL then PDF.[PersonalData5]
Else ''
End as Title
, Case
When PDF.[PersonalData1] IS NOT NULL then PDF.[PersonalData1]
Else ''
End as Location
, PDF.[PersonalData6] as EmployeeType
, Case
When PDF.[PersonalData3] IS NOT NULL then PDF.[PersonalData3]
Else ''
End as Department
, ActiveDateTime as StartDate,
, InactiveDateTime As ExpirationDate
, CHT.CardID as CardID, CIT.CardInfoID
, Case
When PDF.[PersonalData4] is not null Then PDF.[PersonalData4]
When Inactive = 1 Then 'Inactive'
When Inactive = 0 Then 'Active'
End as SymmetryStatus
FROM [multiMAX].[dbo].[CardHolderTable] CHT (NOLOCK)
INNER JOIN [multiMAX].[dbo].[CardInfoTable] CIT (NOLOCK) on
CHT.CardID = CIT.CardID
LEFT JOIN [multiMAX].[dbo].[PersonalDataFlatTable] PDF (NOLOCK) on
PDF.CardID = CHT.CardID
WHERE CIT.PrimaryCard = 1 and PDF.[PersonalData8] IS NOT NULL ORDER BY
CHT.CardID
The “WHERE” clause of the query is used to filter the record that we do not want to import. Using SQL Server Management studio is a good was to assure that we pull in the right Identities.
The Identities Photo query could look like:
SELECT PDF.[PersonalData8] as EmployeeNumber, CHFT.Face AS Photo
FROM [multiMax].[dbo].[CardInfoTable] CIT (NOLOCK)
JOIN [multiMax].[dbo].[CardHolderTable] CHT (NOLOCK) ON CHT.CardID
= CIT.CardID
JOIN [multiMAX].[dbo].[CardHolderFaceTable] CHFT (NOLOCK) ON
CIT.CardID=CHFT.CardID
LEFT JOIN [multiMAX].[dbo].[PersonalDataFlatTable] PDF (NOLOCK) on
PDF.CardID = CHT.CardID
WHERE CIT.PrimaryCard = 1 and PDF.[PersonalData8] IS NOT NULL ORDER BY
CHT.CardID
Data Fields
Here is a quick guide available fields. Those with “*” are required:
EmployeeNumber*
FirstName*
Middle Name
LastName*
Gender {0 - Unspecified, 1 = Male, 2 - Female} *
Company * (Required or a company will be auto-created)
StartDate
ExpirationDate
PrimaryEmail *
PrimaryPhone *
TitlePrefix
Title
TitleSuffix
Building * (required or a default building will be assigned)
Location
Floor
EmployeeType { Employee = 0 / Non-Employee = 1}
EmployeeCategory
Department
DateOfBirth
UDF’s - based on configuration in IDM - column is the name of UDF, not display value - these cannot overlap existing column names above, ex: ‘AlternateName’.
Communication
The service communicates to the URL defined in the “WebApiUrl”. All traffic goes over https (443)