Lobbies
By default, the GUEST application checks visitors in and out of Buildings. For example, when a visitor checks into Building 1, the Host may receive an email notifying them that their visitor has arrived.
The default check-in functionality works for the majority of users, however certain Buildings may have multiple lobbies through which the visitor can enter or exit, which could create confusion about where the Host should meet their visitor. For these types of situations, it is recommended to use the Lobbies functionality to create separate Lobbies within a Building.
For example, if a user creates a North and South lobby for a Building, when the visitor checks-in, the Host Notification will let the Host know which Lobby to meet their visitor.
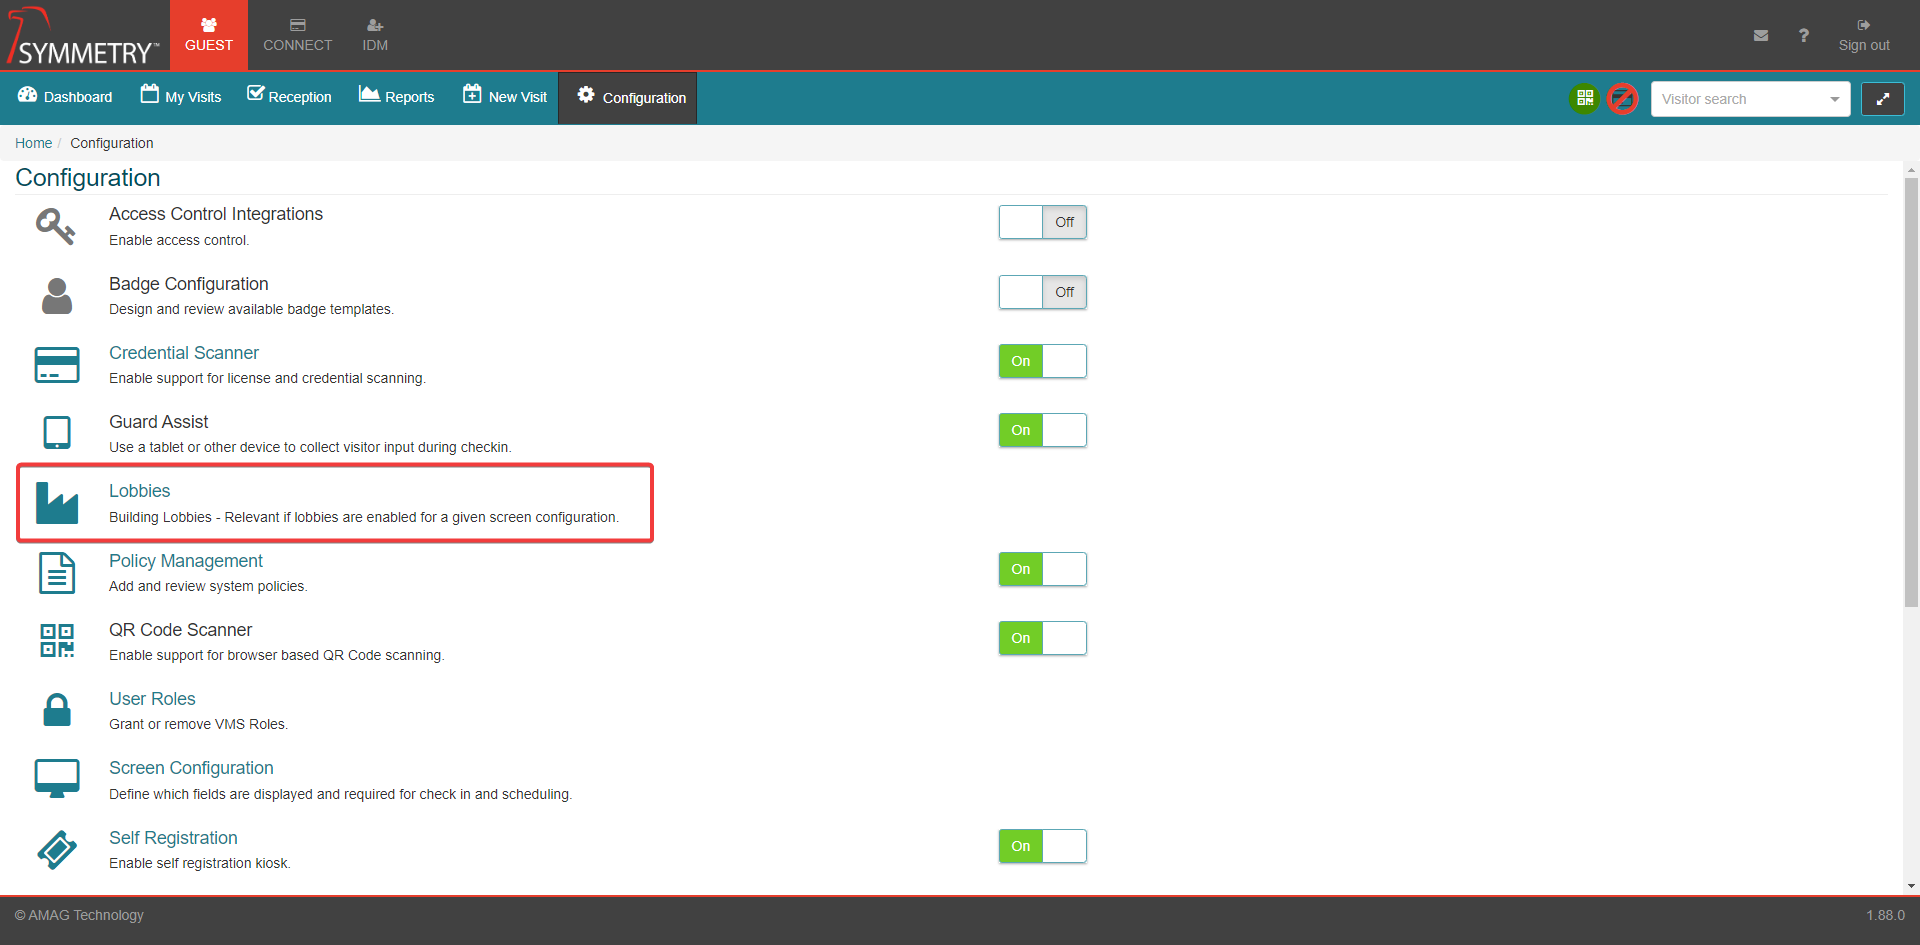
To create a Lobby, select a Building on the Lobbies page (GUEST Configuration Lobbies). The Building can be selected from the drop down menu, or searched for via the type to search function.

Enter the name of the lobby and click Add Lobby. Multiple lobbies can be added by entering another lobby name and then clicking the Add Lobby button again. Once complete, click the Save Lobbies for (selected) Building button to confirm the creation of the lobby/lobbies. Clicking the Undo button will remove the created lobbies prior to to saving them.
Note
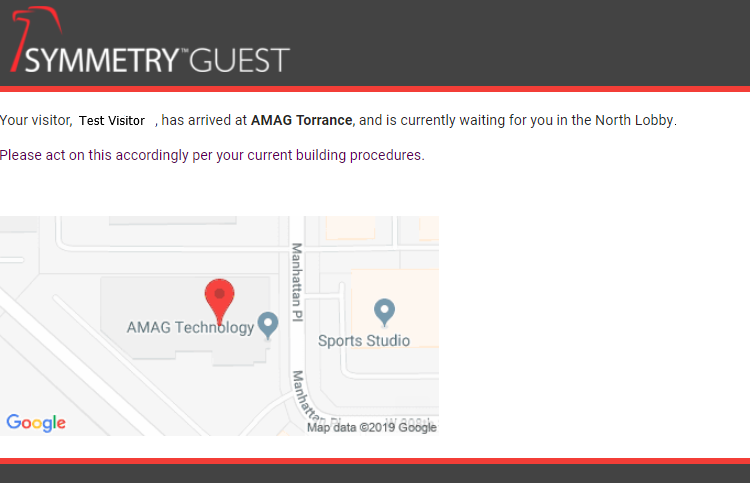
The word Lobby will appear in the Visitor Arrived email notification so user should not include the word Lobby when creating the Lobby Name.
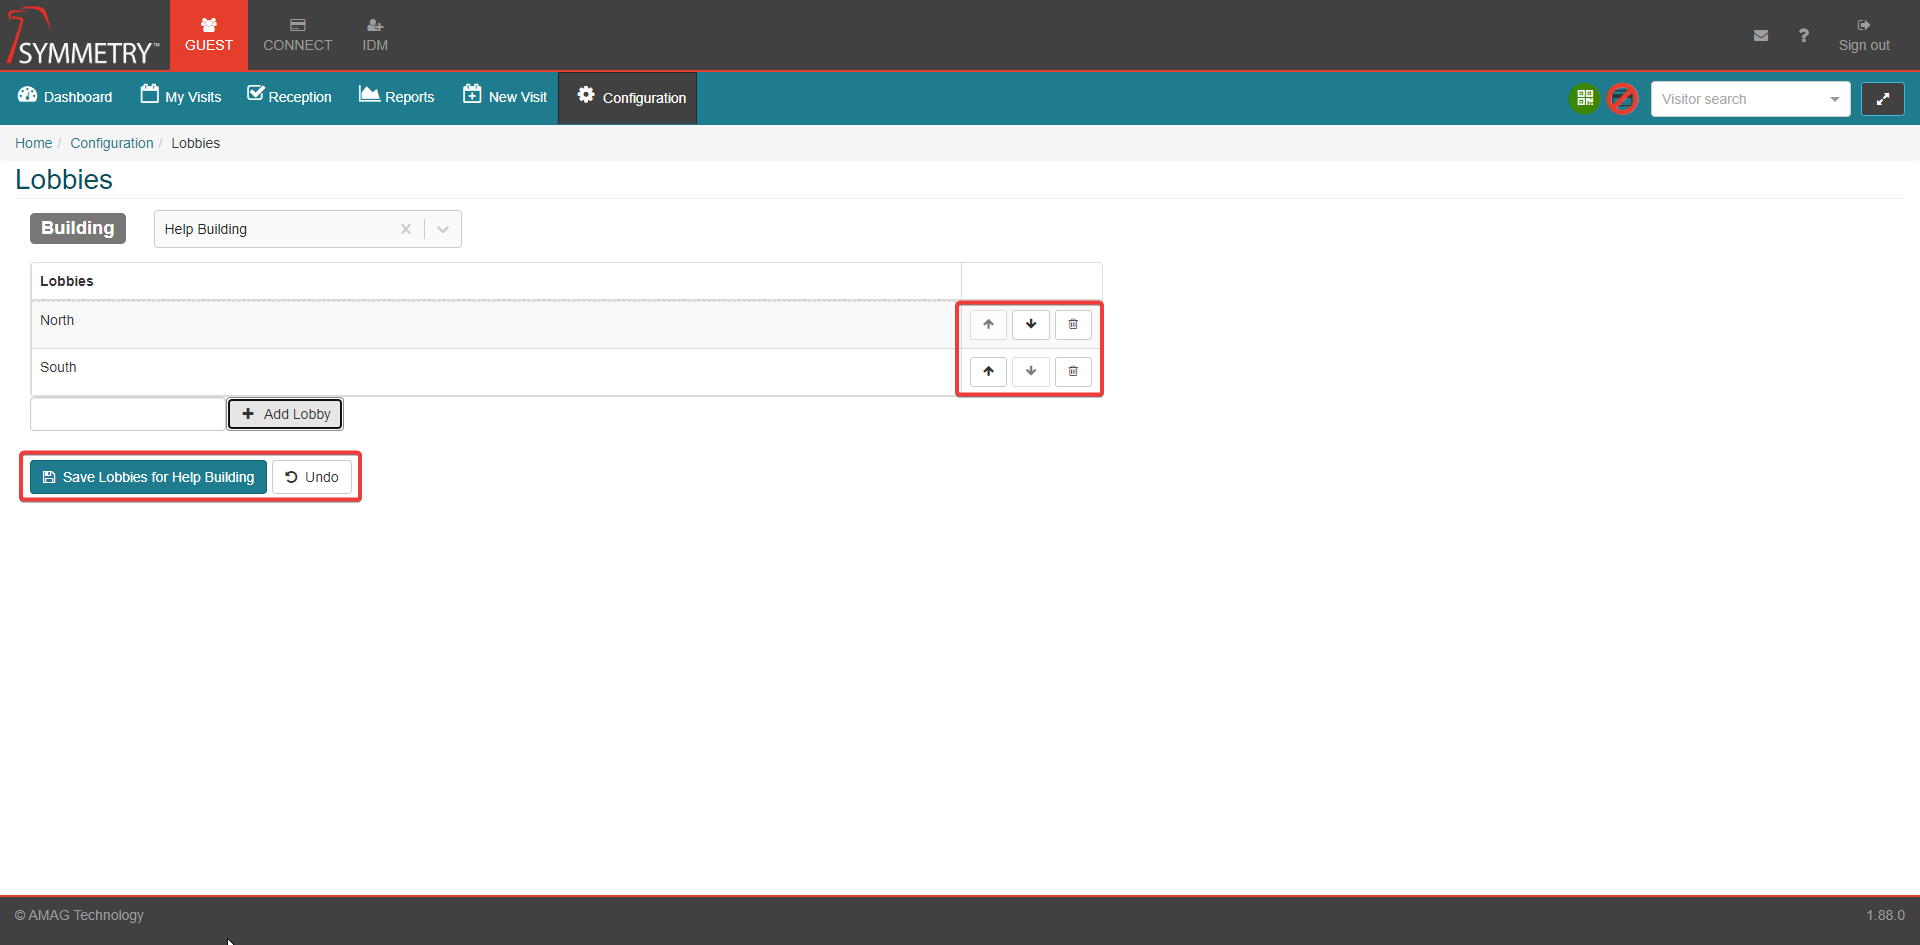
The lobbies that have been created and saved can be deleted by clicking the Delete icon button. The order of the lobbies can also be changed by clicking the relevant Up or Down arrow icon button. Any changes made here must be confirmed by clicking the Save Lobbies for (selected) Building button.
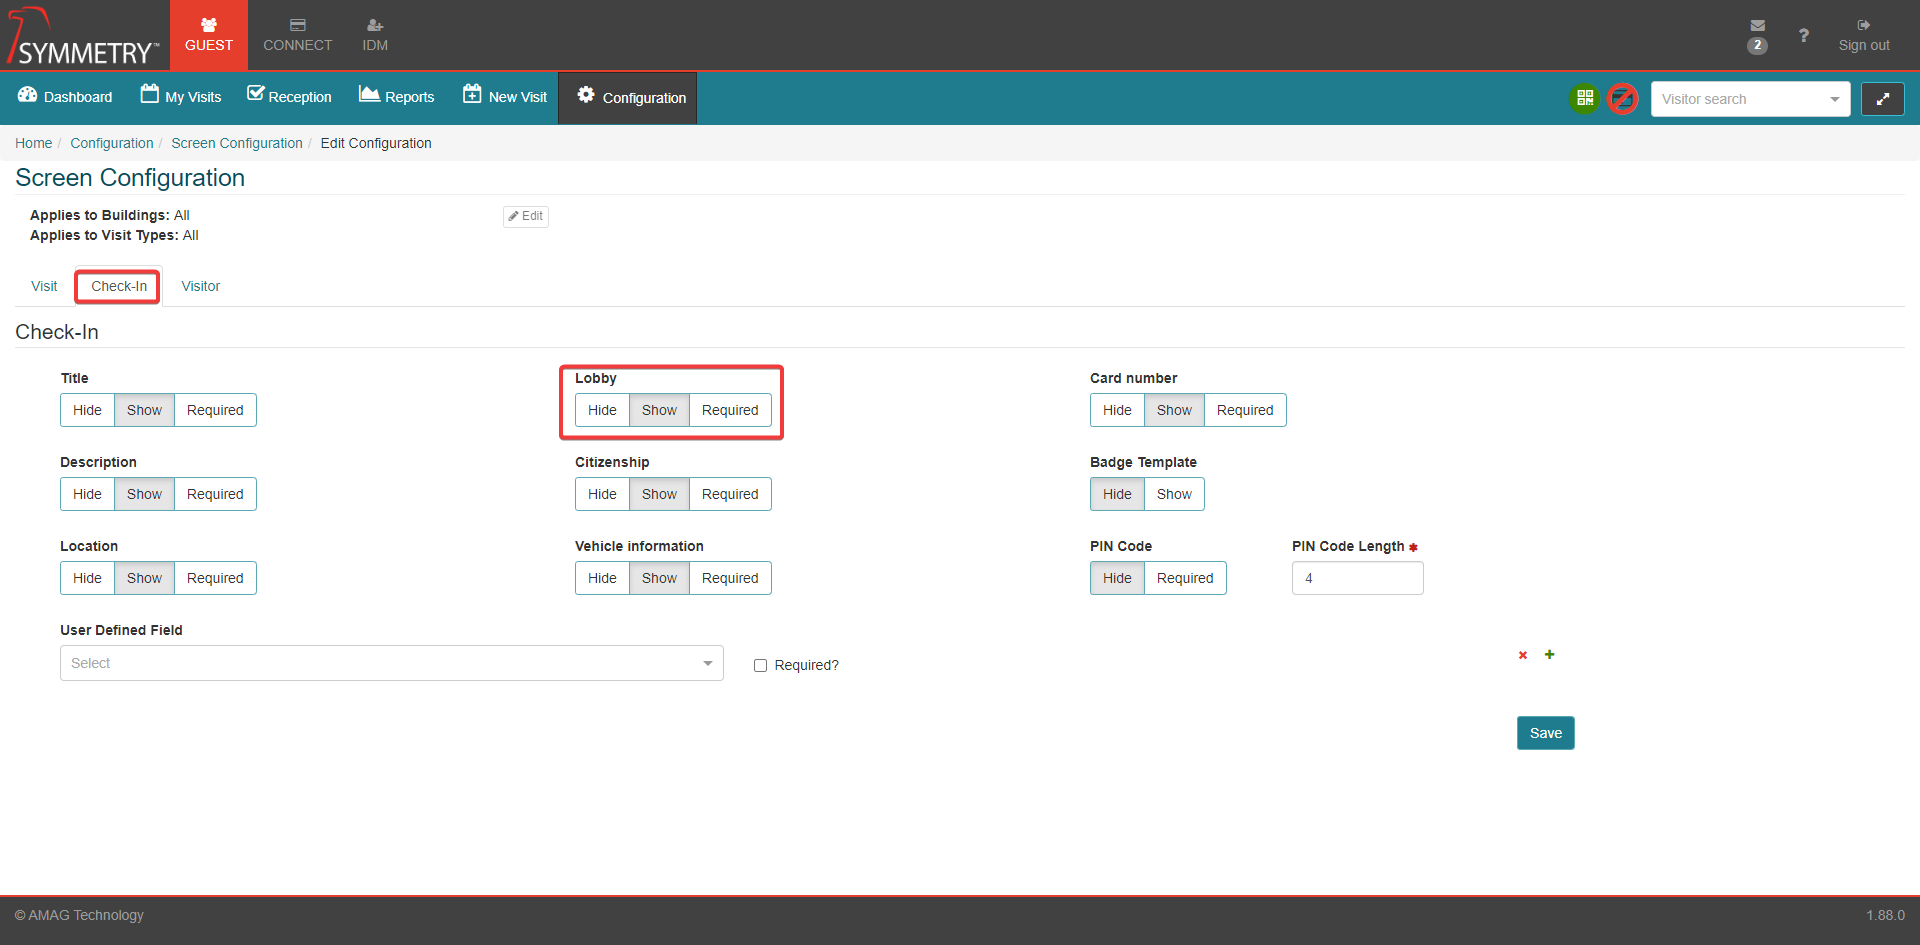
For the Lobby function to operate correctly, the Lobby field must be visible on the check-in screen. Set the Lobby field to Show, or Required This option is available in the Guest > Screen Configuration section. For more information review the Screen Configuration section.
During the check-in process for a visitor to the Building in question, the Reception User will specify the specific lobby.
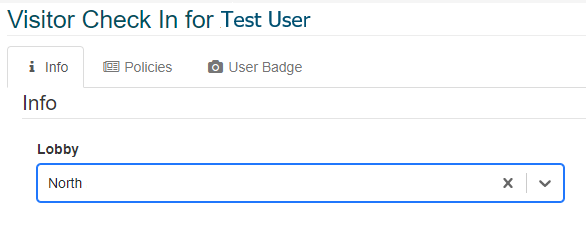
When the visitor is checked-in the Host will typically receive an email notification with the relevant lobby information included.