Reports
Note
The Reports tab is only available to CONNECT Administrators and Reports Administrators.
CONNECT provides comprehensive reports covering all aspects of the system configuration as well as extensive detail on all Access and Credential changes across all Identities. The system provides various “data views” that can be filtered to show only the results that meet specific criteria. Reports can be saved for future use and are available on the Reports Saved sub-tab.
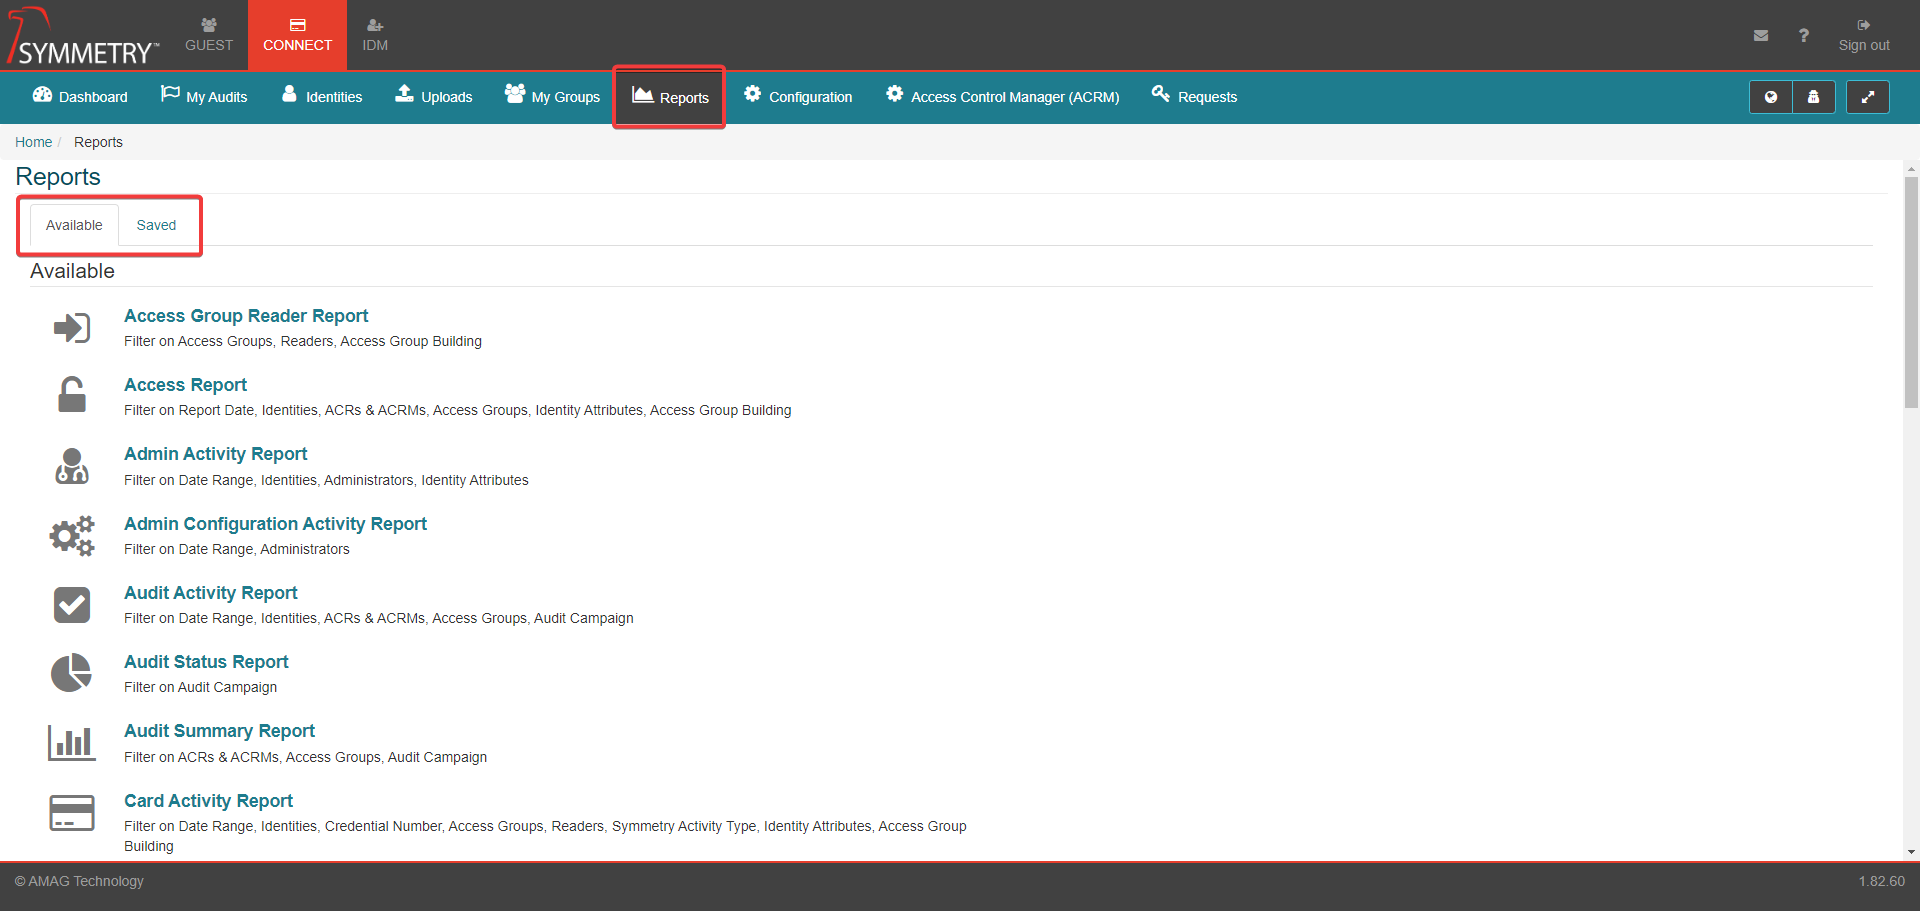
Running an Available Report
Note
Required fields are indicated with a red Asterisk.
The steps below are intended to demonstrate how to run/execute a typical report from the Available Reports section. Each Available Report will be explained/covered in more detail in each Report's titled section.
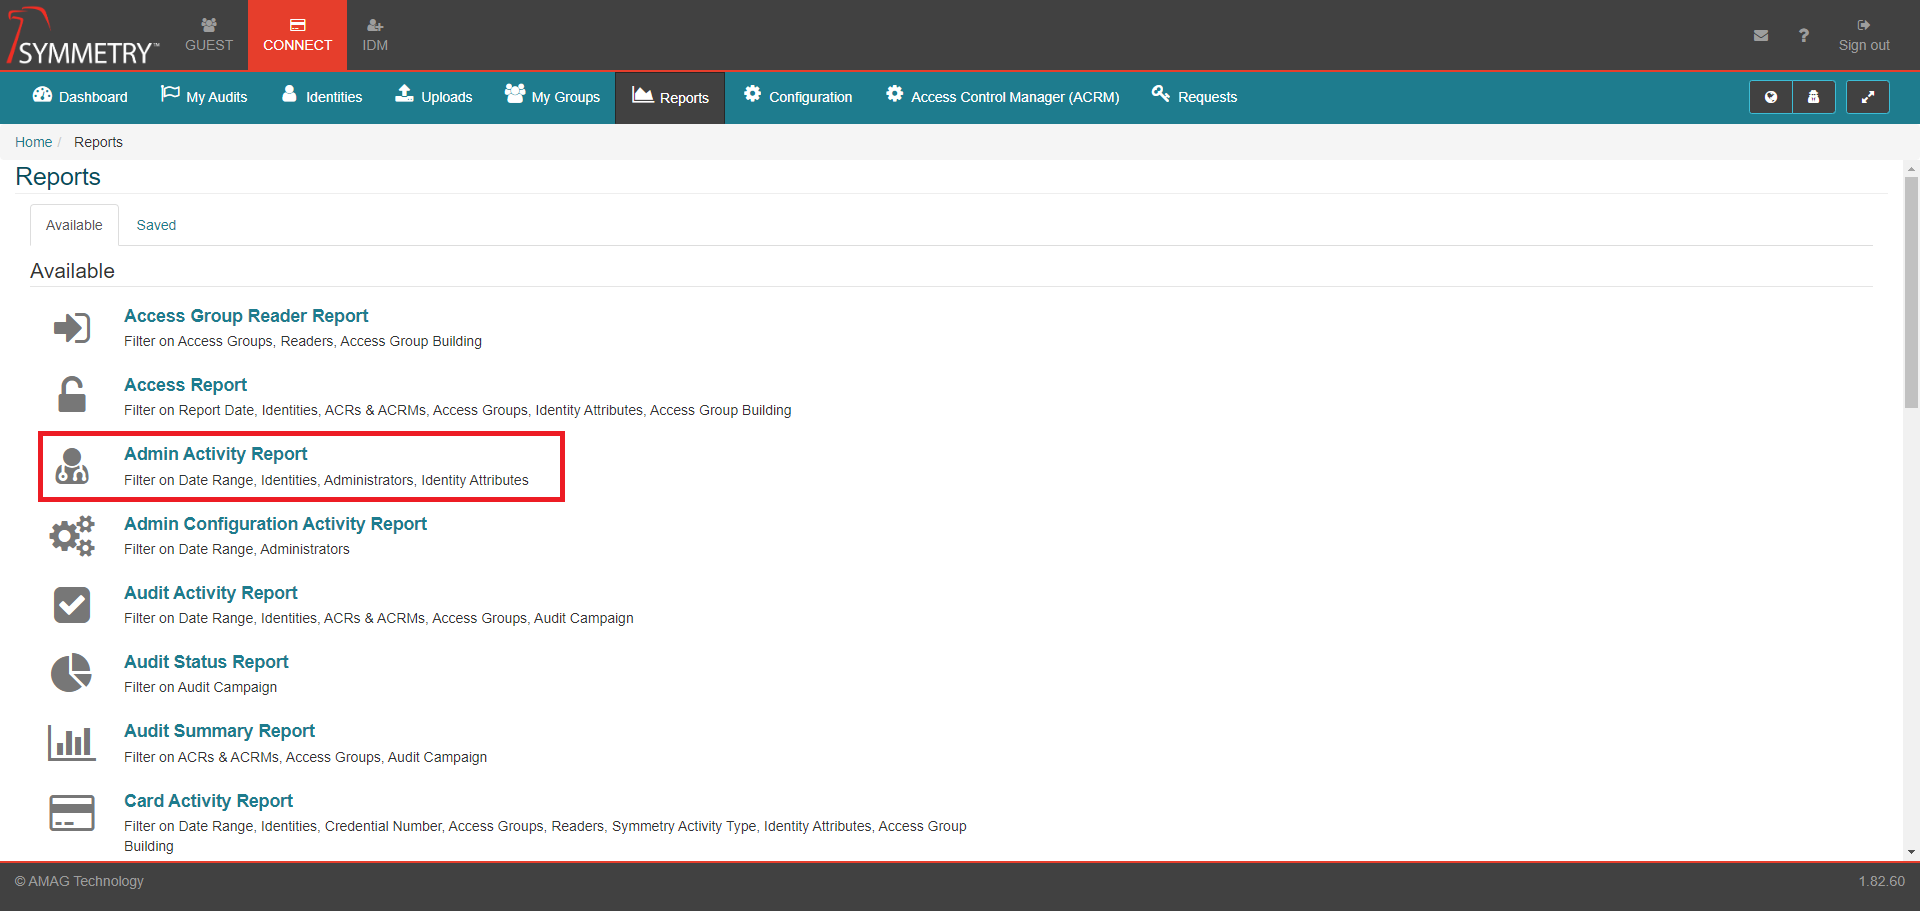
From the CONNECT Reports page, click on a report to access it. In this example the Admin Activity Report will be used.
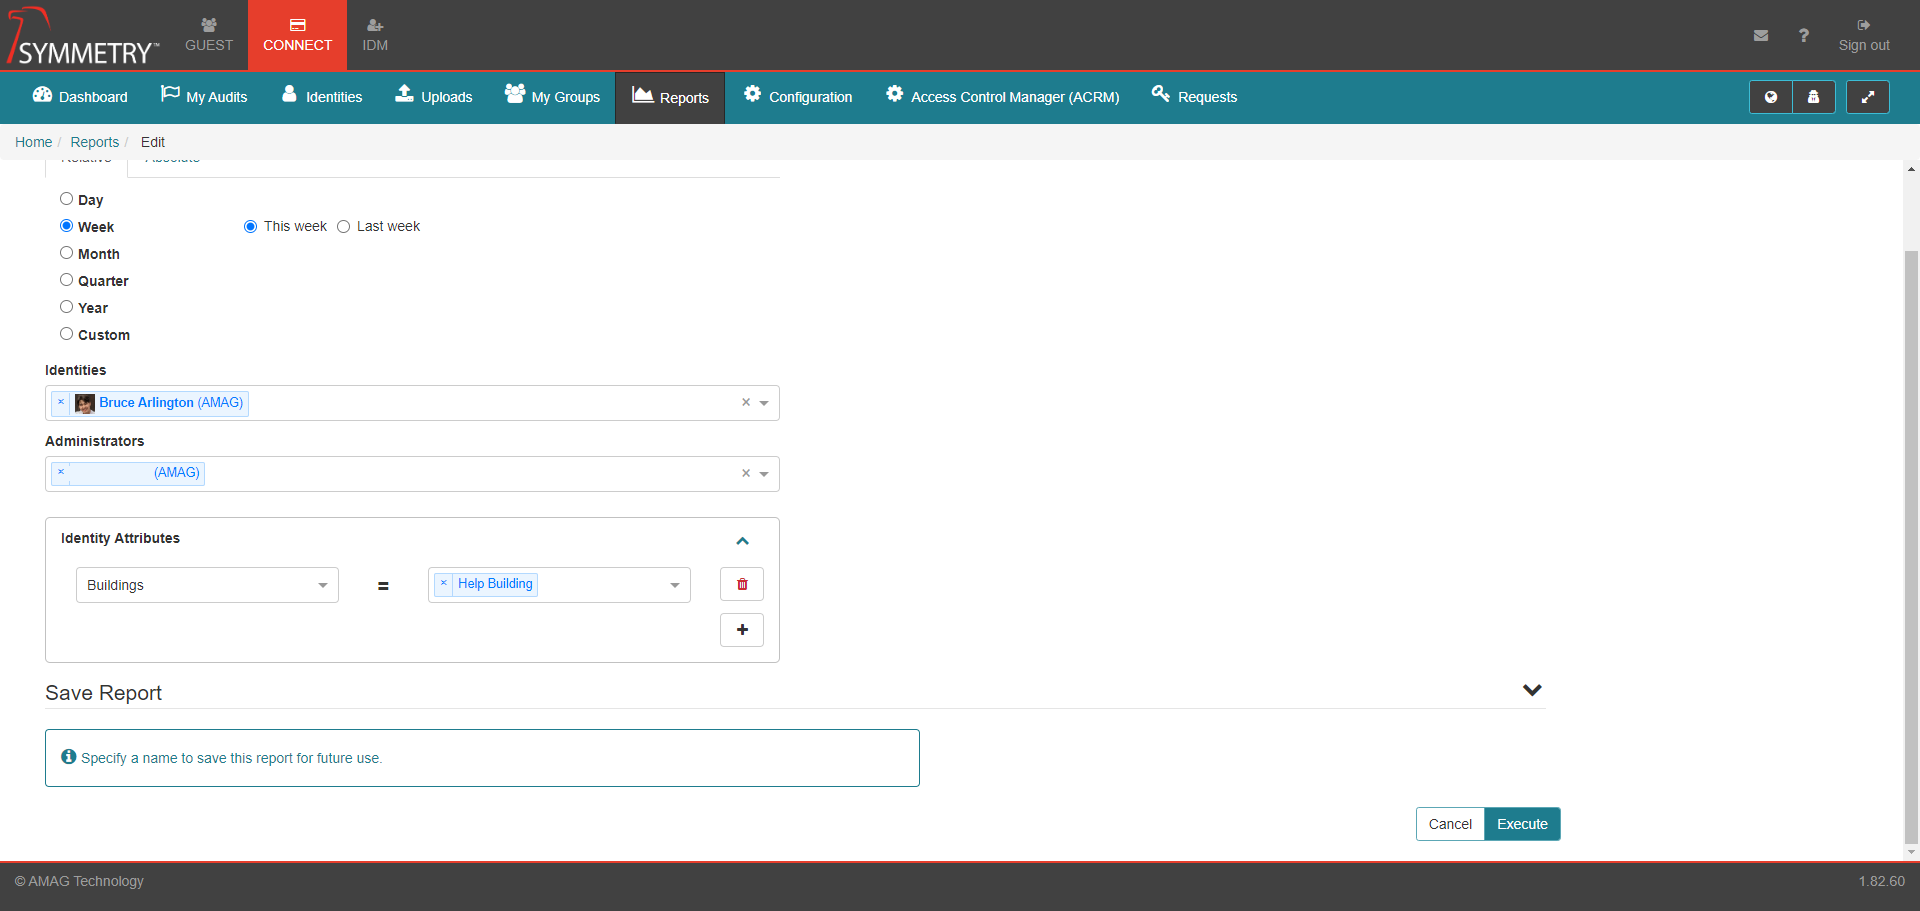
Select the appropriate date range. A Relative or Absolute data range can be used.
Relative Date Range: Relative date ranges include date periods like “Today”, “This week” etc. These are useful, especially when the user intends to save the report for future use.
Day: Today or Yesterday.
Week: This week or Last week.
Month: This month or Last month.
Quarter: This quarter or Last quarter.
Year: This year or Last year.
Custom: Last 5 (this number is editable) Days, Weeks. Months, Quarters or Years.
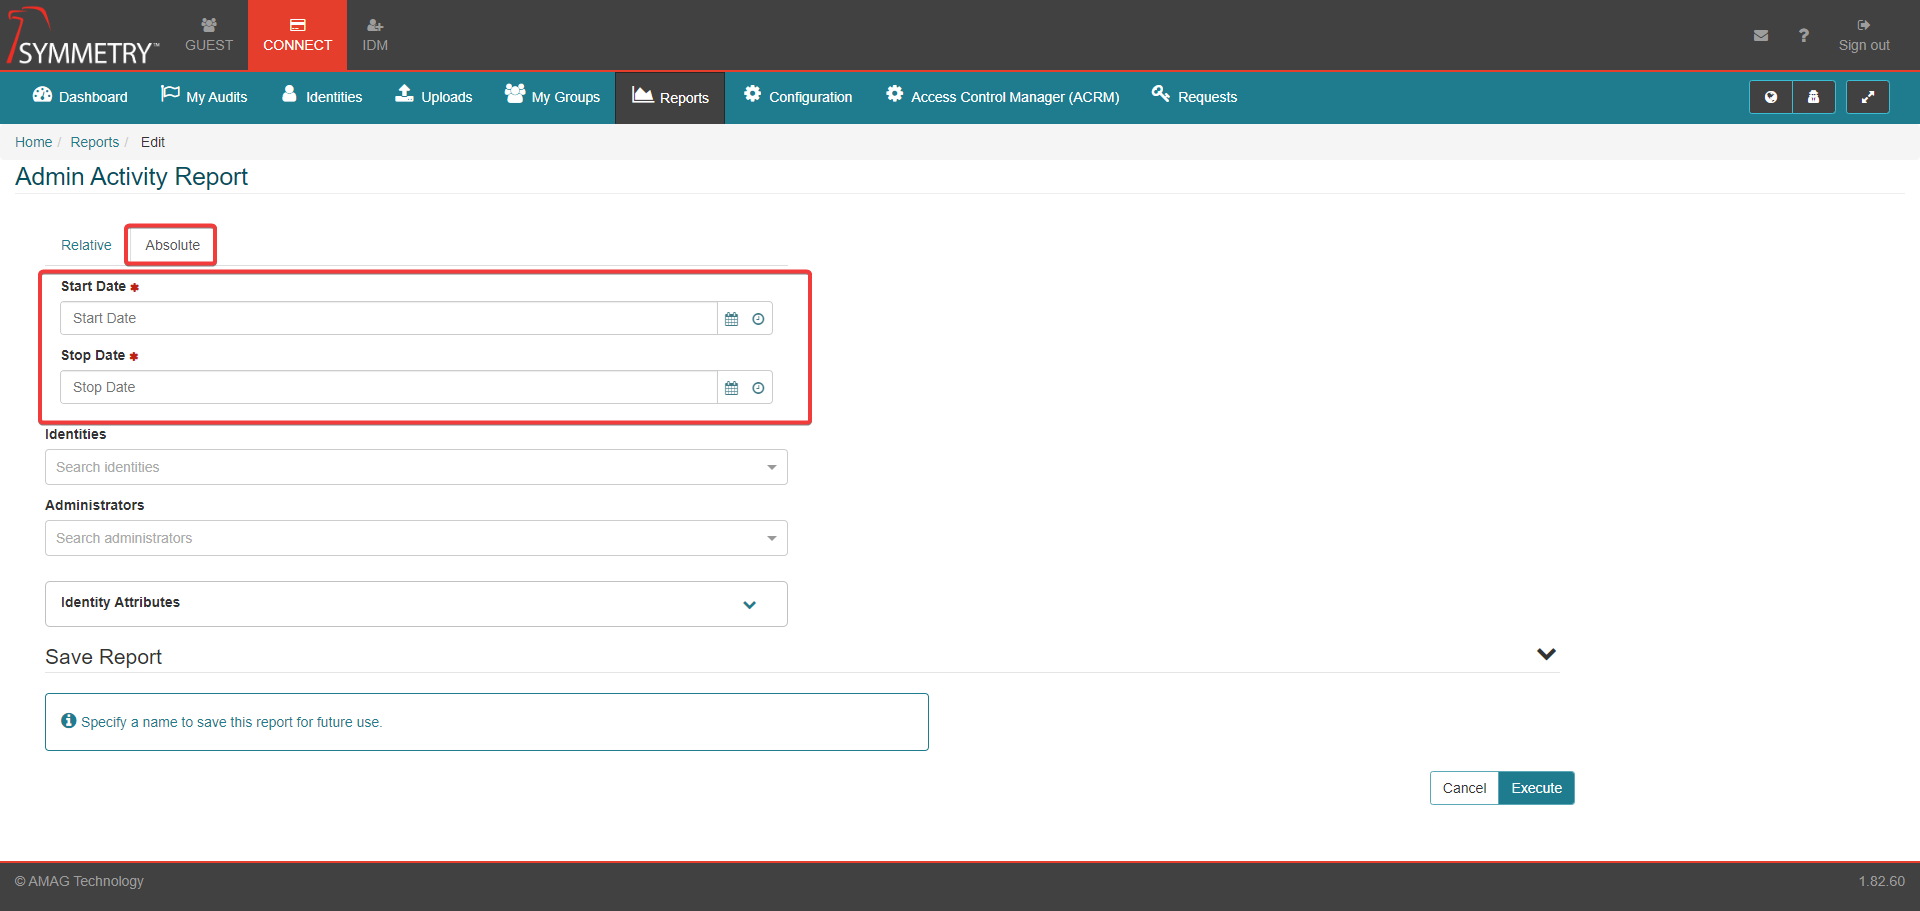
Absolute Date Range:
Start Date: The earliest date and time of activity you want included in the report.
Stop Date: The latest date and time of activity you want included in the report.
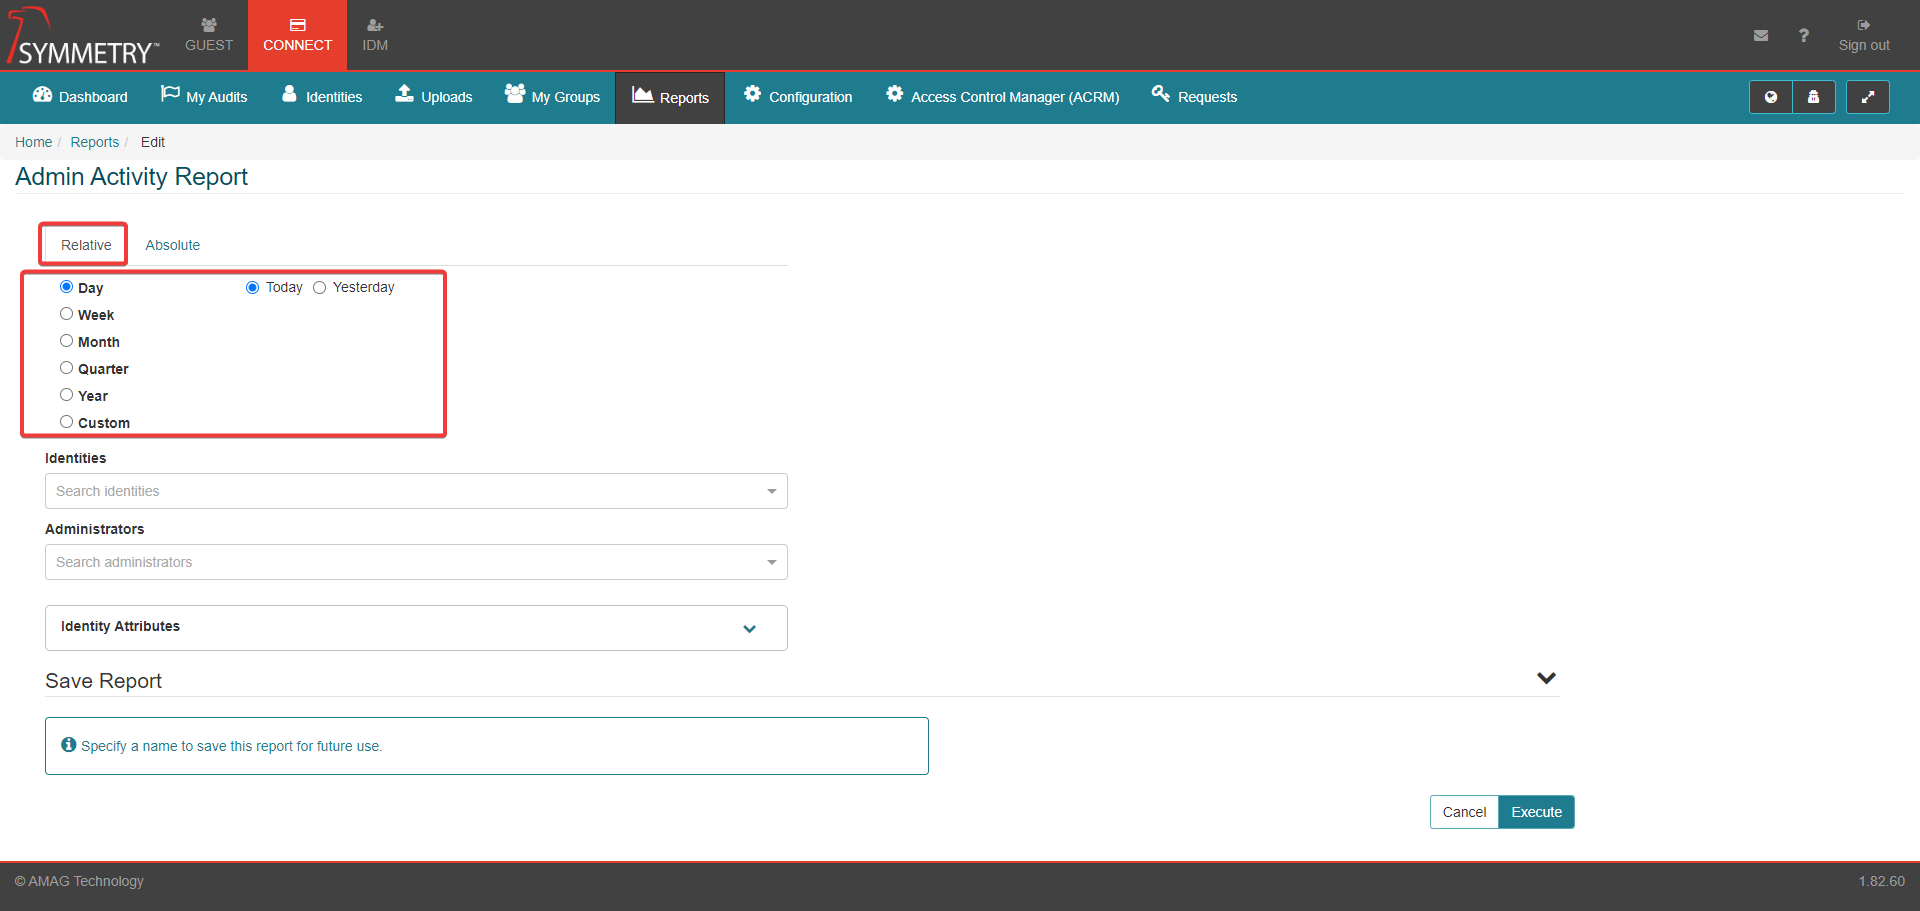
The report can be filtered as follows:
Field
Description
Filter Requirements
Date Range
The user is able to select either a Relative or Absolute date range.
The report will only return values within that range. The default value is Today.
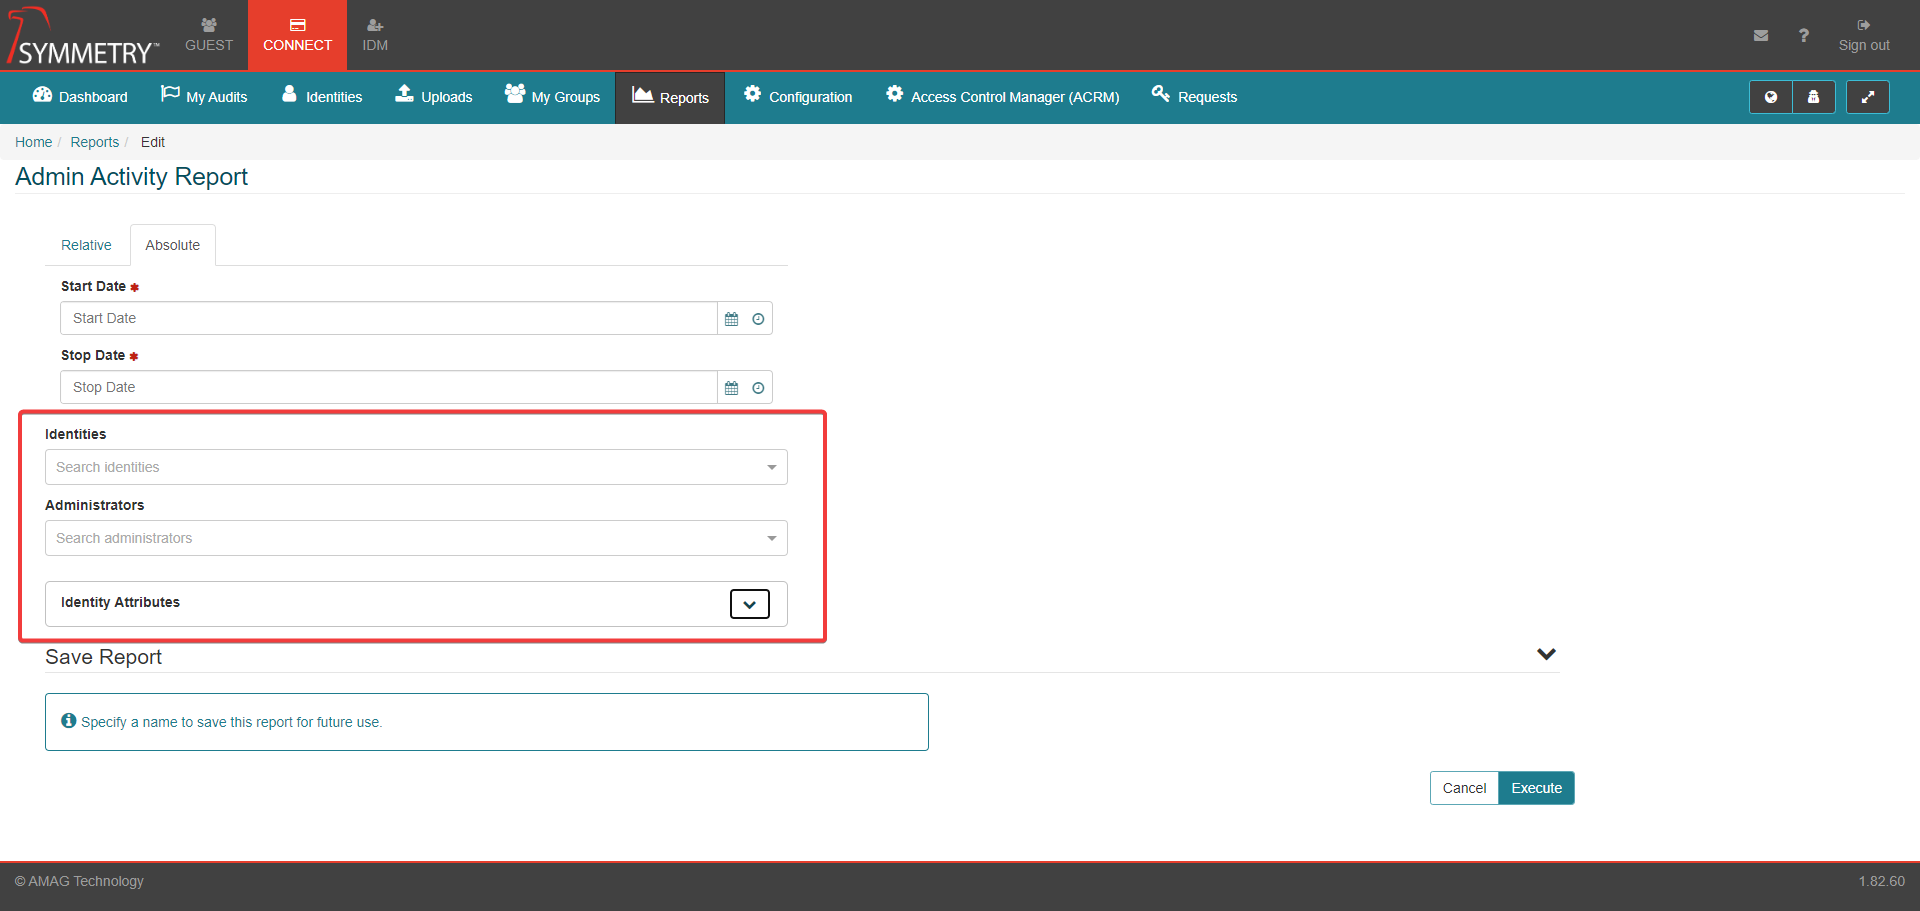
Identities
The user is able to select one or more Identities.
If selected the report will only show data for those specific Identities. If this field is left blank, the report will show data for all Identities.
Administrators
The user is able to select one or more identities with an administration role
If selected only values associated with these identities will be displayed. If this field is left blank, the report will show all activity.
Identity Attributes
The user is able to select one or more Identity Attributes that the Identity must have in order to be selected in the Report. These are (provided they are set to SHOW in IDM Screen Configuration): Buildings, Companies, Department, Email Address, Employee Number, Employee Types, First Name, Identity Category, Job Title, Last Name.
If selected, the report will only show data for Identities that have the selected attributes. If left blank, the report will show data for all Identities regardless of their attributes.
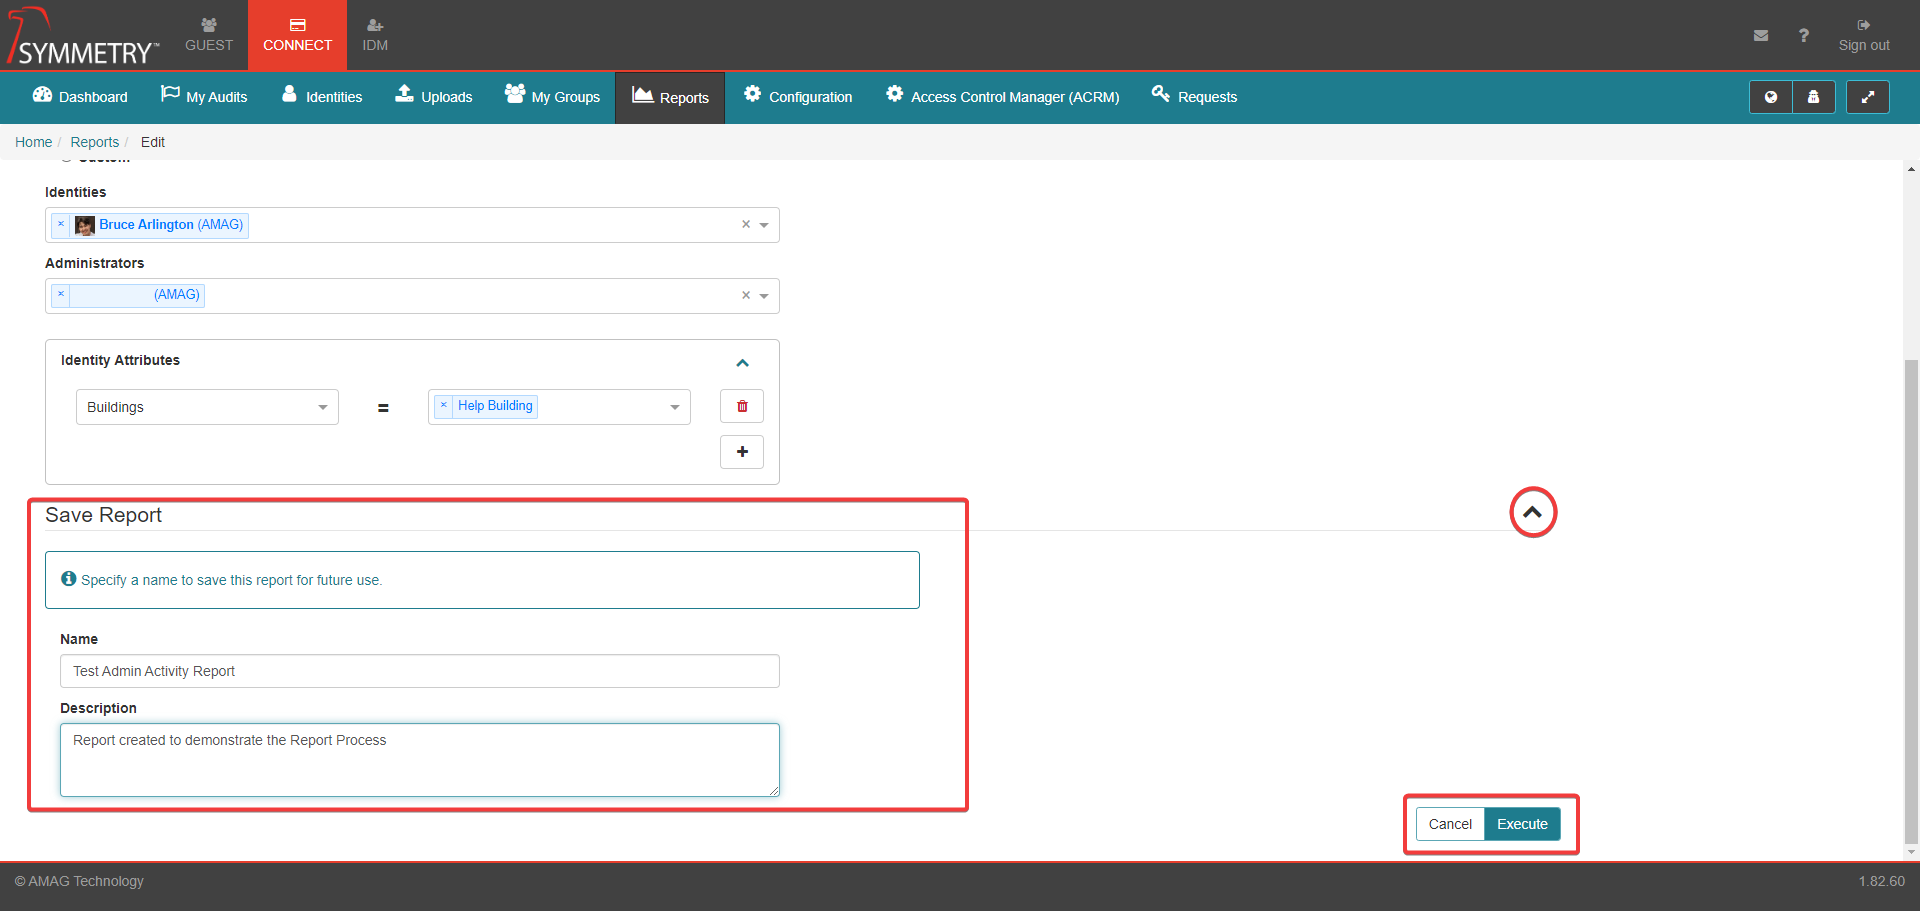
Click the Execute button to run the report. All reports will automatically be exported to an Excel Spreadsheet file when executed (Excel or an appropriate viewer is required to view the report). If the report is required to be Saved for future use, specify a Name and Description of the report prior to Executing the report.
An example of the report is displayed in the graphic below.

Note
The first two rows of each report show information for specific components of CONNECT. For example the screen above shows Affected Identity information grouped together, and Logged in Identity Information is a separate group. It is easier to read and understand the reports if the user understands the different groupings of information.
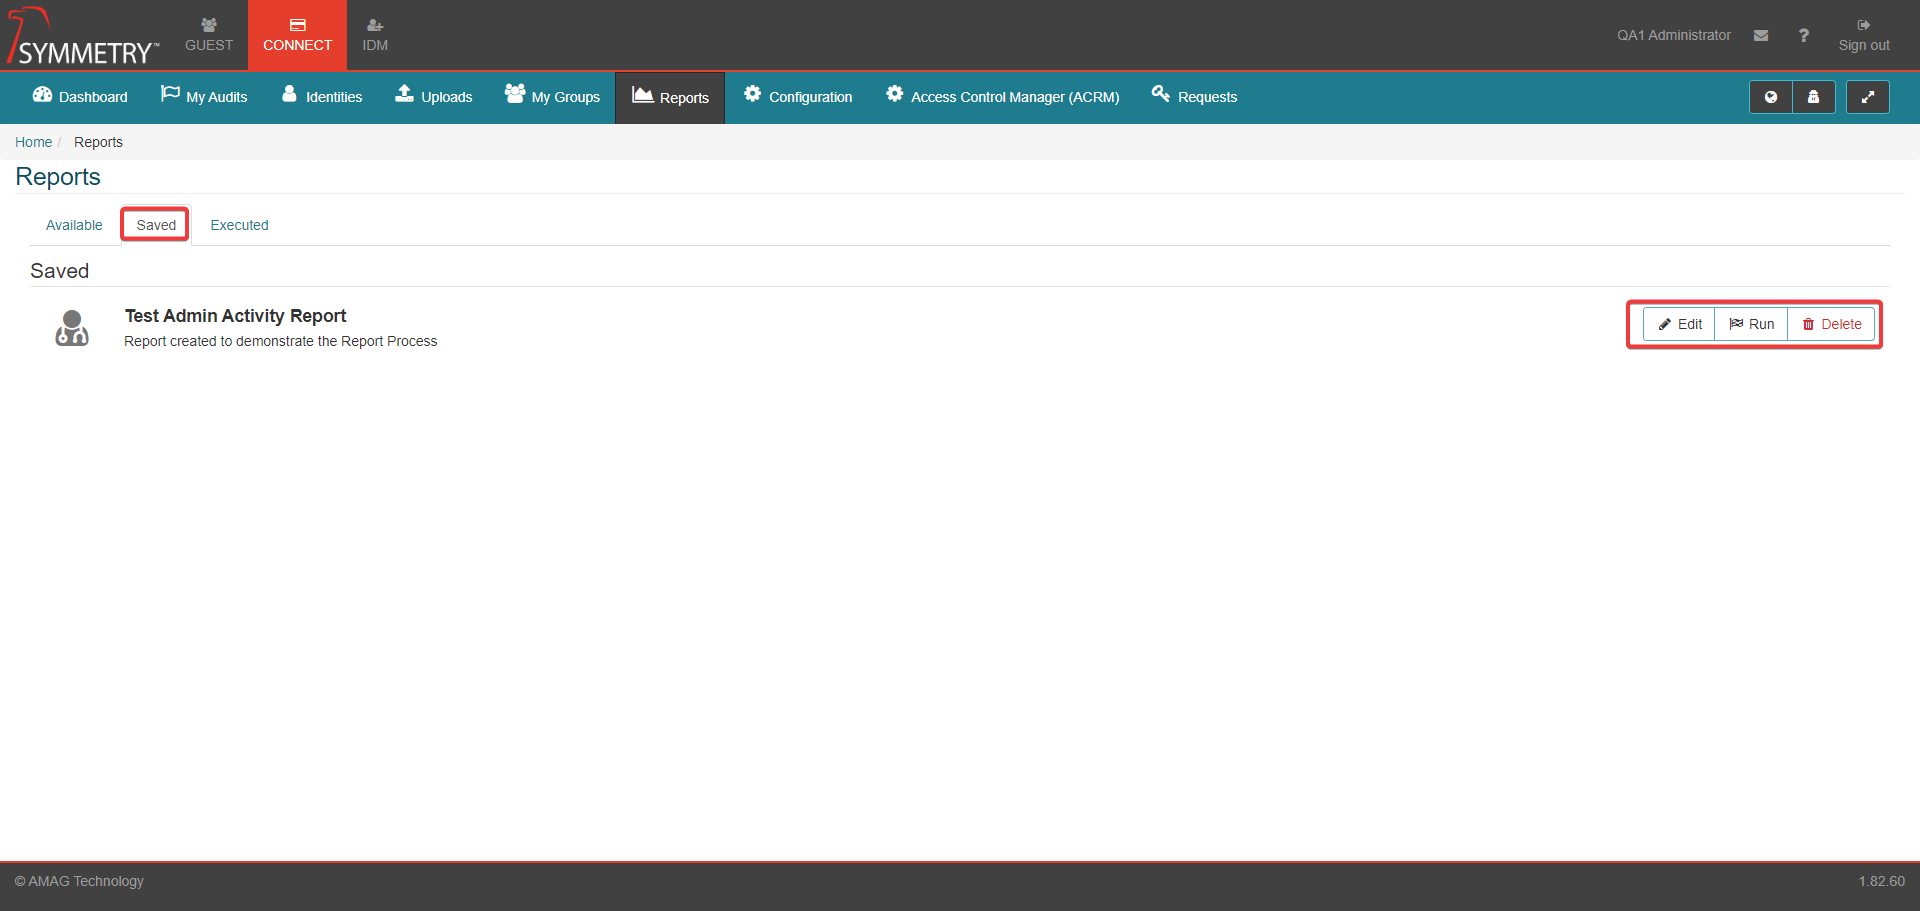
Running a Saved Report
Select the Saved report tab. In this section, all saved reports will be visible (provided they have been saved by the current signed-on user). The reports in the Saved section have the options to:
Edit: Make edits to the report, e.g. change Name, Description, or alter / remove any of the filters. (If filters are changed then the Report Name must be changed also).
Run: Run/execute the report.
Delete: Delete the report from the saved reports section. The user will be asked to confirm they want to delete the report.
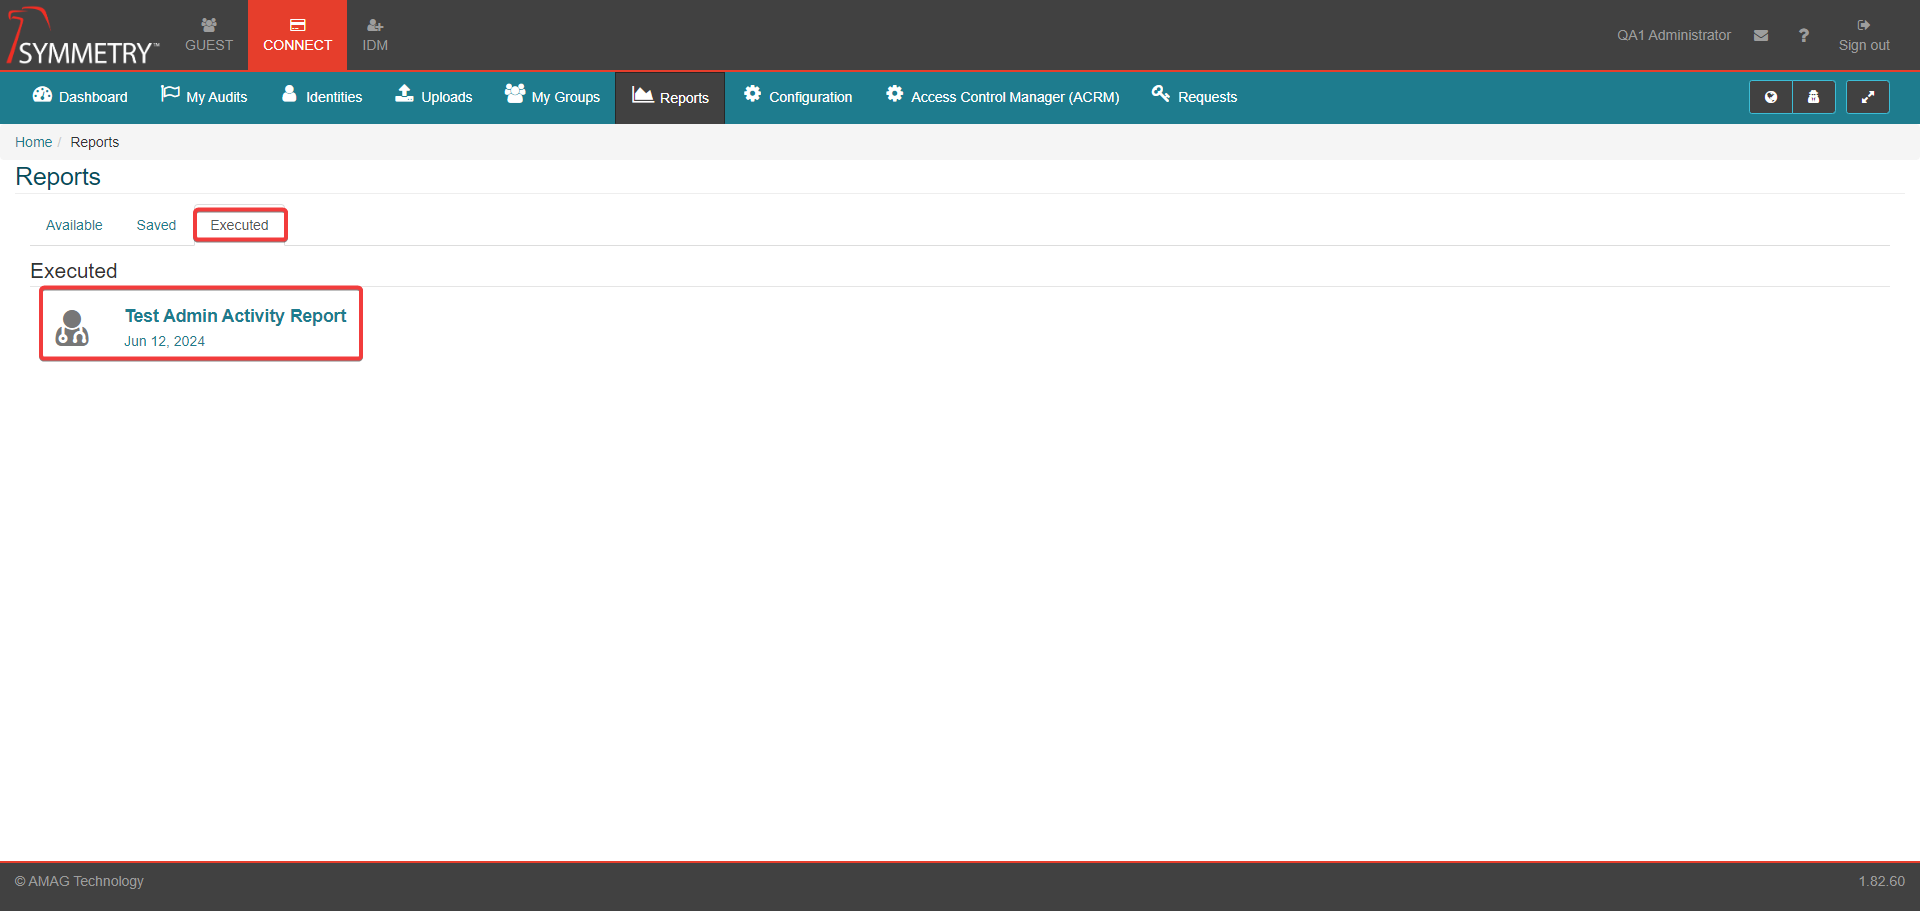
Executed Reports
Select the Executed tab to view the Reports history. The information in this tab displays the name of the report and the date the report was run/executed. Clicking on either the report icon or the title of the report will automatically export the report again as an Excel Spreadsheet file (Excel or an appropriate viewer is required to view the report).