Screen Configuration
Note
Required fields are indicated with a red Asterisk.
Note
User Defined Fields must be created before they can be assigned on the Screen Configuration page. Please review the User Defined Fields section of this guide for more details.
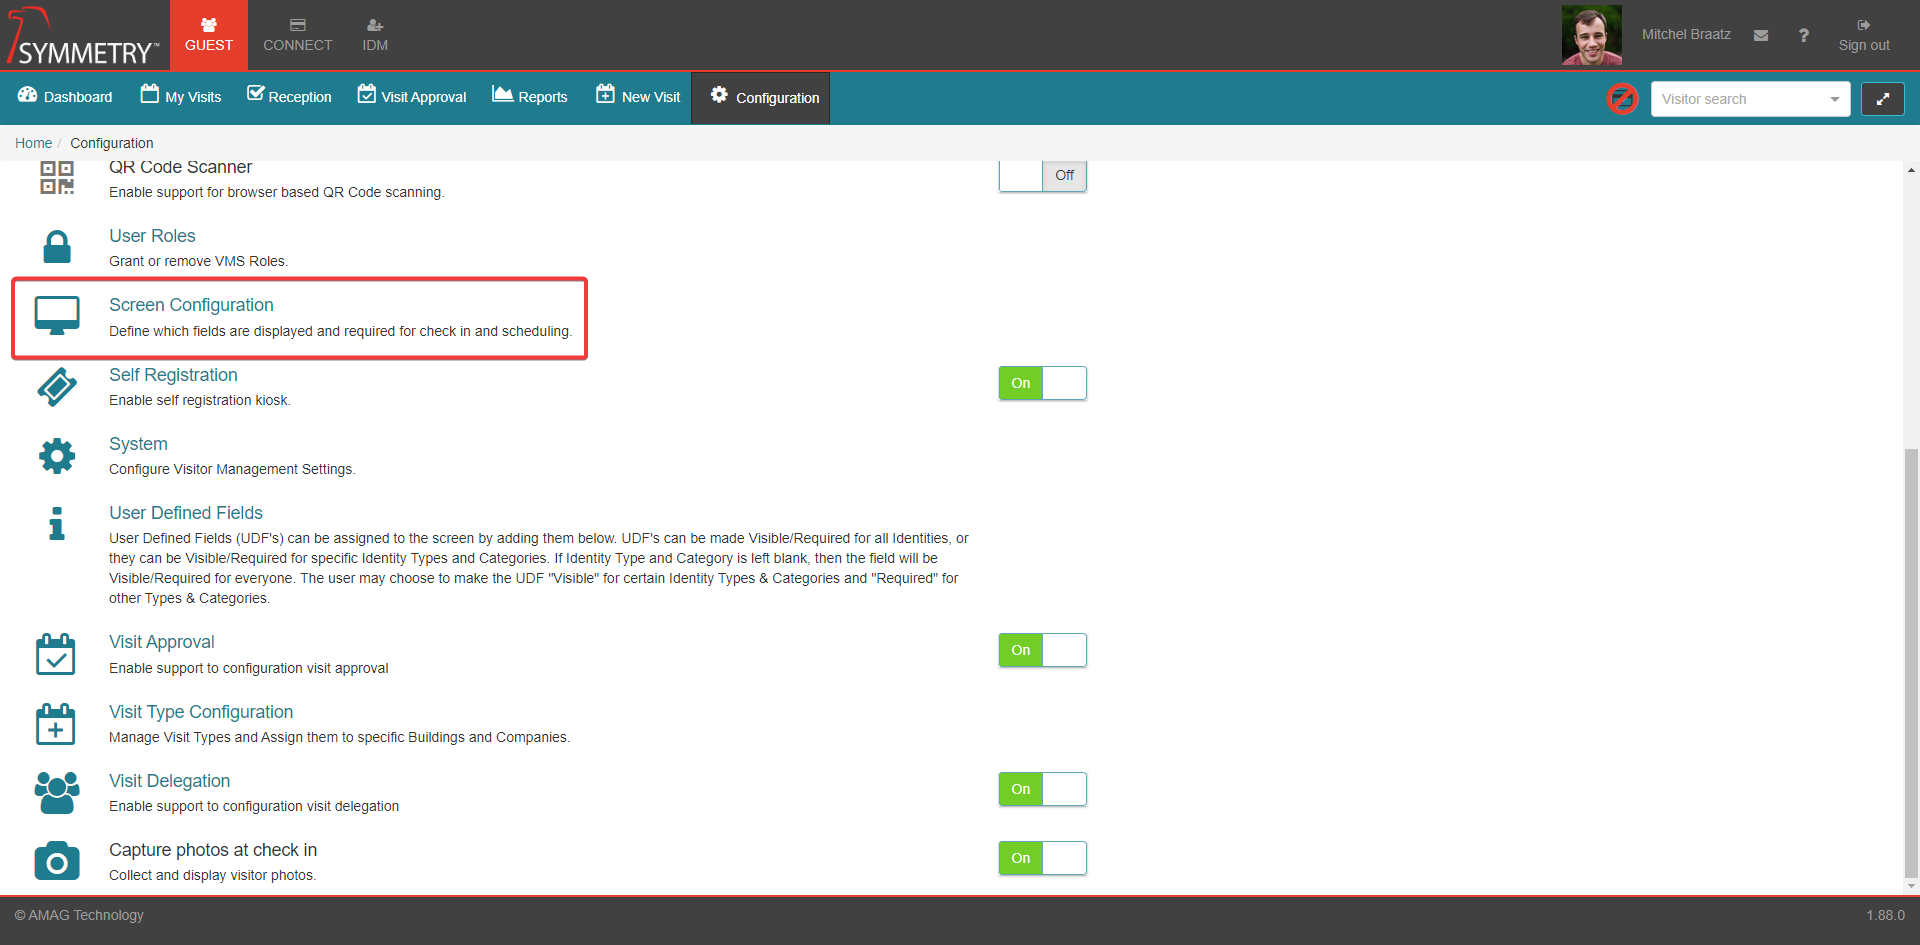
Screen configuration allows an administrator to configure which fields are hidden, visible or required during visit registration and check-in on the GUEST tab (including User Defined Fields). They can also configure the fields available when adding / editing a Visitor.
It is important to note that screen configuration is dependent upon the specific Visitor Type and Building configured for each visit. For example, the fields that are visible or required when registering a visit for Building 1 and Visitor Type Contractor, can be very different to a visit in Building 2 for Visitor Type Job Interview. The very first Screen Configuration in the system will be the default one and will be for all Buildings and all Visit Types. There must always be one and only one default configuration.
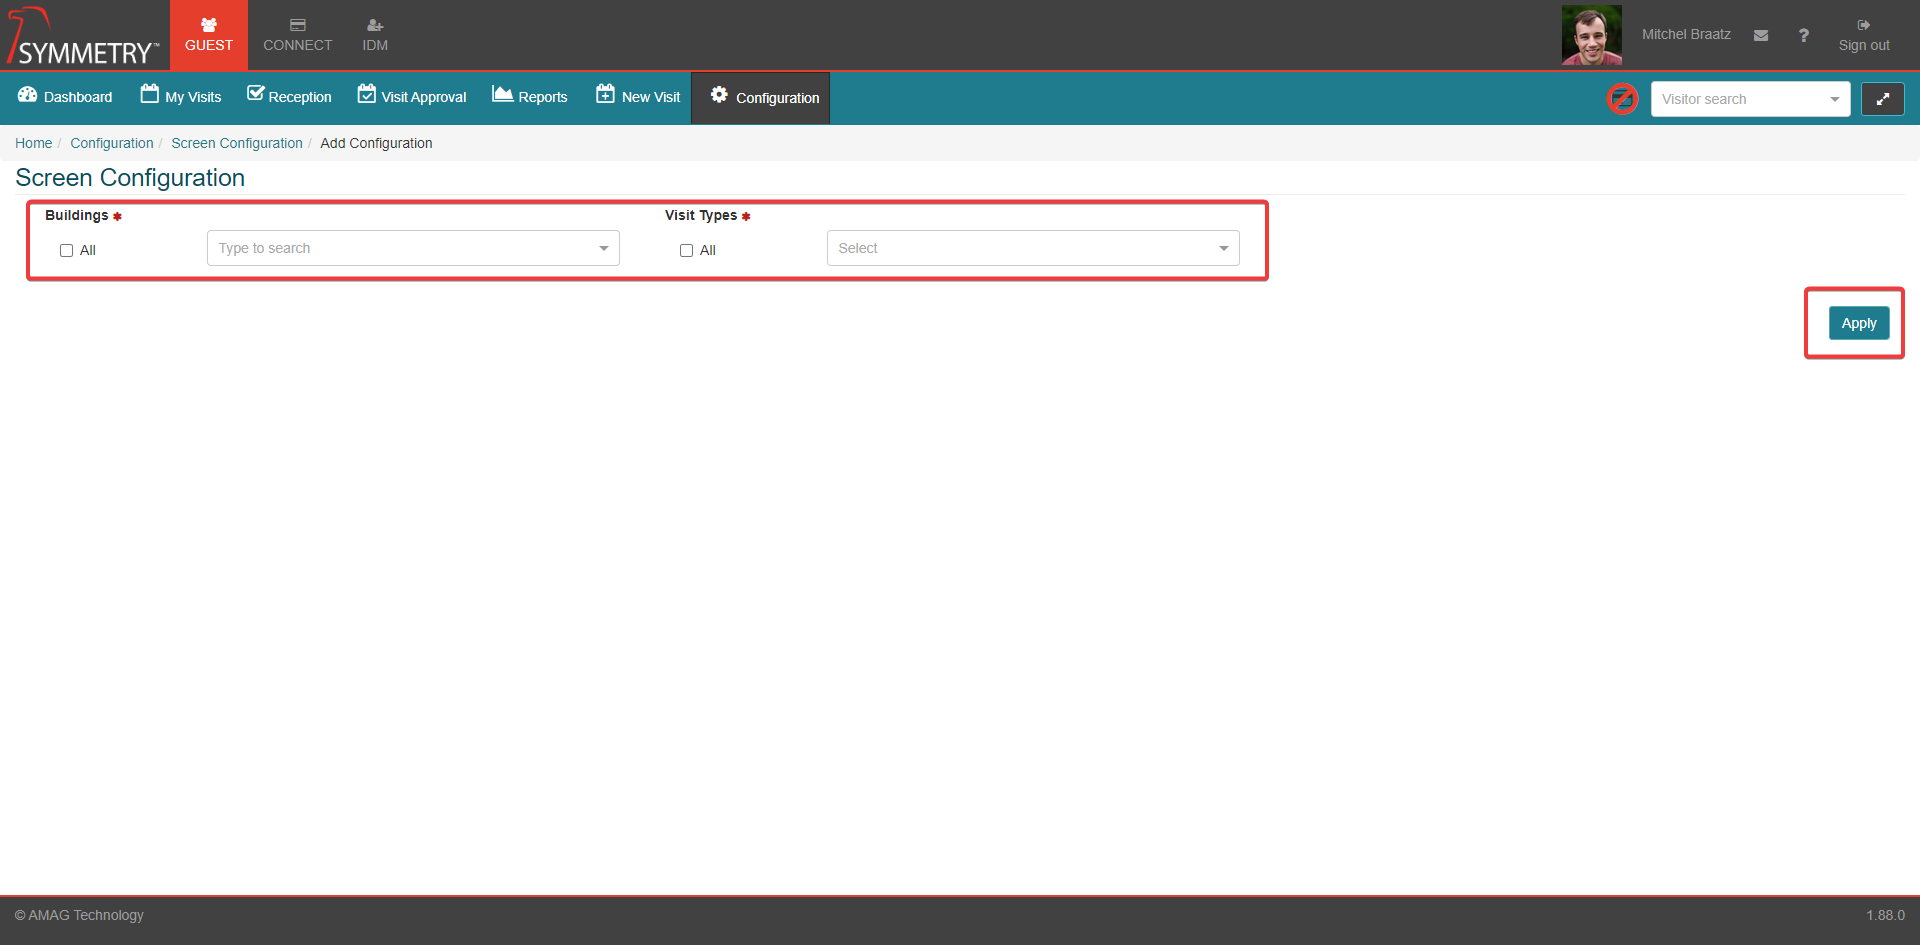
Add a new screen configuration by clicking the New button. Then apply a building and a visit type from the drop down selection box. The user can also select All Buildings or All Visit Types by selecting the appropriate All check box. Then click the Apply button. This will create a default screen configuration where all configurable fields in Visit and Check-In are set to 'Hide' and all configurable fields in Visitor (other than Citizenship) are set to Show.

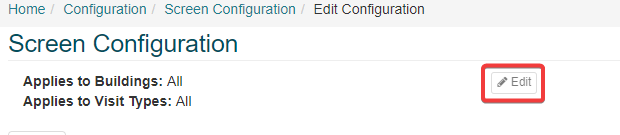
The default screen configuration All Buildings and All Visit Types can not have the the buildings or the visit types edited, this selection is greyed out and unable to be selected, see the image below for an example of this. The default screen configuration can not be deleted either.
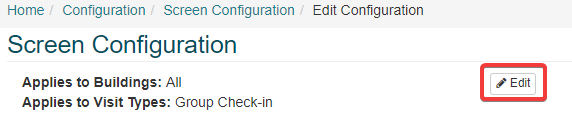
To edit a existing screen configuration, click the Edit icon button. At the top of the screen, user will have the opportunity to edit the Buildings / Visit Types that the configuration applies to.
Make changes to the fields for the Visit, Check-In and the Visitor screen from this page by selecting if the option is set to Hide, Show or Required. Any changes made to a tab need to be confirmed by clicking the Save button before moving on to the next tab.
Note
Hide will remove the information from the screen. Show will make the information available. Required will make the information Mandatory and a value must be added to that specific field.
Note
User Defined Fields can be added to each screen as required.
Visit
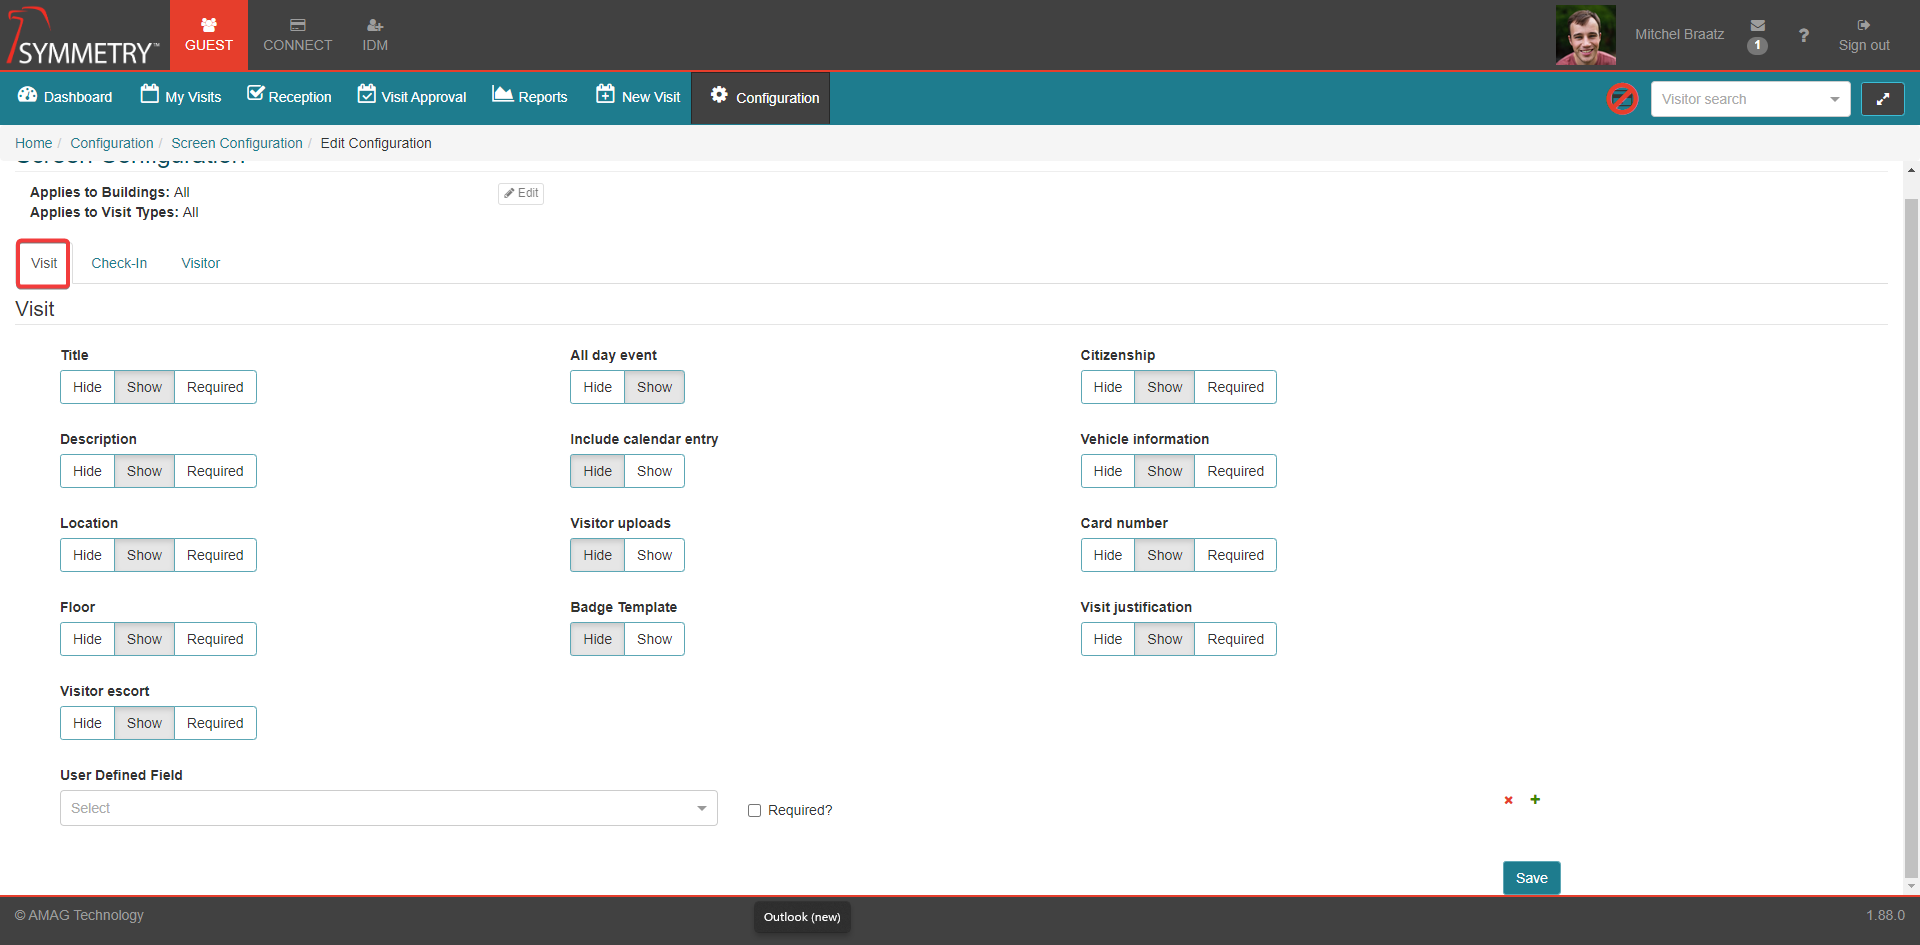
The Visit tab focuses on the scheduling of a visit. By default, all these fields are hidden. User can configure the following fields (all free-form unless stated):
Title: Visit Title
Description: This is a description of the visit taking place such as: Meeting, audit, project collaboration, etc.
Location: This is the area within the building / floor where the visit will take place
Floor: This is the floor at which the visitor is expected to spend most or all of their time at.
Visitor Escort: Type to add a existing IDM Identity who will accompany the Visitor during their stay. This value will update in the Symmetry Access Control System when the Visit is synced to Symmetry.
All Day Event: Check this if you want the visit to be scheduled for the entire day (12:01am - 11:59pm)
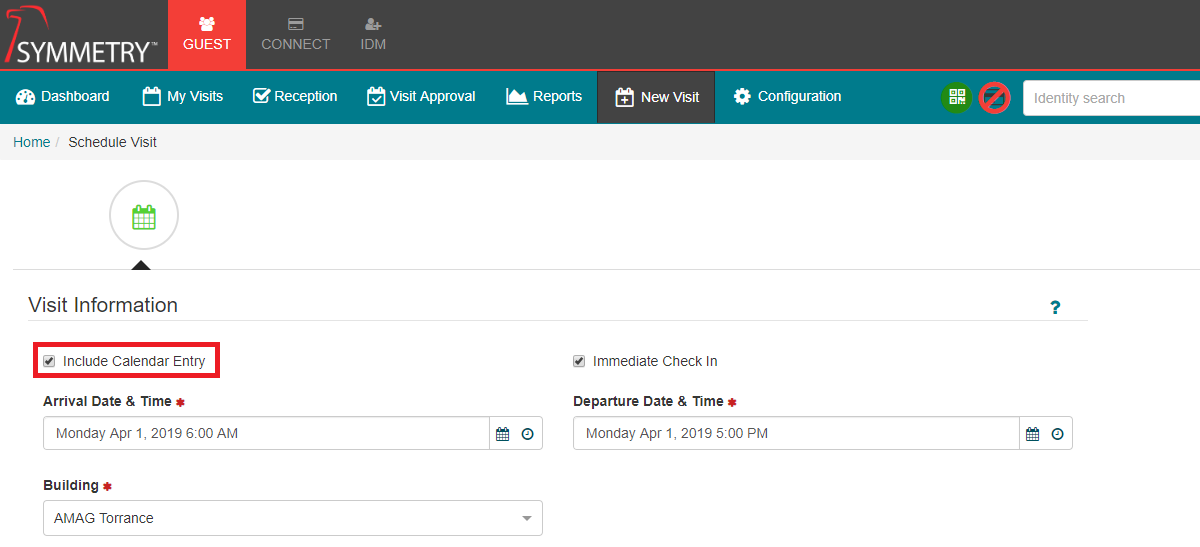
Include Calendar Entry: If this field is set to Show, a checkbox is available on the New Visit page, allowing the Host user to attach a ICS calendar invitation to the visitor welcome email.
Visitor Uploads: If set to Show, a Host user is able to upload a group of visitors from a spreadsheet during the registration process. This is very useful for registering a large group of visitors for a specific event. When registering a visitor, select Download Visitor File Sample Template link. Then enter the visitor information into the template spreadsheet, save it and select Upload Visitor File link to upload the updated template with the visitors information.


Badge Template
Citizenship: The country where the Visitor has citizenship.
Vehicle Information: Make, Model and Plate Number of the Visitor's vehicle.
Card Number: If manually providing visitor cards, the card number can be entered here for tracking purposes.
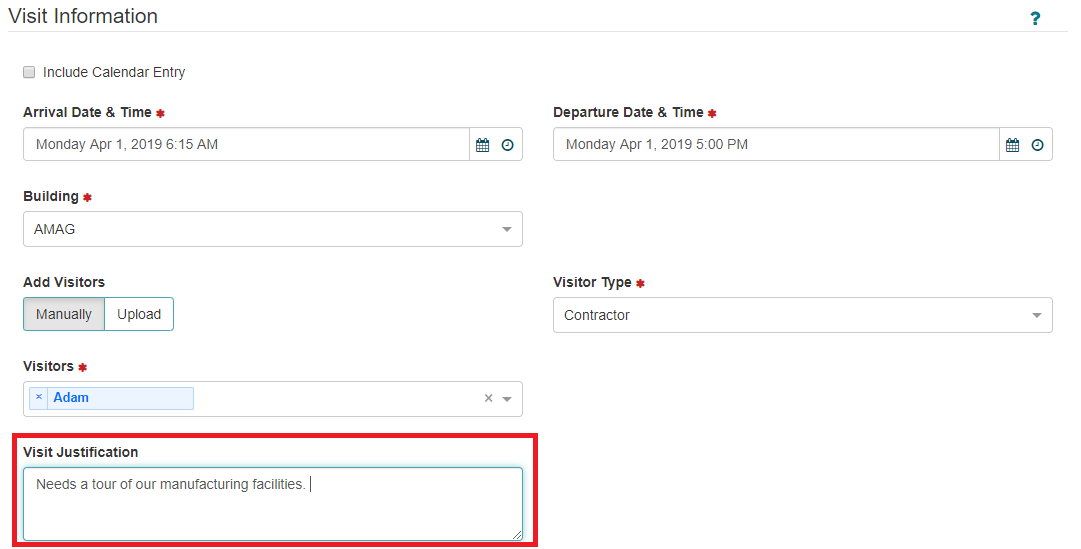
Visit Justification: The Visit Justification field can be added to provide a reason, or justification for specific visits. This field is useful when used in conjunction with the Visit Approval functionality, as a Host can provide a justification for a specific visit that is visible to the relevant approver. See more details in the Visit Approval section of this guide.

UDFs (User Defined Fields): Any other UDFs (User-defined fields) that are custom-created by the user.
Check-In

Note
If a field is displayed in both the Visit and Check-In pages, any information entered during registration will carry over into check-in. The receptionist will then have the ability to update it at the time of check-in.
The Check-In tab focuses on the checking-in of a visitor. All fields are set to hide by default. User can configure the following fields:
Title
Description
Location
Lobby
Citizenship
Vehicle Information
Card Number
Badge Template
PIN Code: If not hidden, this is a required field. Allows a randomly generated PIN Code to be added to the visitor's credential.
PIN Code Length: Defaults to 4.
User Defined Fields: Any other UDFs (User-defined fields) that are custom-created by the user
Visitor
Note
Fields will only appear in GUEST Visitor Screen Configuration if they have not been set to Hide in IDM Visitor Screen Configuration.
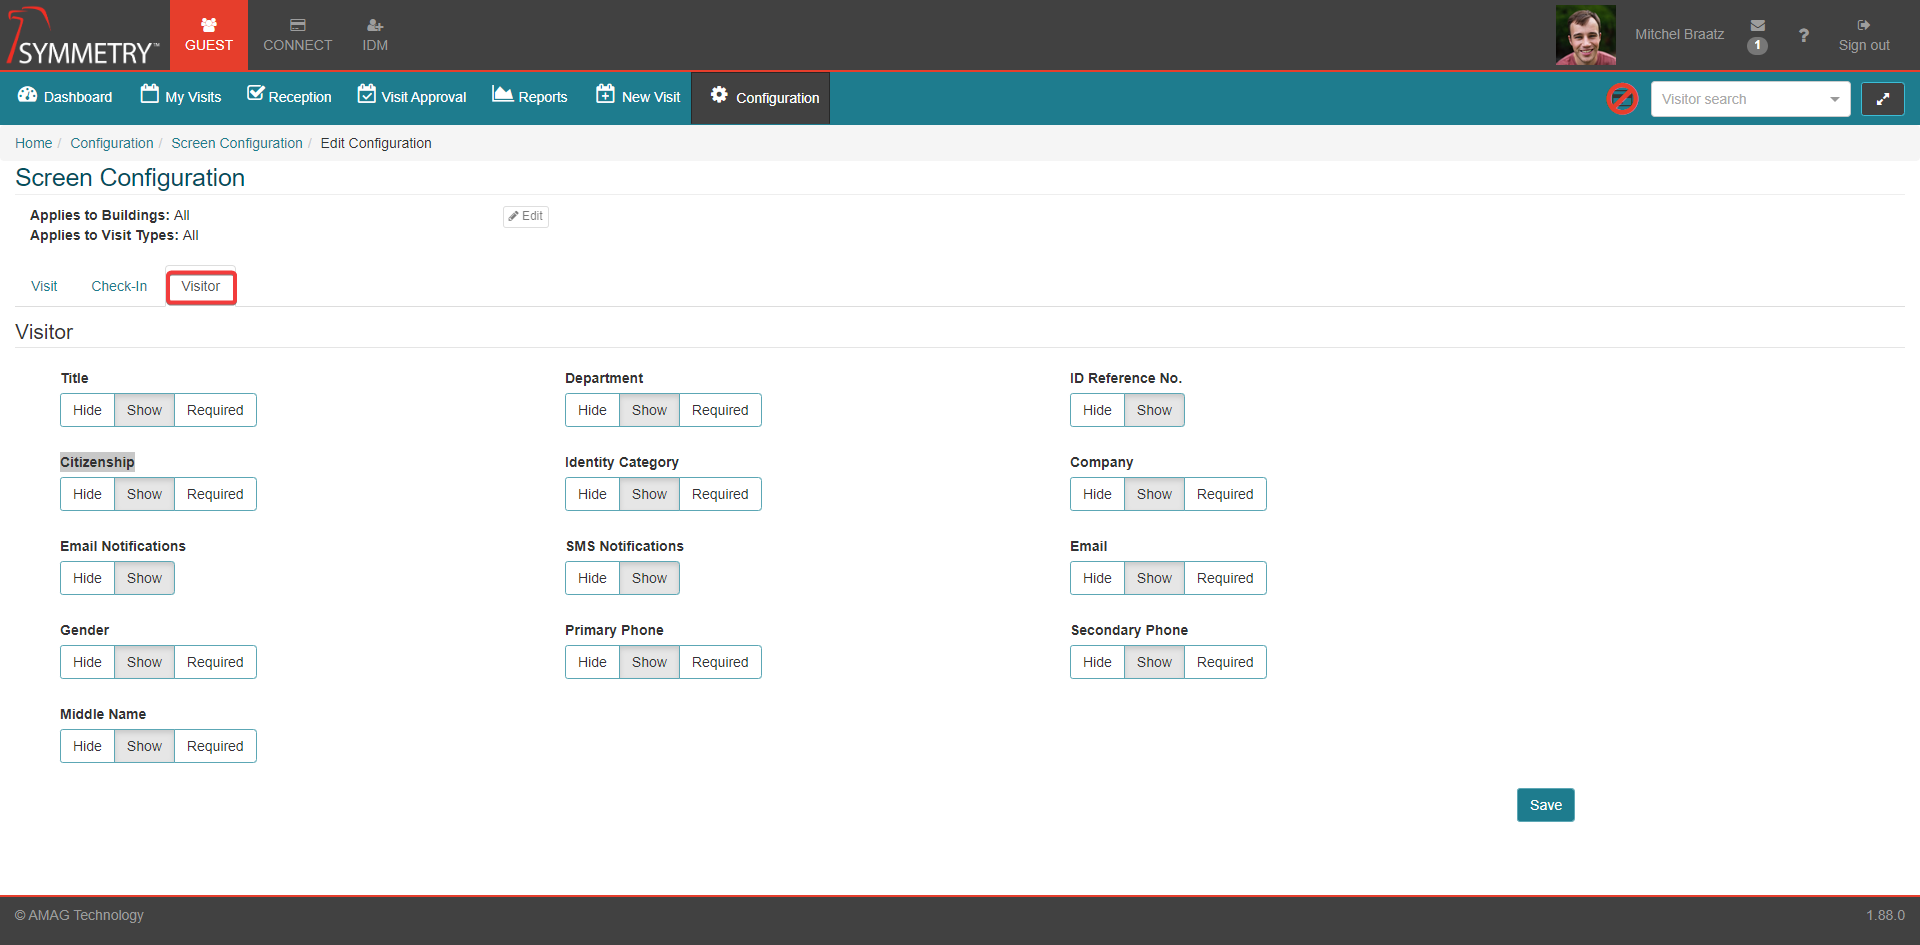
The Visitor tab focuses on the visitor identity. By default, Citizenship is set to Hide and all other fields are set to Show. User can configure the following fields:
Title: Title Prefix, Professional Title and Title Suffix
Citizenship: Option can be selected from the 'Citizenships' dropdown list
Email Notifications: If set to ON, Primary Email address becomes mandatory
Gender: Unspecified or Male or Female
Middle Name
Department
Identity Category: User can select from dropdown list or can create a new option
SMS Notification: If set to ON, at least one mobile phone required
Primary Phone: If value entered then Primary Phone Type becomes mandatory
ID Reference No,: Automatically configured by the system
Company: Visitor Company
Email: Primary Email address
Secondary Phone: If value entered then Secondary Phone Type becomes mandatory